I have a distinct memory back from when I was about 12 years old of my mom driving me to an orthodontist appointment to get my braces tightened. As we turned onto a street called “Molasses Hill Road” my mom started talking about a cookie recipe that she had forgotten about and wanted to dig up to make again soon. The cookies she made that night were similar to these, just without the kicked up spices. They’ve always been a favorite in my family and a staple around the holidays. The winter spices in this cookie will warm your heart, and the cayenne will warm your mouth just enough to linger for a second after you finish eating the cookie. I hope you love them as much as my family does!
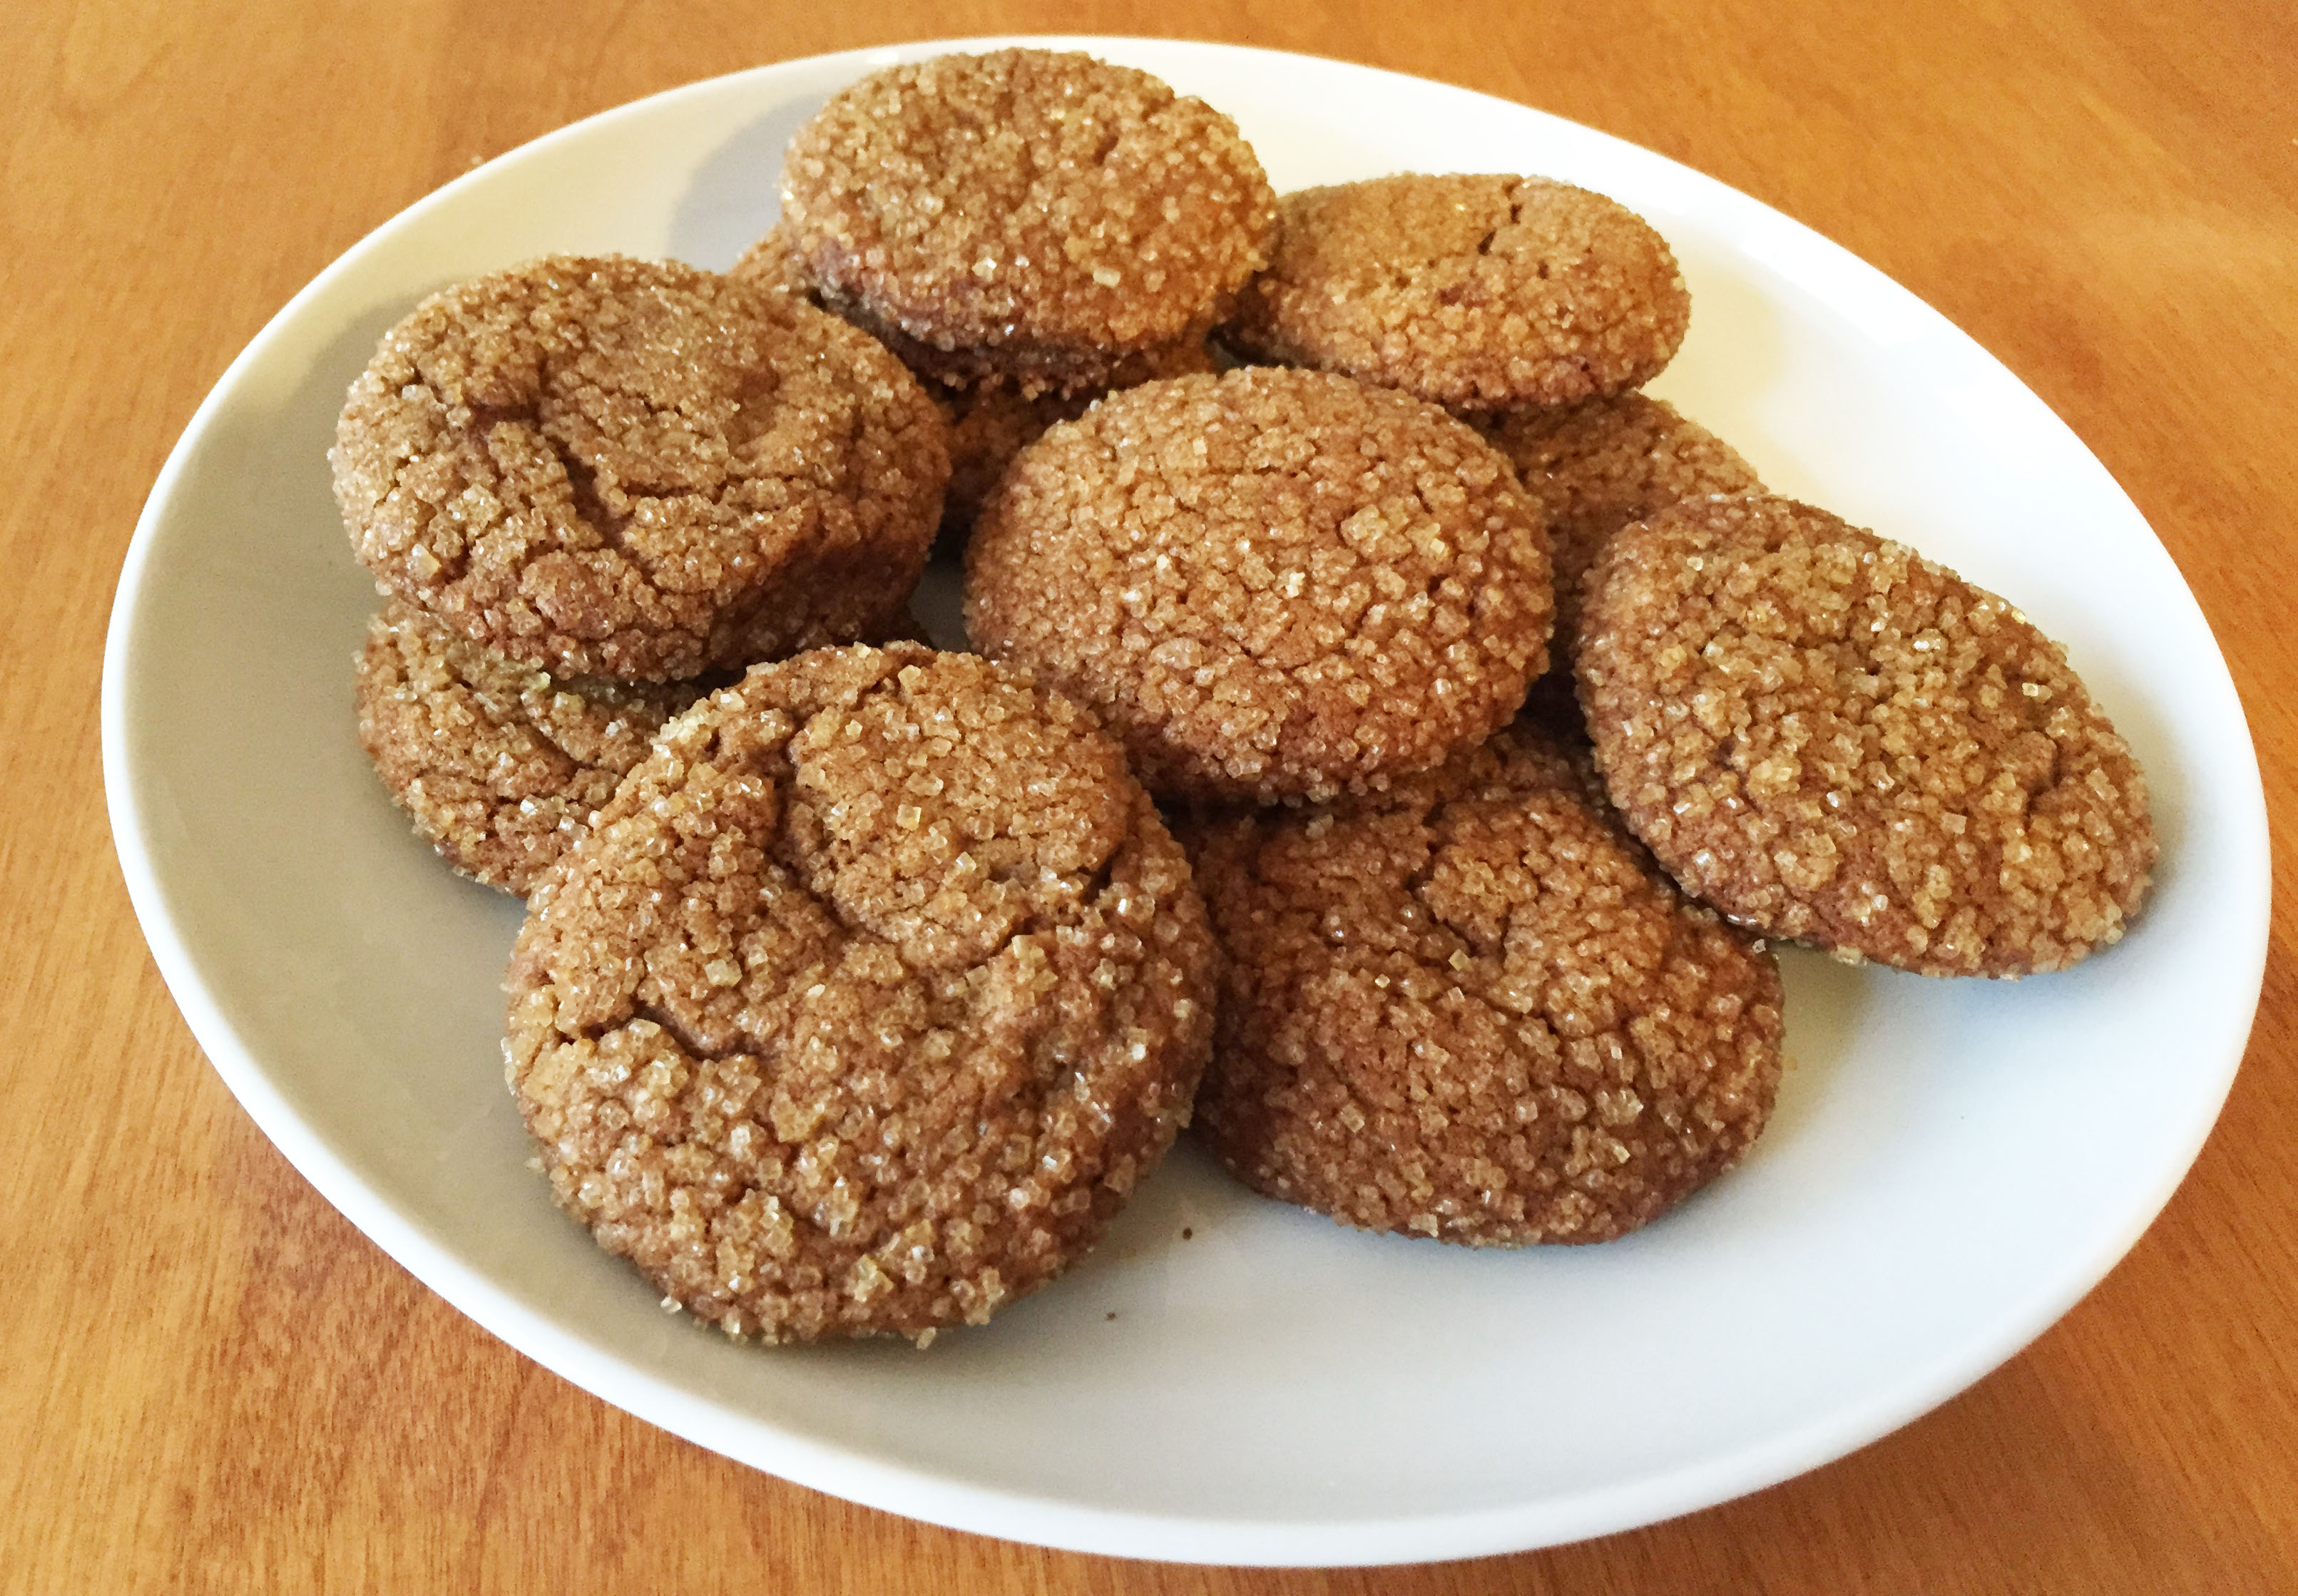
Spiced Molasses Sugar Cookies
Yield: 3 dozen cookies
Time: 40 minutes active, 2+ hours total (includes chilling)
¾ cup butter, softened to room temperature
½ cup sugar
½ cup dark brown sugar, packed
¼ cup dark molasses
1 egg
1½ tsp. minced fresh ginger (could use dried if necessary)
2¼ cups flour
1 tsp. cinnamon
¾ tsp. baking soda
½ tsp. ground cloves
¼ to ½ tsp. ground cayenne pepper (depending on how spicy you like them!)
¾ cup Sugar in the Raw (or white sugar)
- Cream together the butter and both sugars. Stir in the molasses, egg, and fresh ginger.
- In a medium mixing bowl, combine the flour, cinnamon, baking soda, cloves, and cayenne. Add to the butter/sugar mixture and stir until combined.
- Cover and refrigerate the dough for about an hour and a half, until it’s chilled and easier to handle. (Note: I often make the dough the day before baking and I chill it overnight.)
- Pour the raw sugar into a shallow bowl. Form the dough into balls of ½-inch diameter. Roll in the raw sugar to fully coat the surface. (Note: At this point, you can freeze the raw dough balls in a single layer until frozen solid, about 6 hours. Keep frozen for up to one month. When you’re ready to bake them, simply take them out of the freezer and allow to thaw at room temperature for about 20-30 minutes prior to baking. This can be a HUGE time saver, especially around the holidays!)
- Bake at 350ºF on lightly greased cookie sheets for 8-10 minutes, until fully cooked through.