• Home
  • About JanisCakes
  • Recipe Index

janis cakes

~ A Nut-Free Cooking Blog

janis cakes

Author Archives: Janis Chanin

Hiatus Recap: August-October 2015

14 Wednesday Oct 2015

Posted by Janis Chanin in Adventures

≈ 2 Comments

Hello there!  I’ve missed you!  It’s been far too long since my last JanisCakes post, mostly because I’ve been off having a boat load of fun!  It’s been a month and a half of great times, filled with:

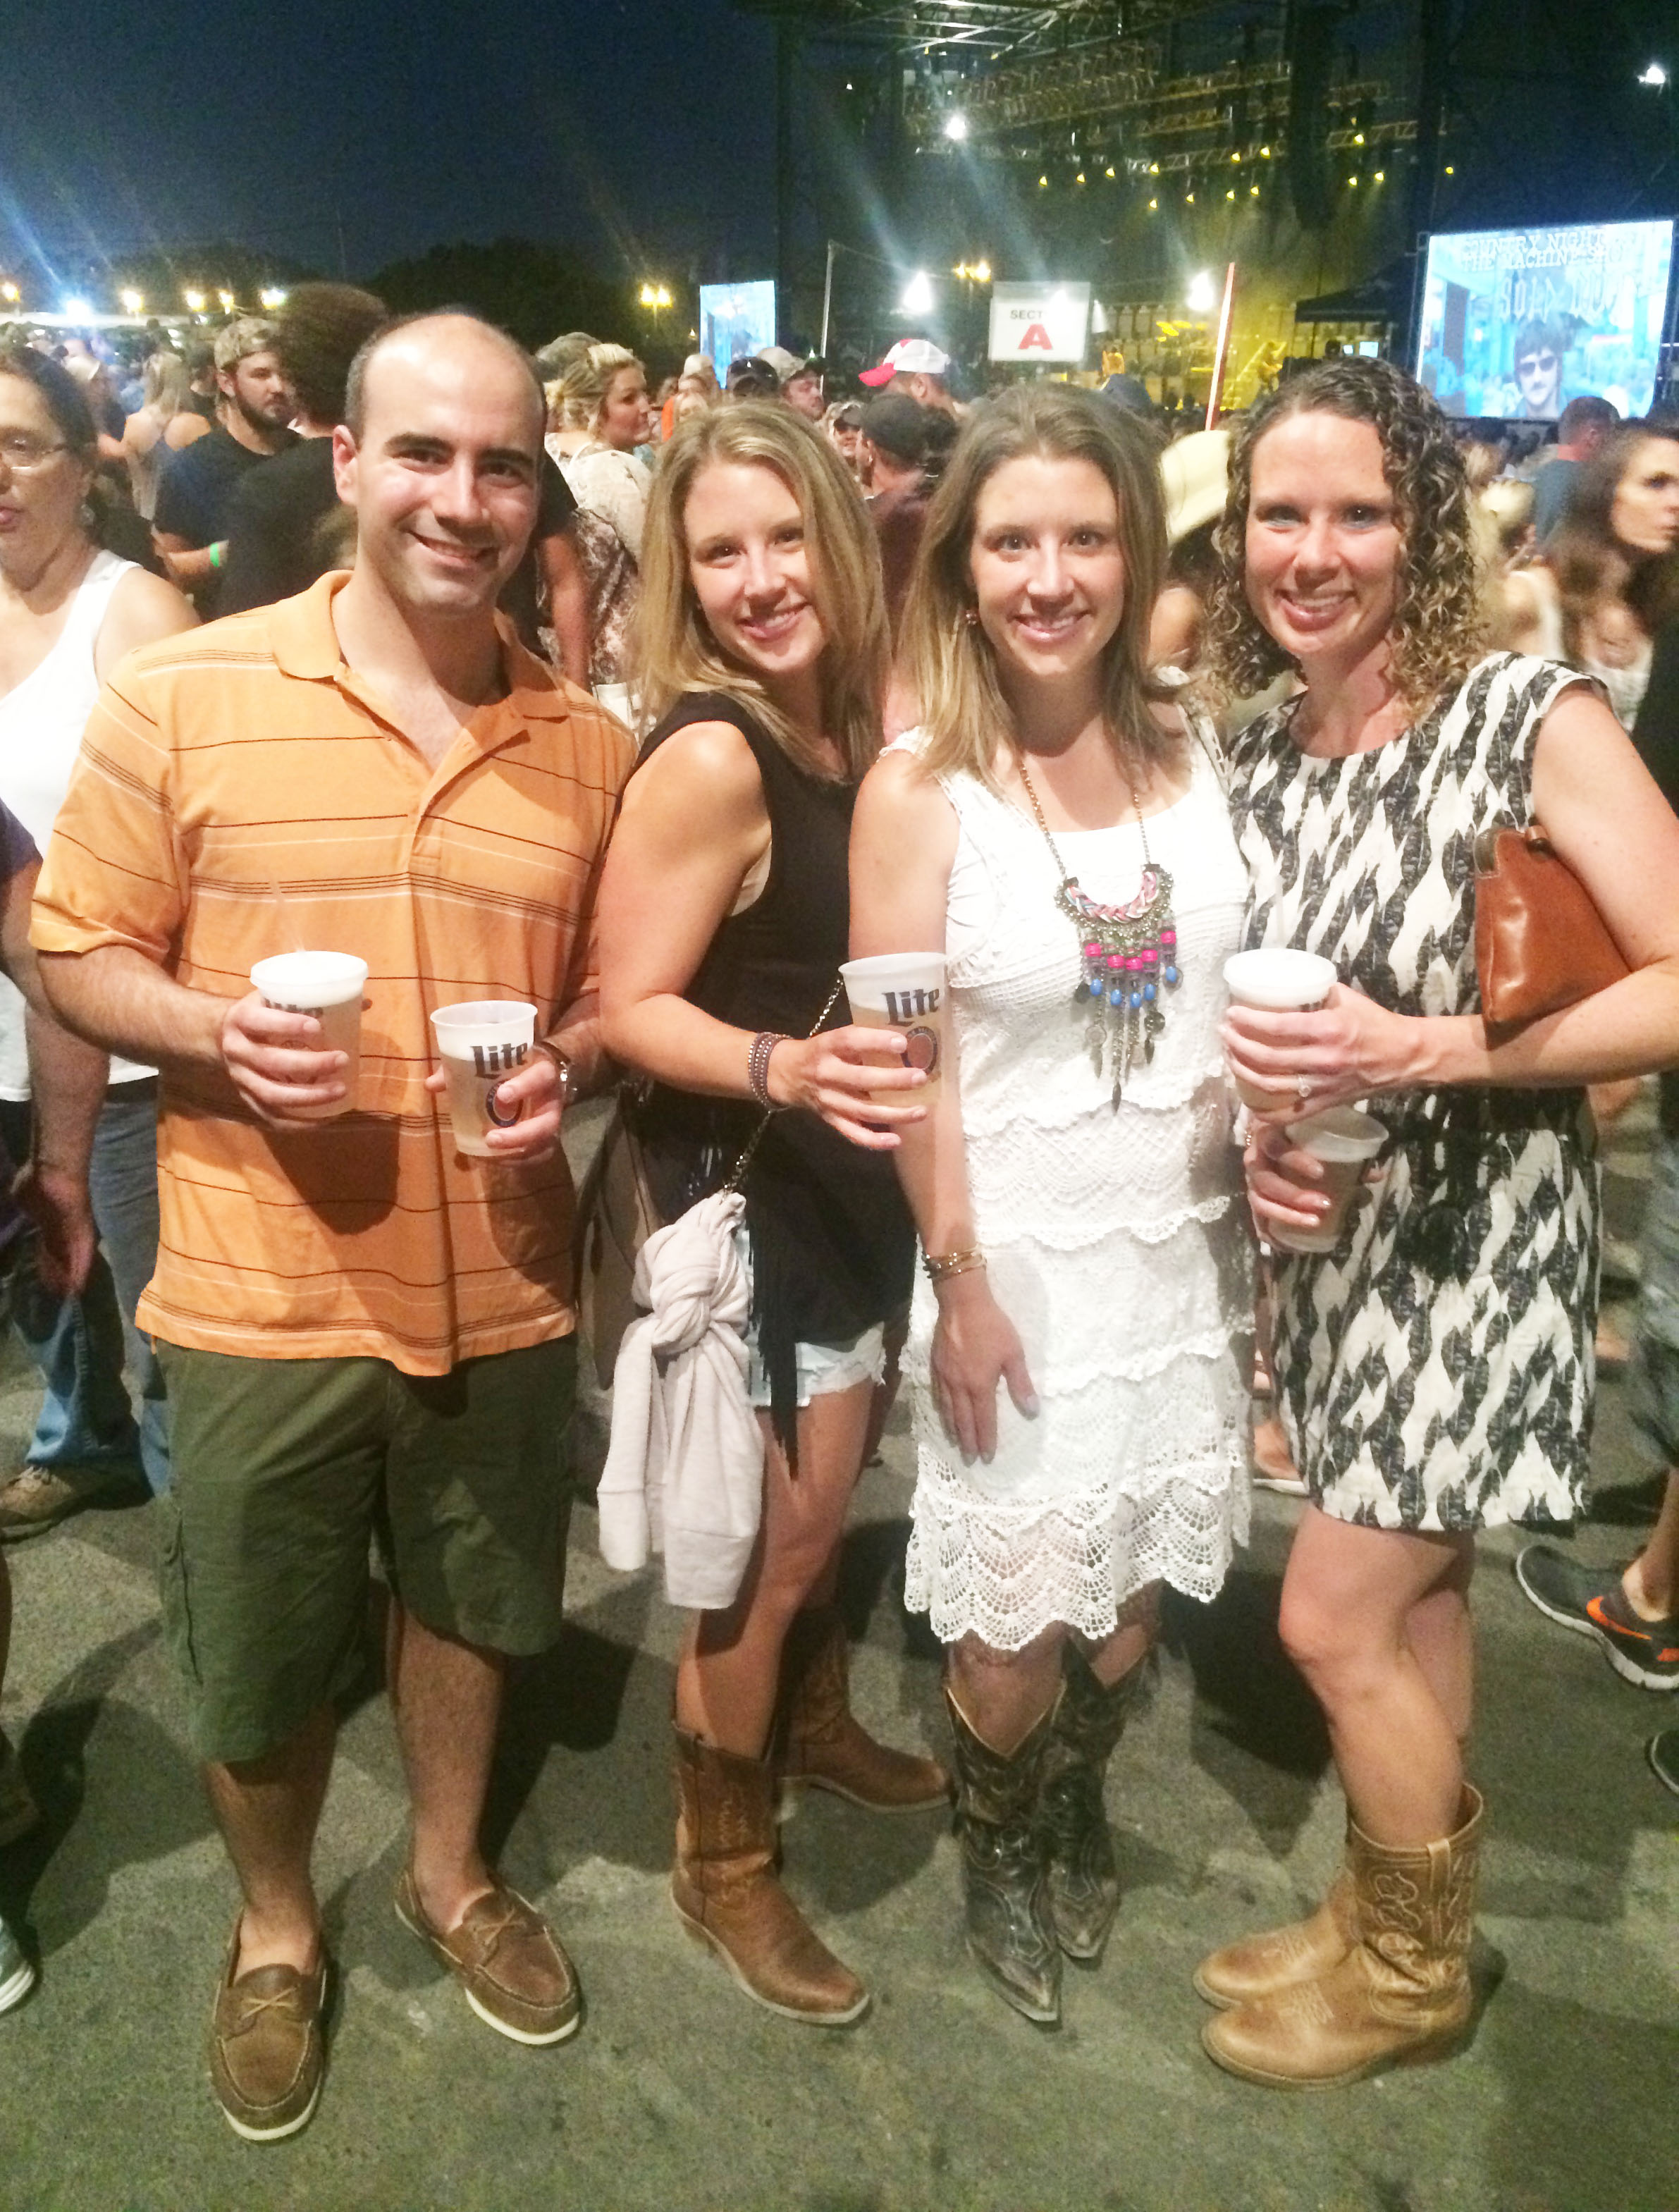
* An amazing Eric Church concert with my hubby and sisters at the county fair we used to go to in college.

Eric Church concert

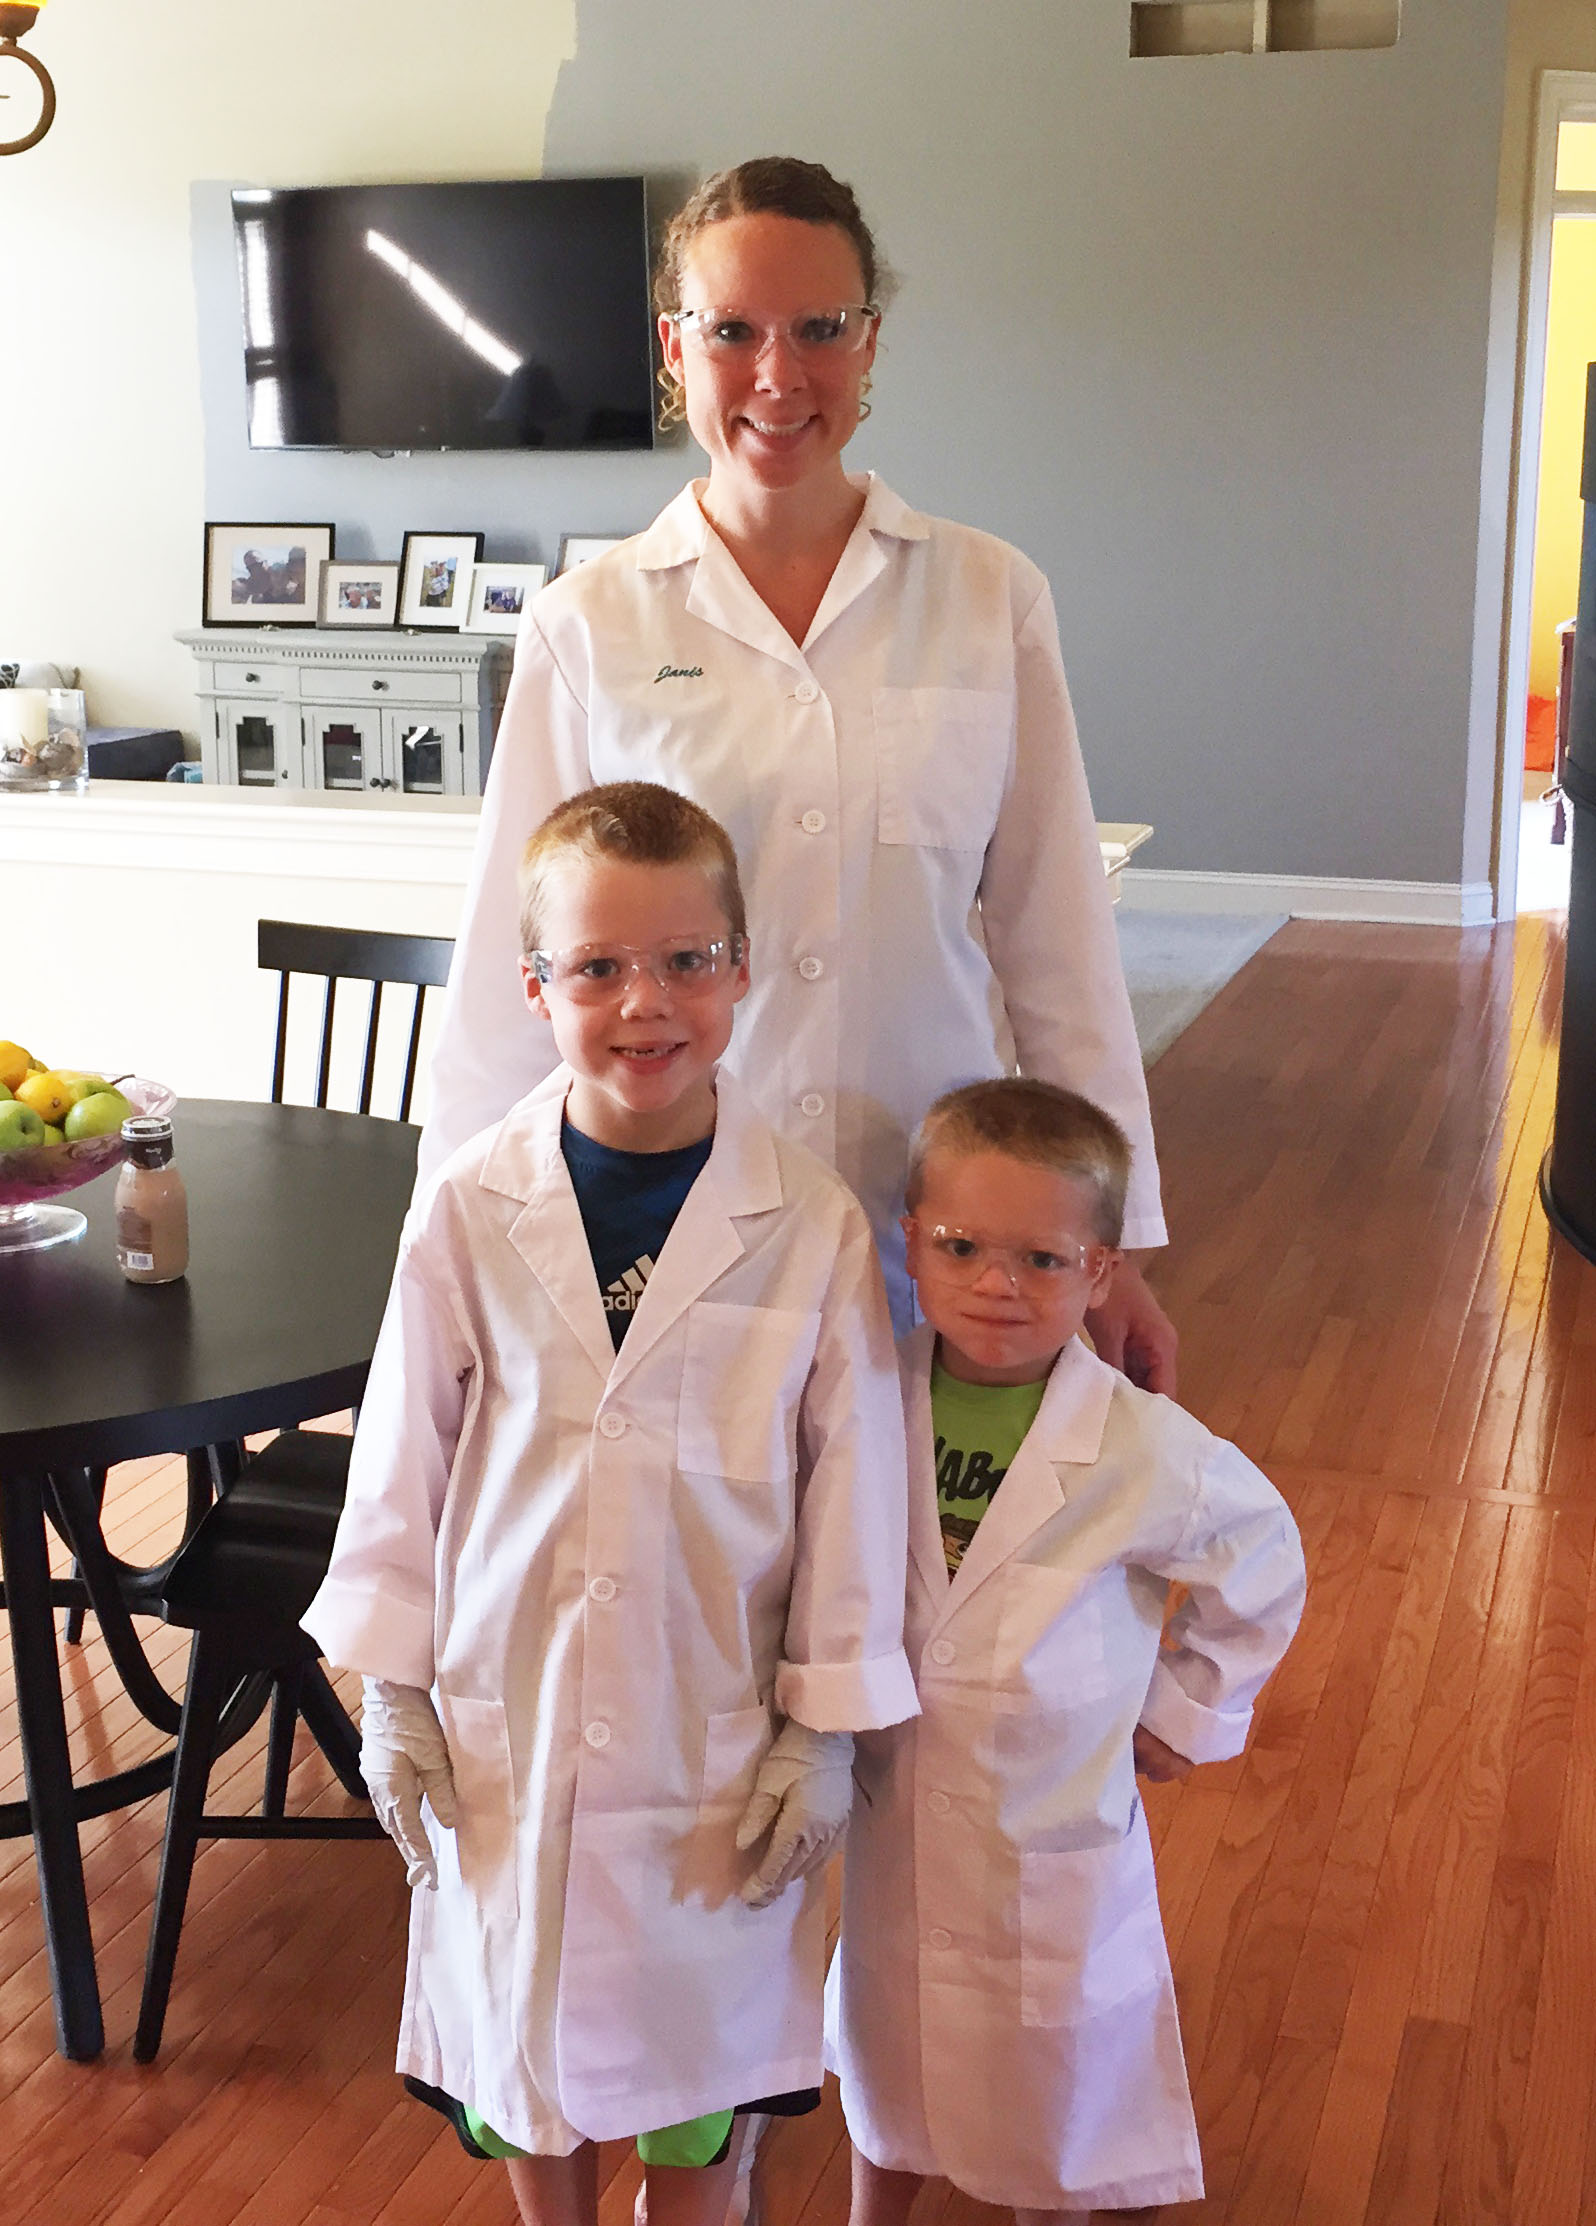
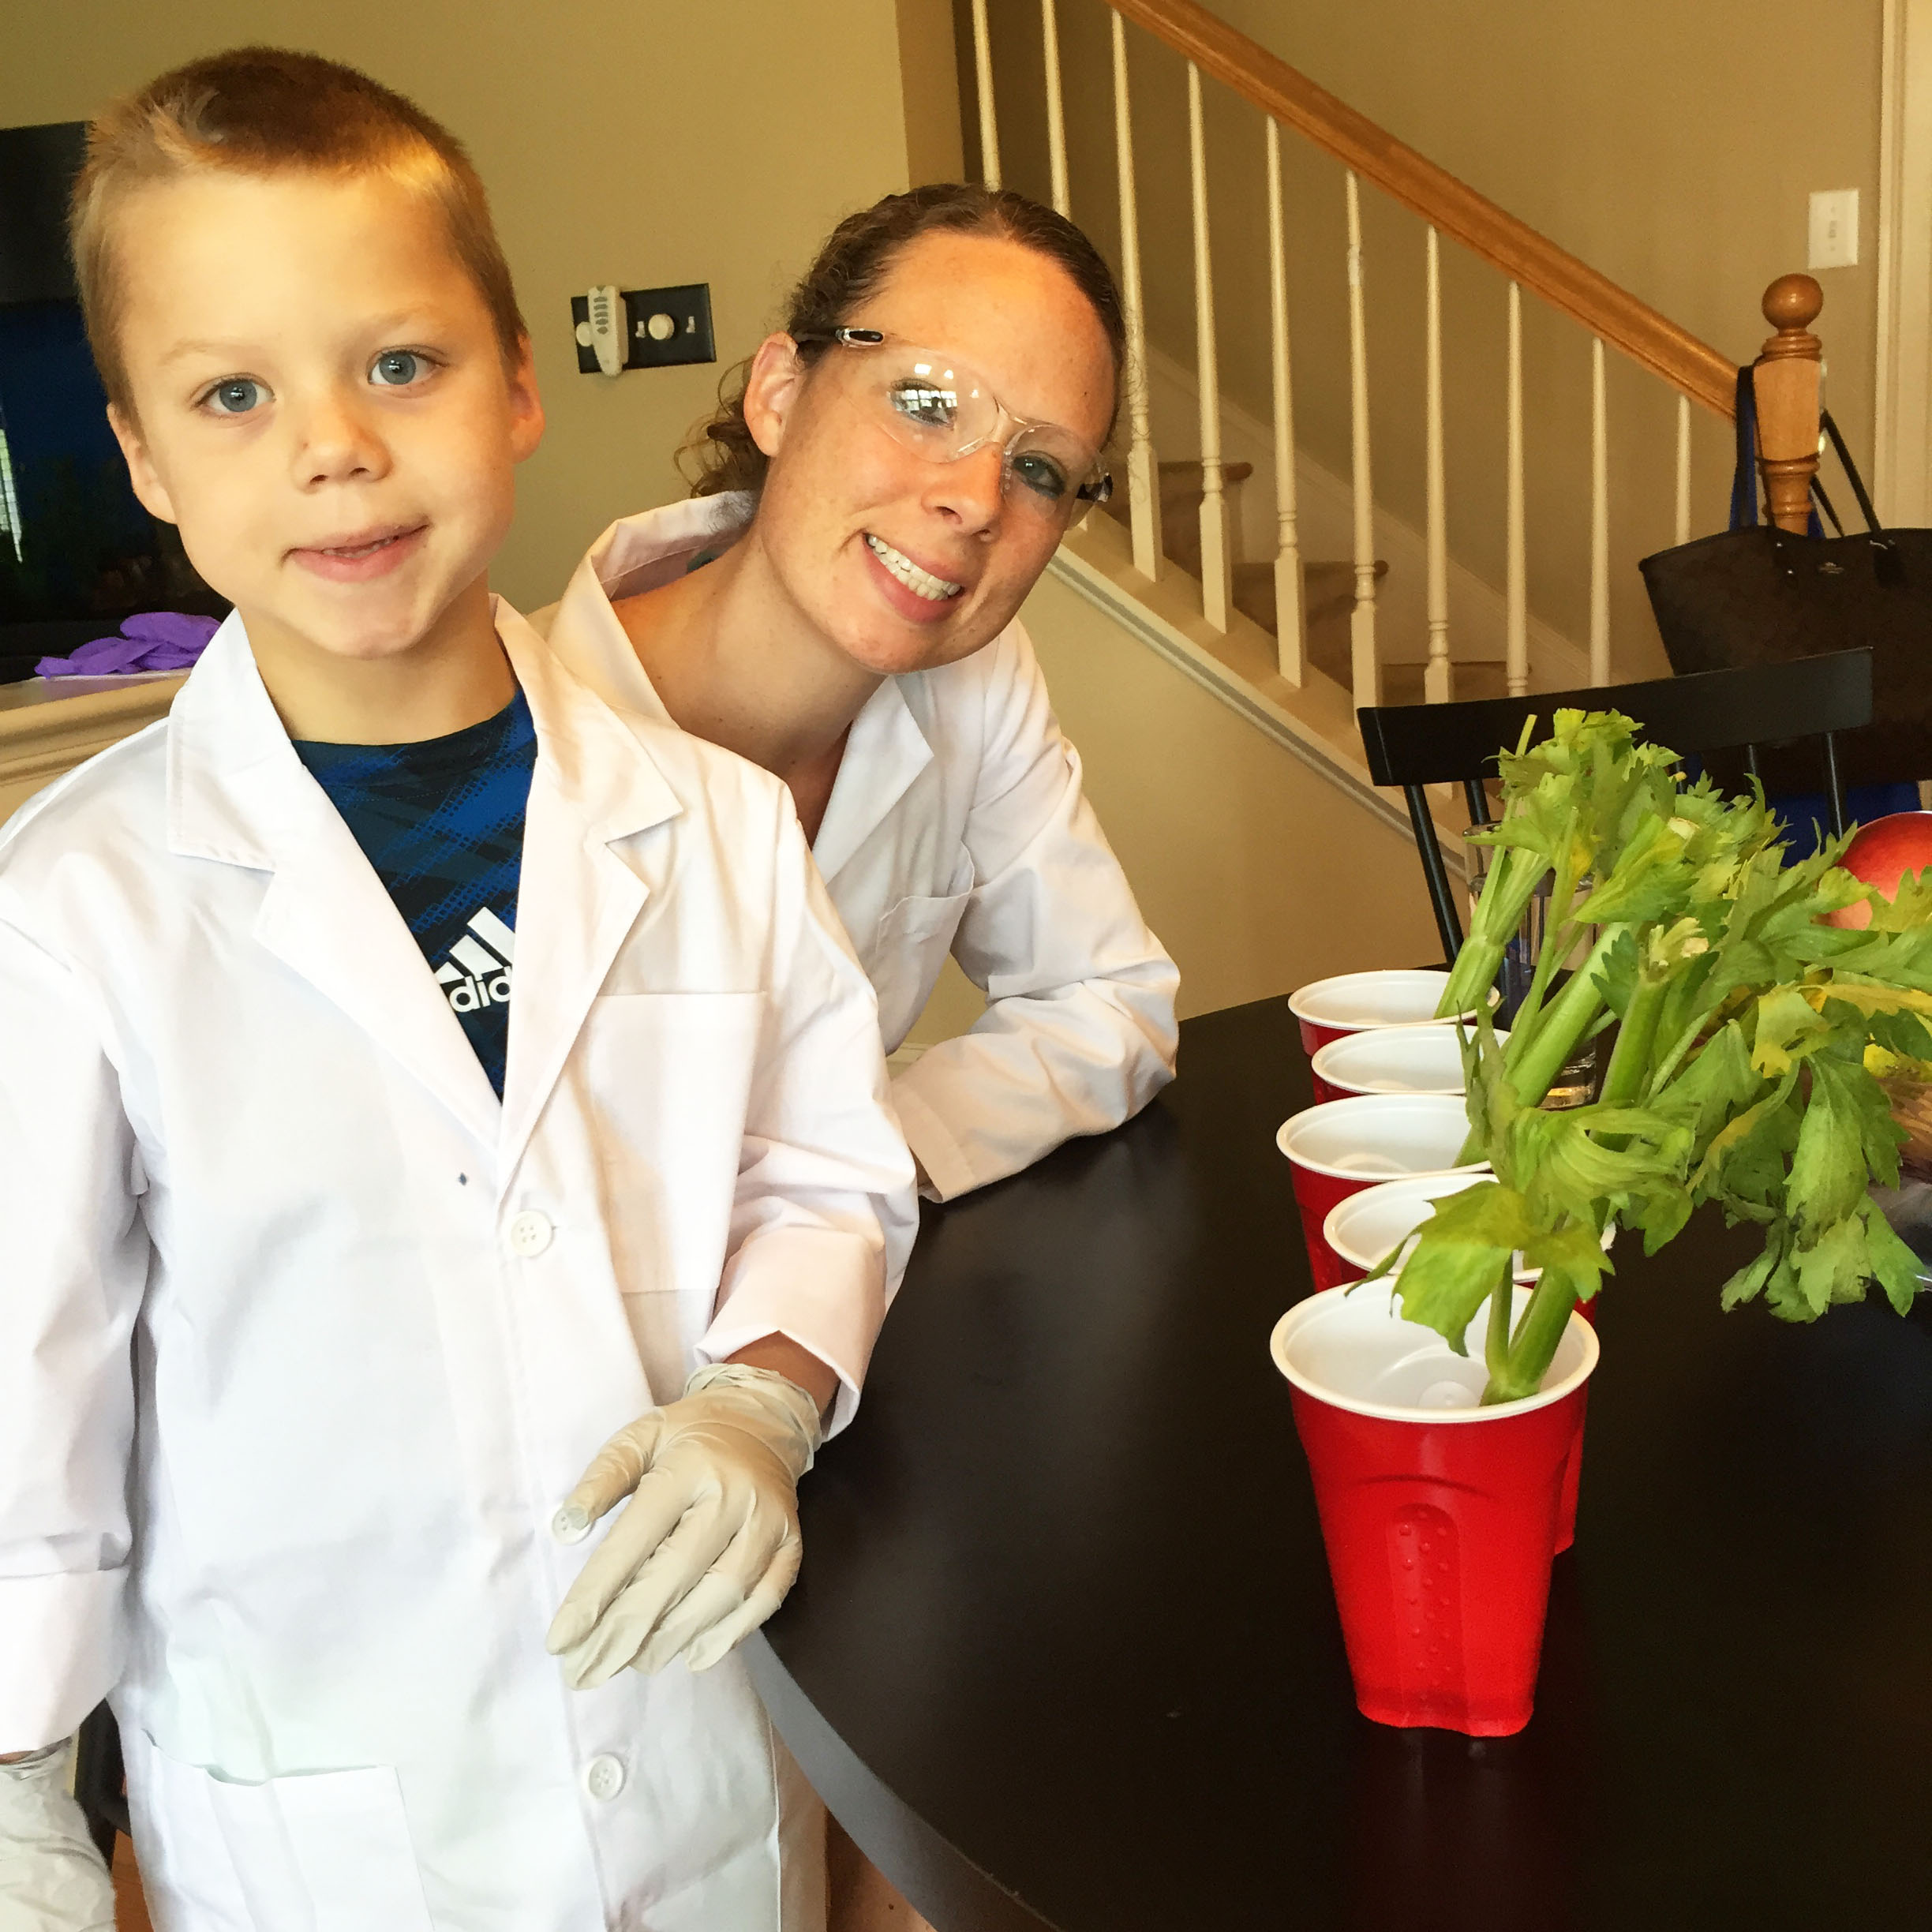
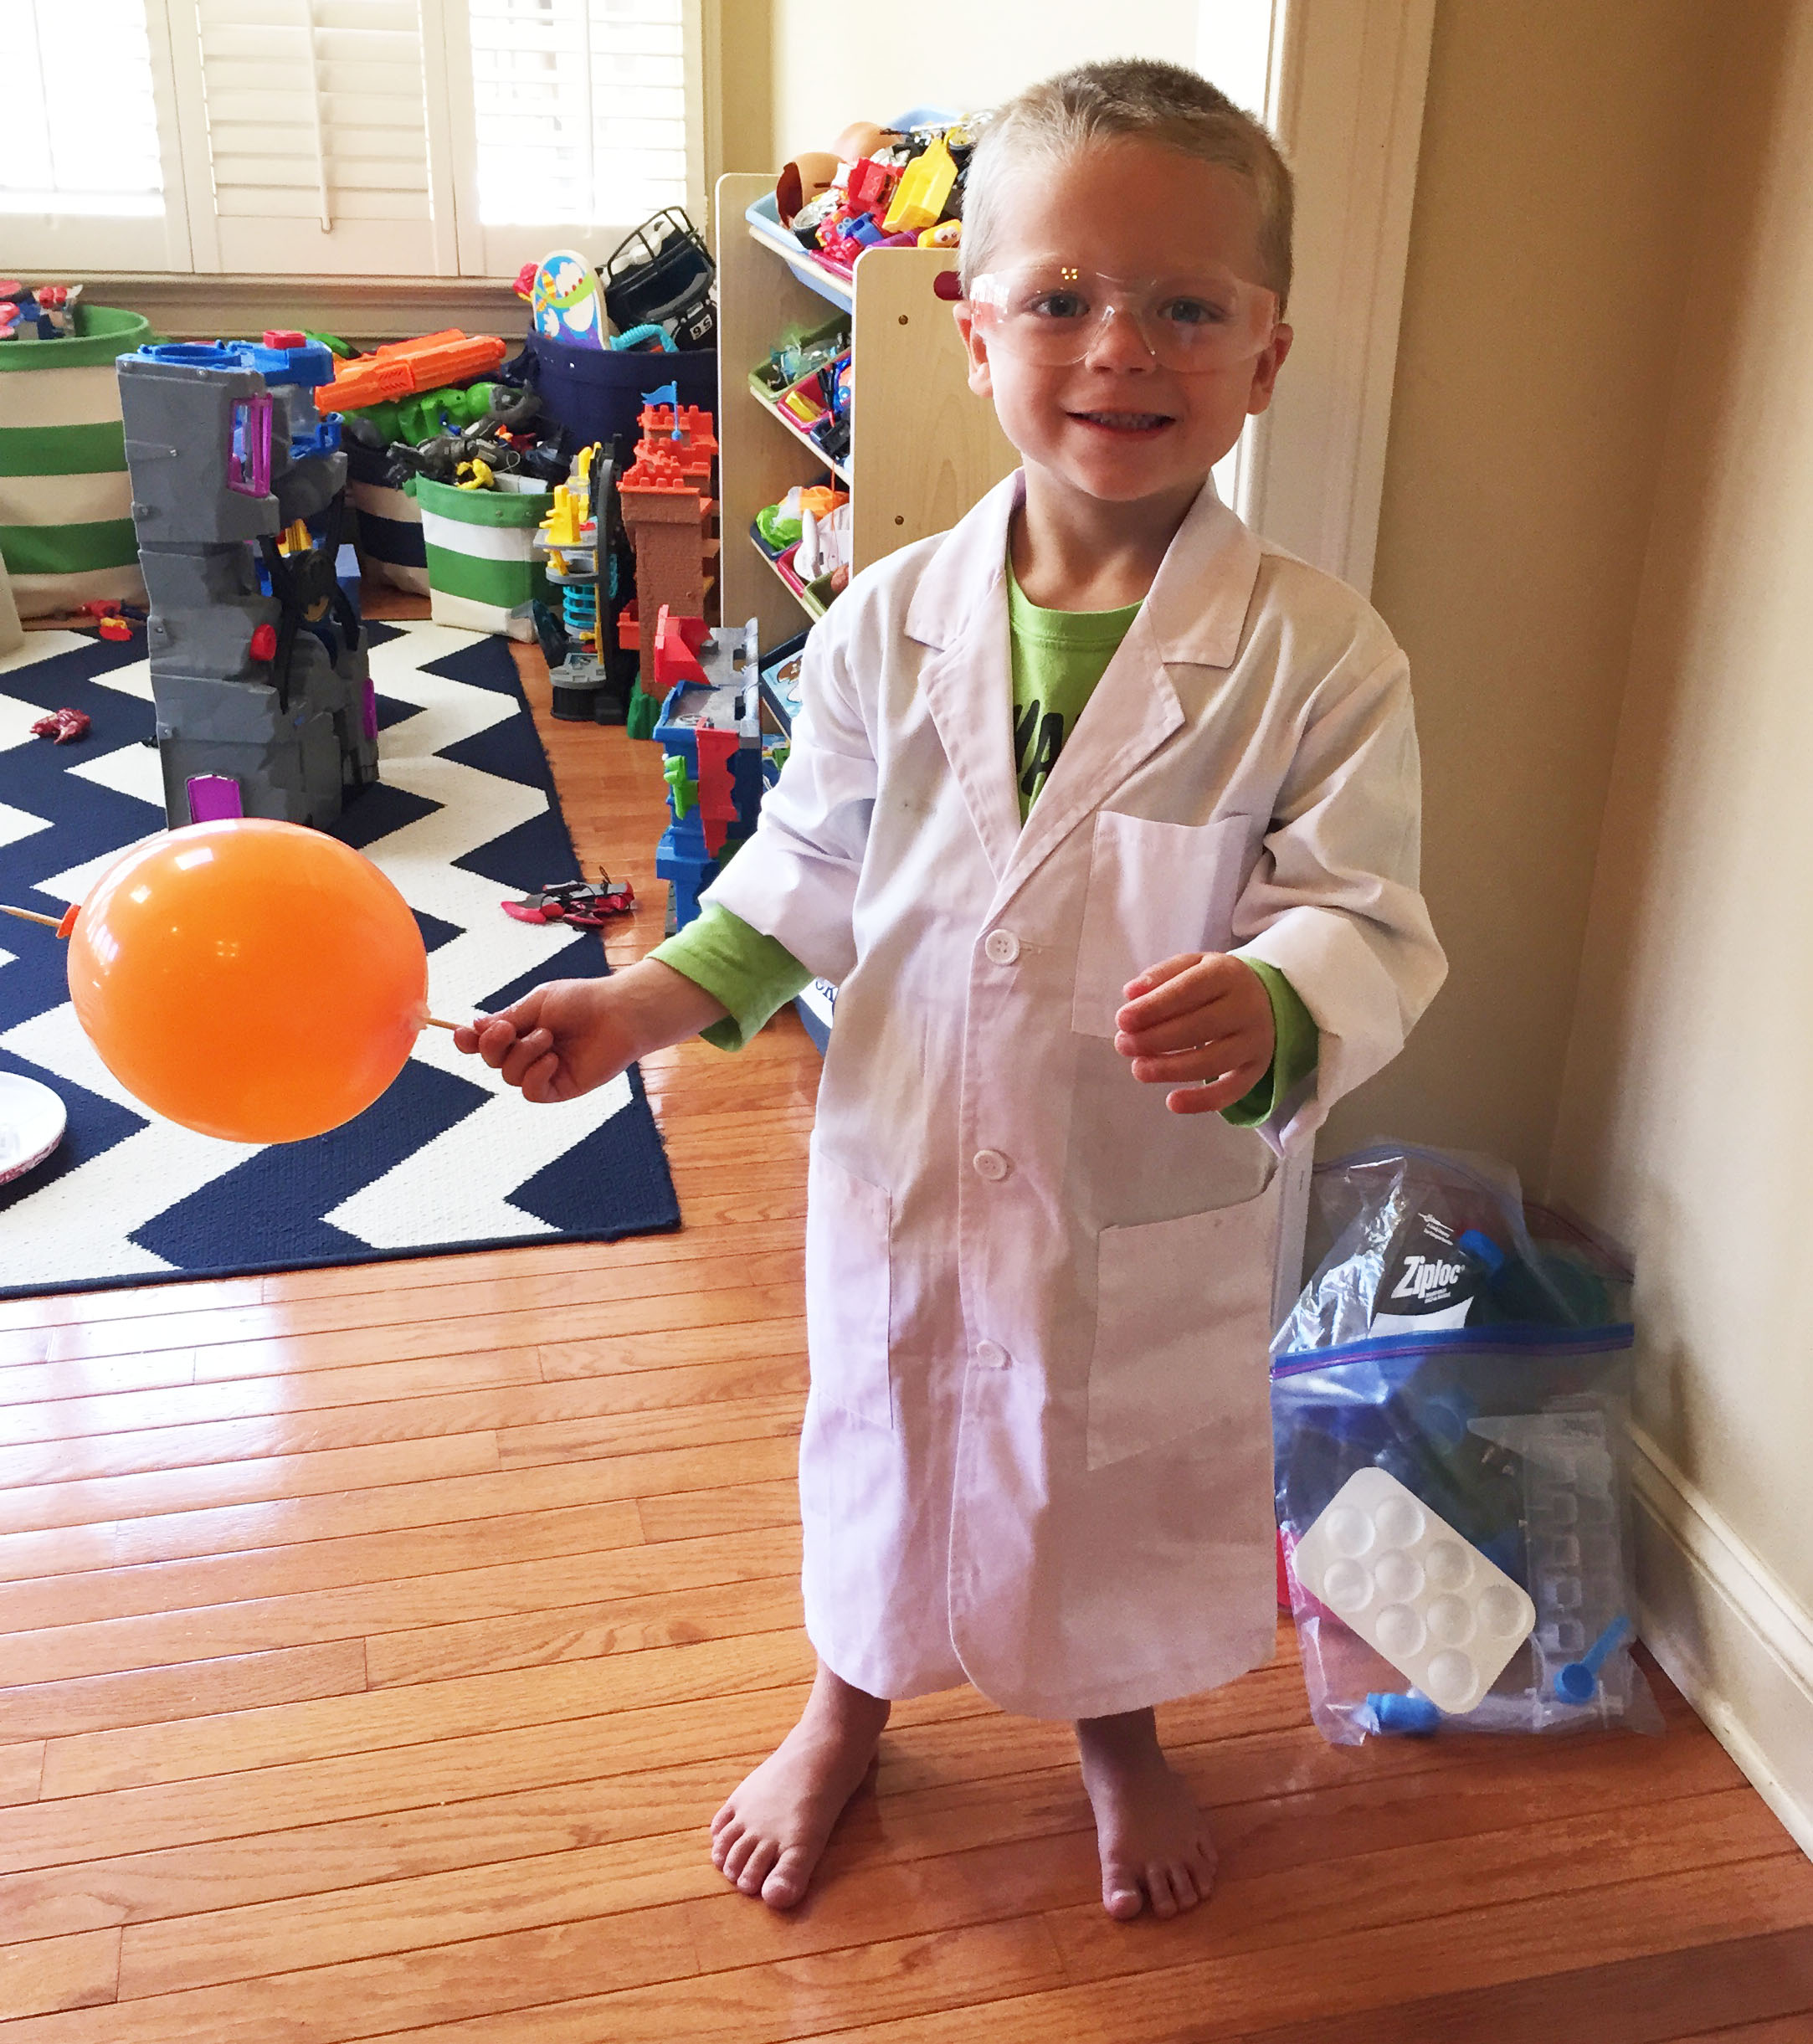
* Putting together my first annual Science Day full of cool experiments for two of my nephews where we made plastic from milk, exploded Diet Coke with Mentos, created “Magic Mud” with cornstarch, made a fireproof balloon, skewered balloons with skewers, and more.  I don’t know who had more fun– me or the kids!

Science Day Science Day Science Day Science Day

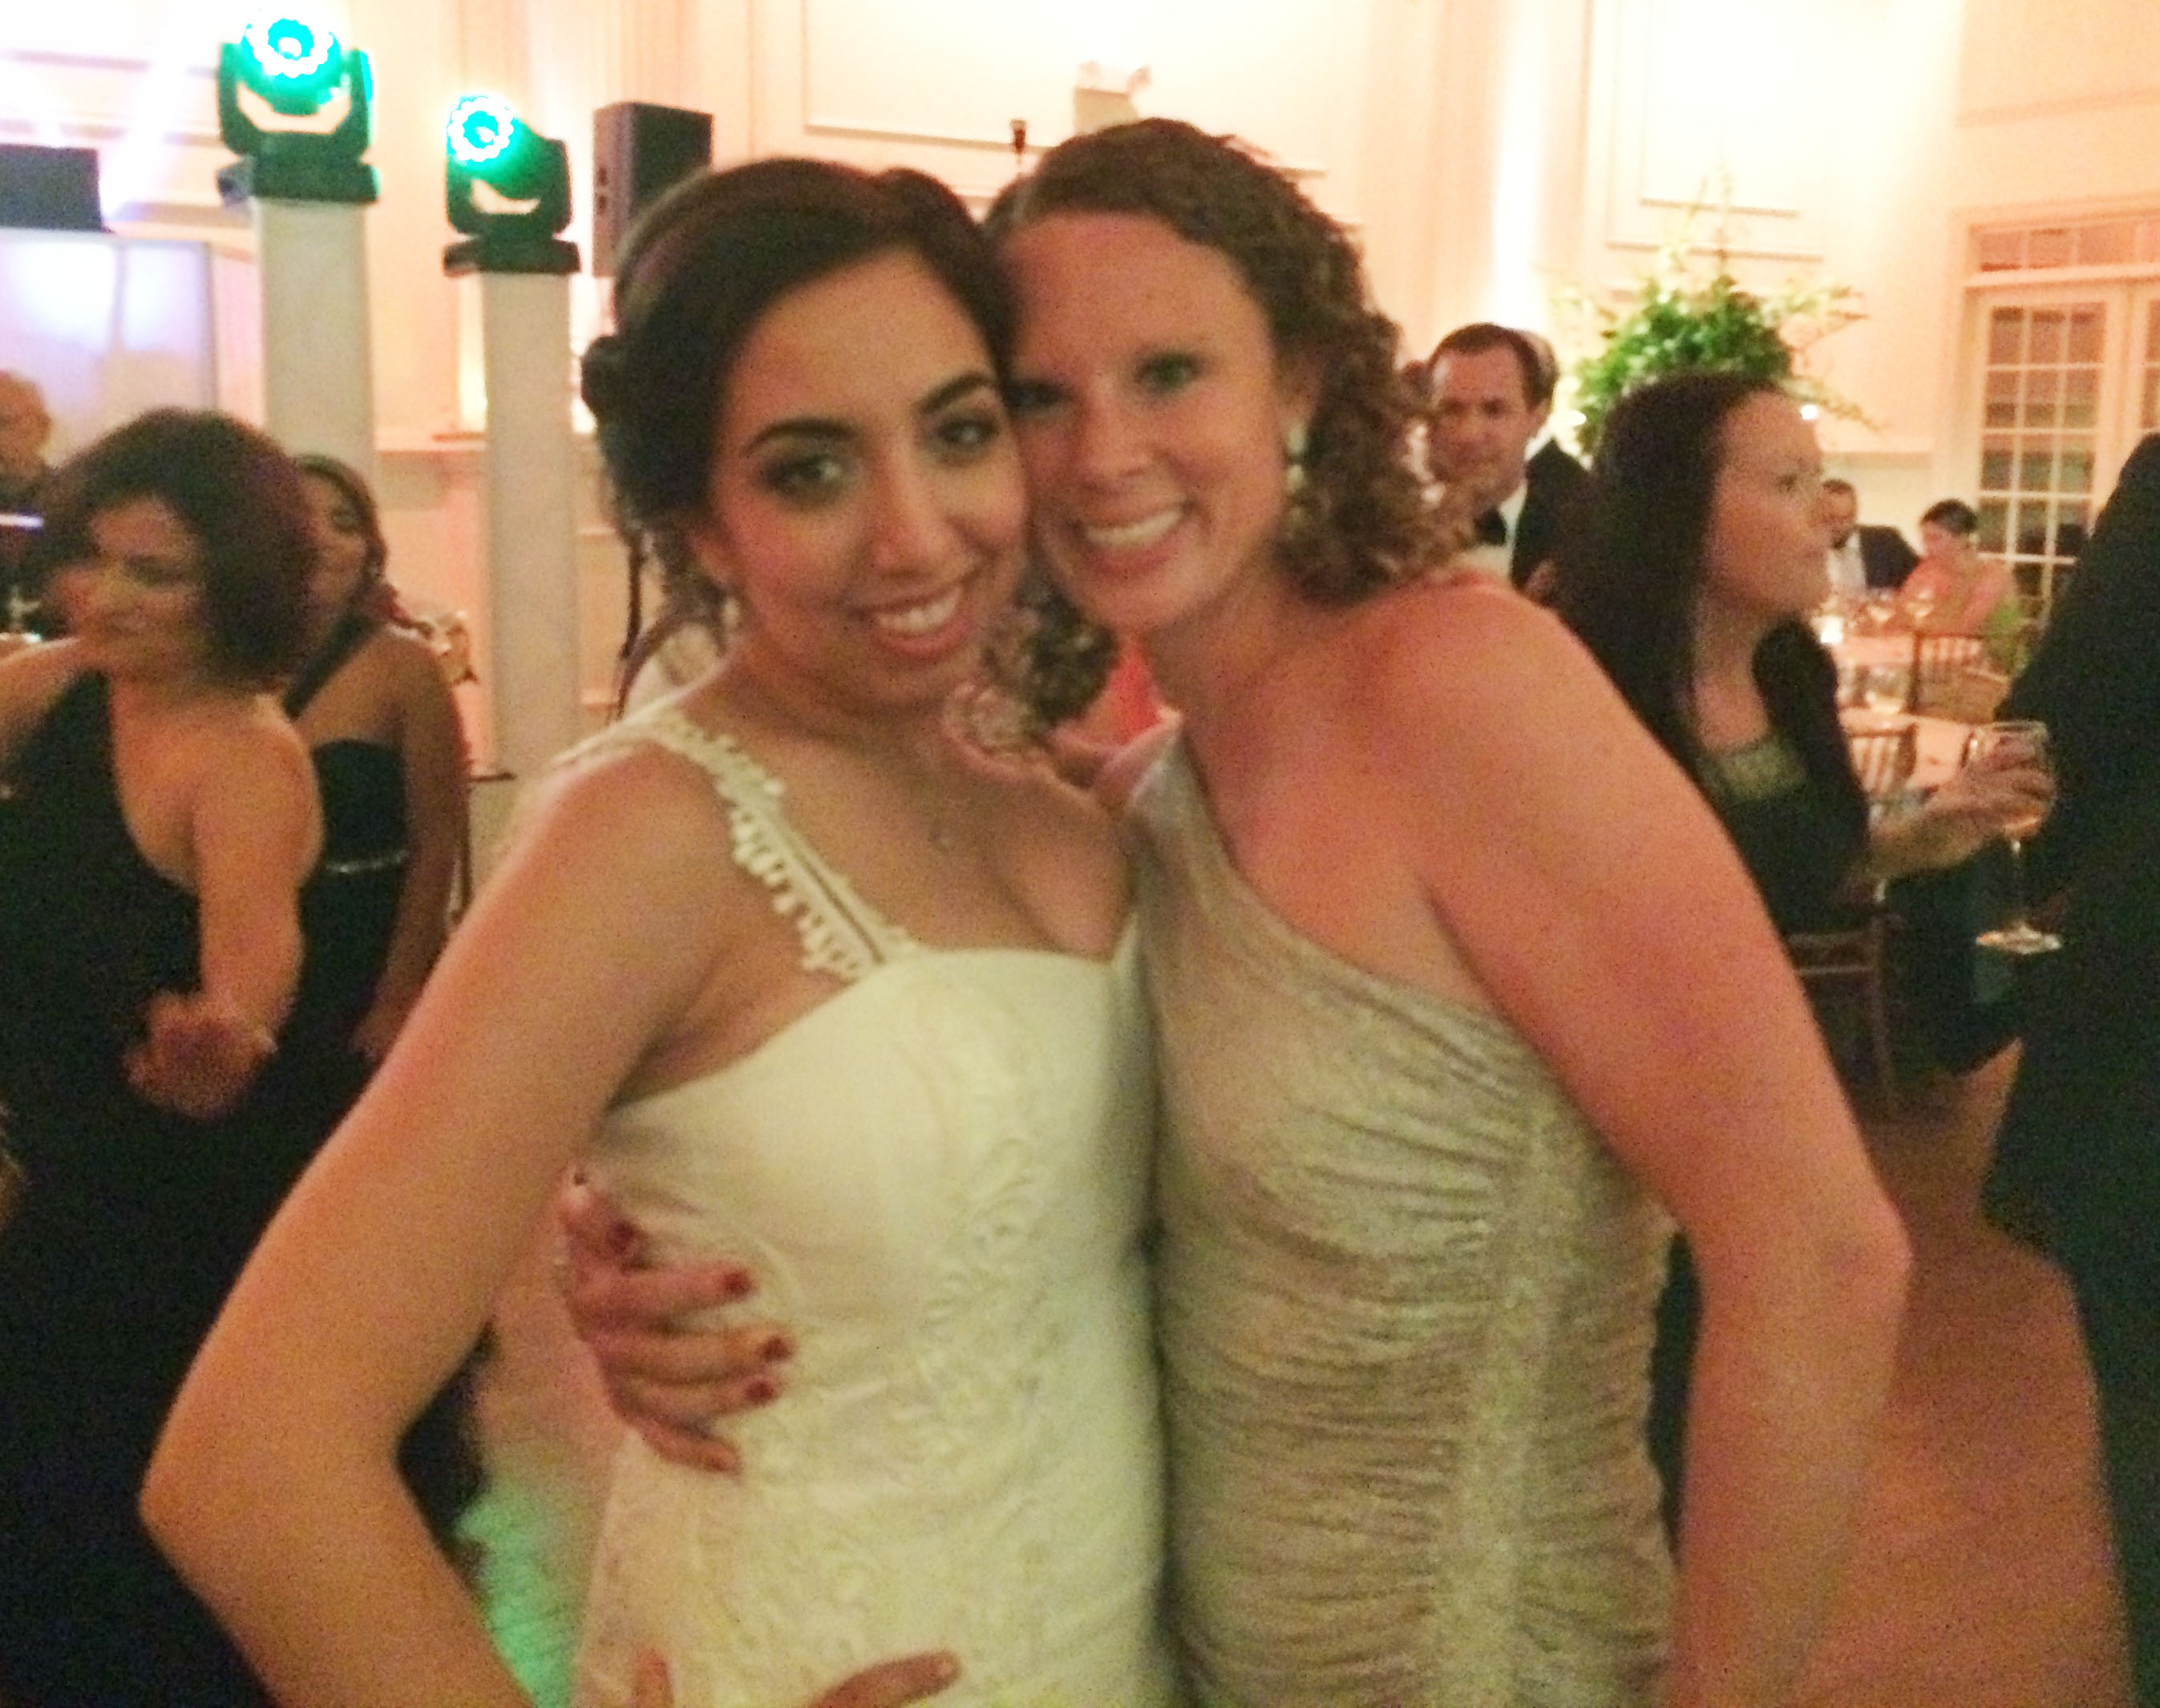
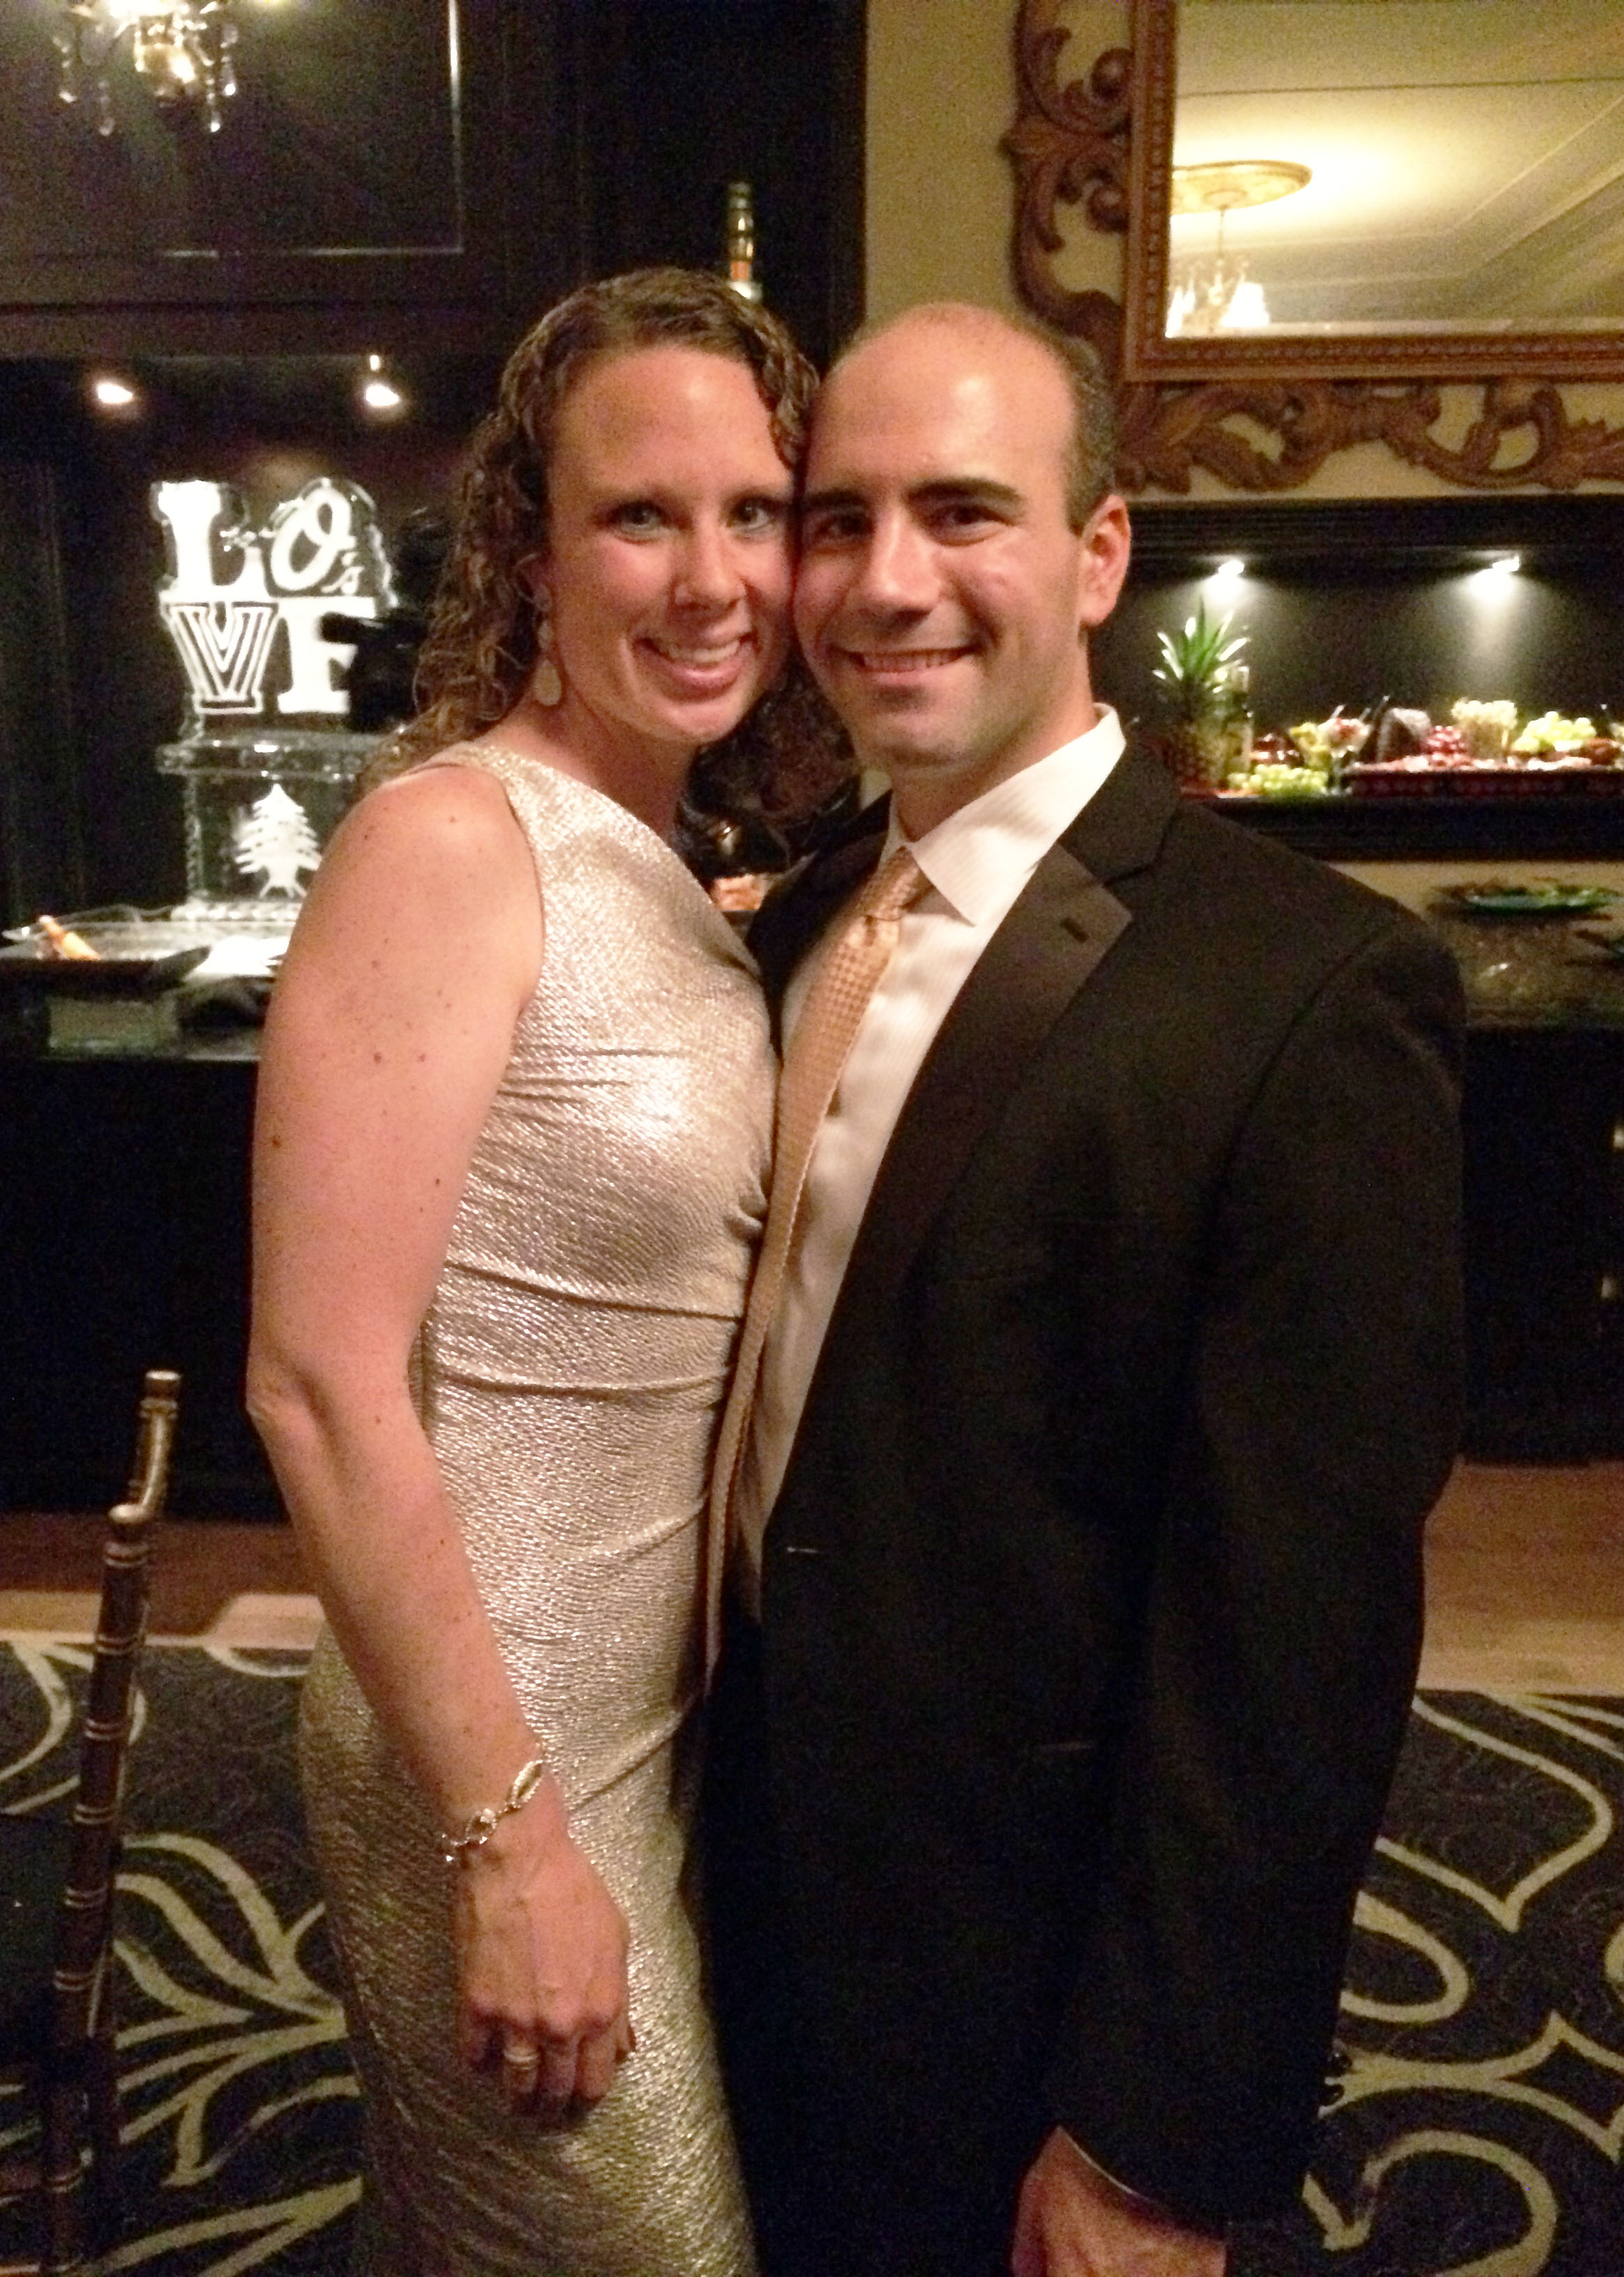
* Dancing my pants off at two weddings, one for my cousin and another for a close friend from college.  (Check out their awesome ice sculpture, inspired by LOVE park in Philly, but using the Oriole’s “O” and the Villanova “V”!)

Wedding Wedding

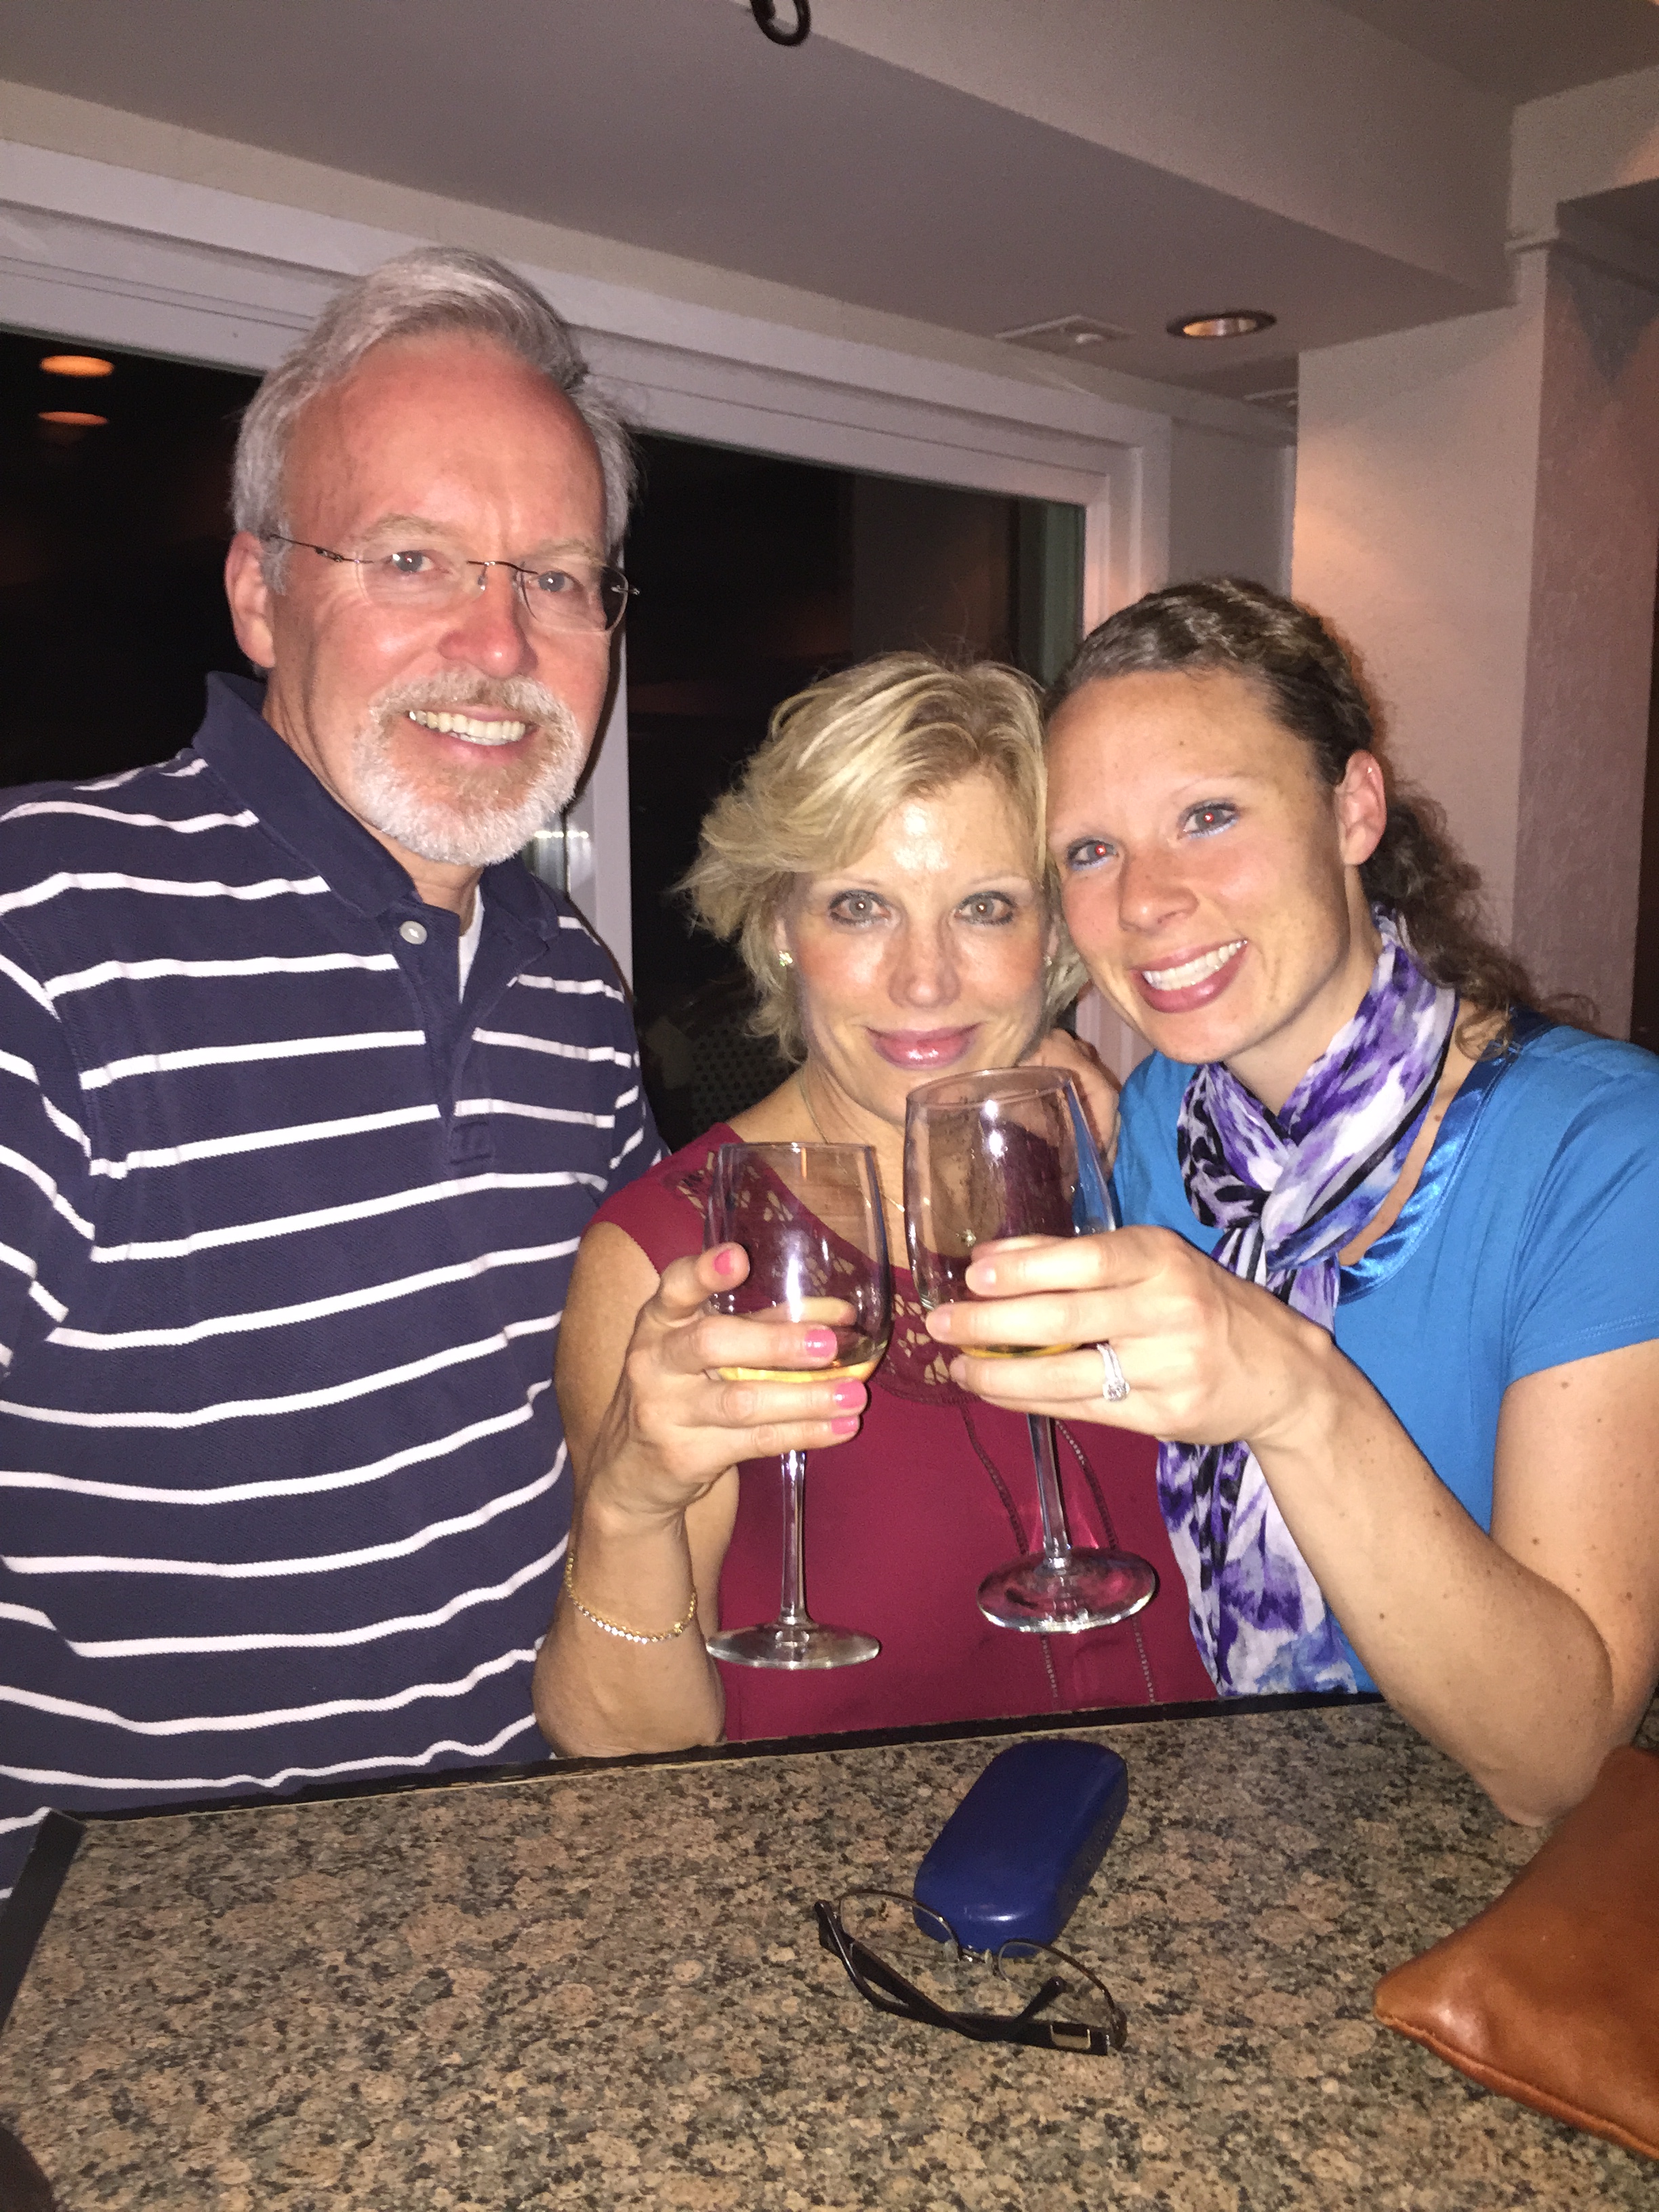
* Celebrating my mom’s birthday with a weekend at the beach with my parents, sisters, and our families.

Beach Weekend Beach Weekend Beach Weekend Beach Weekend

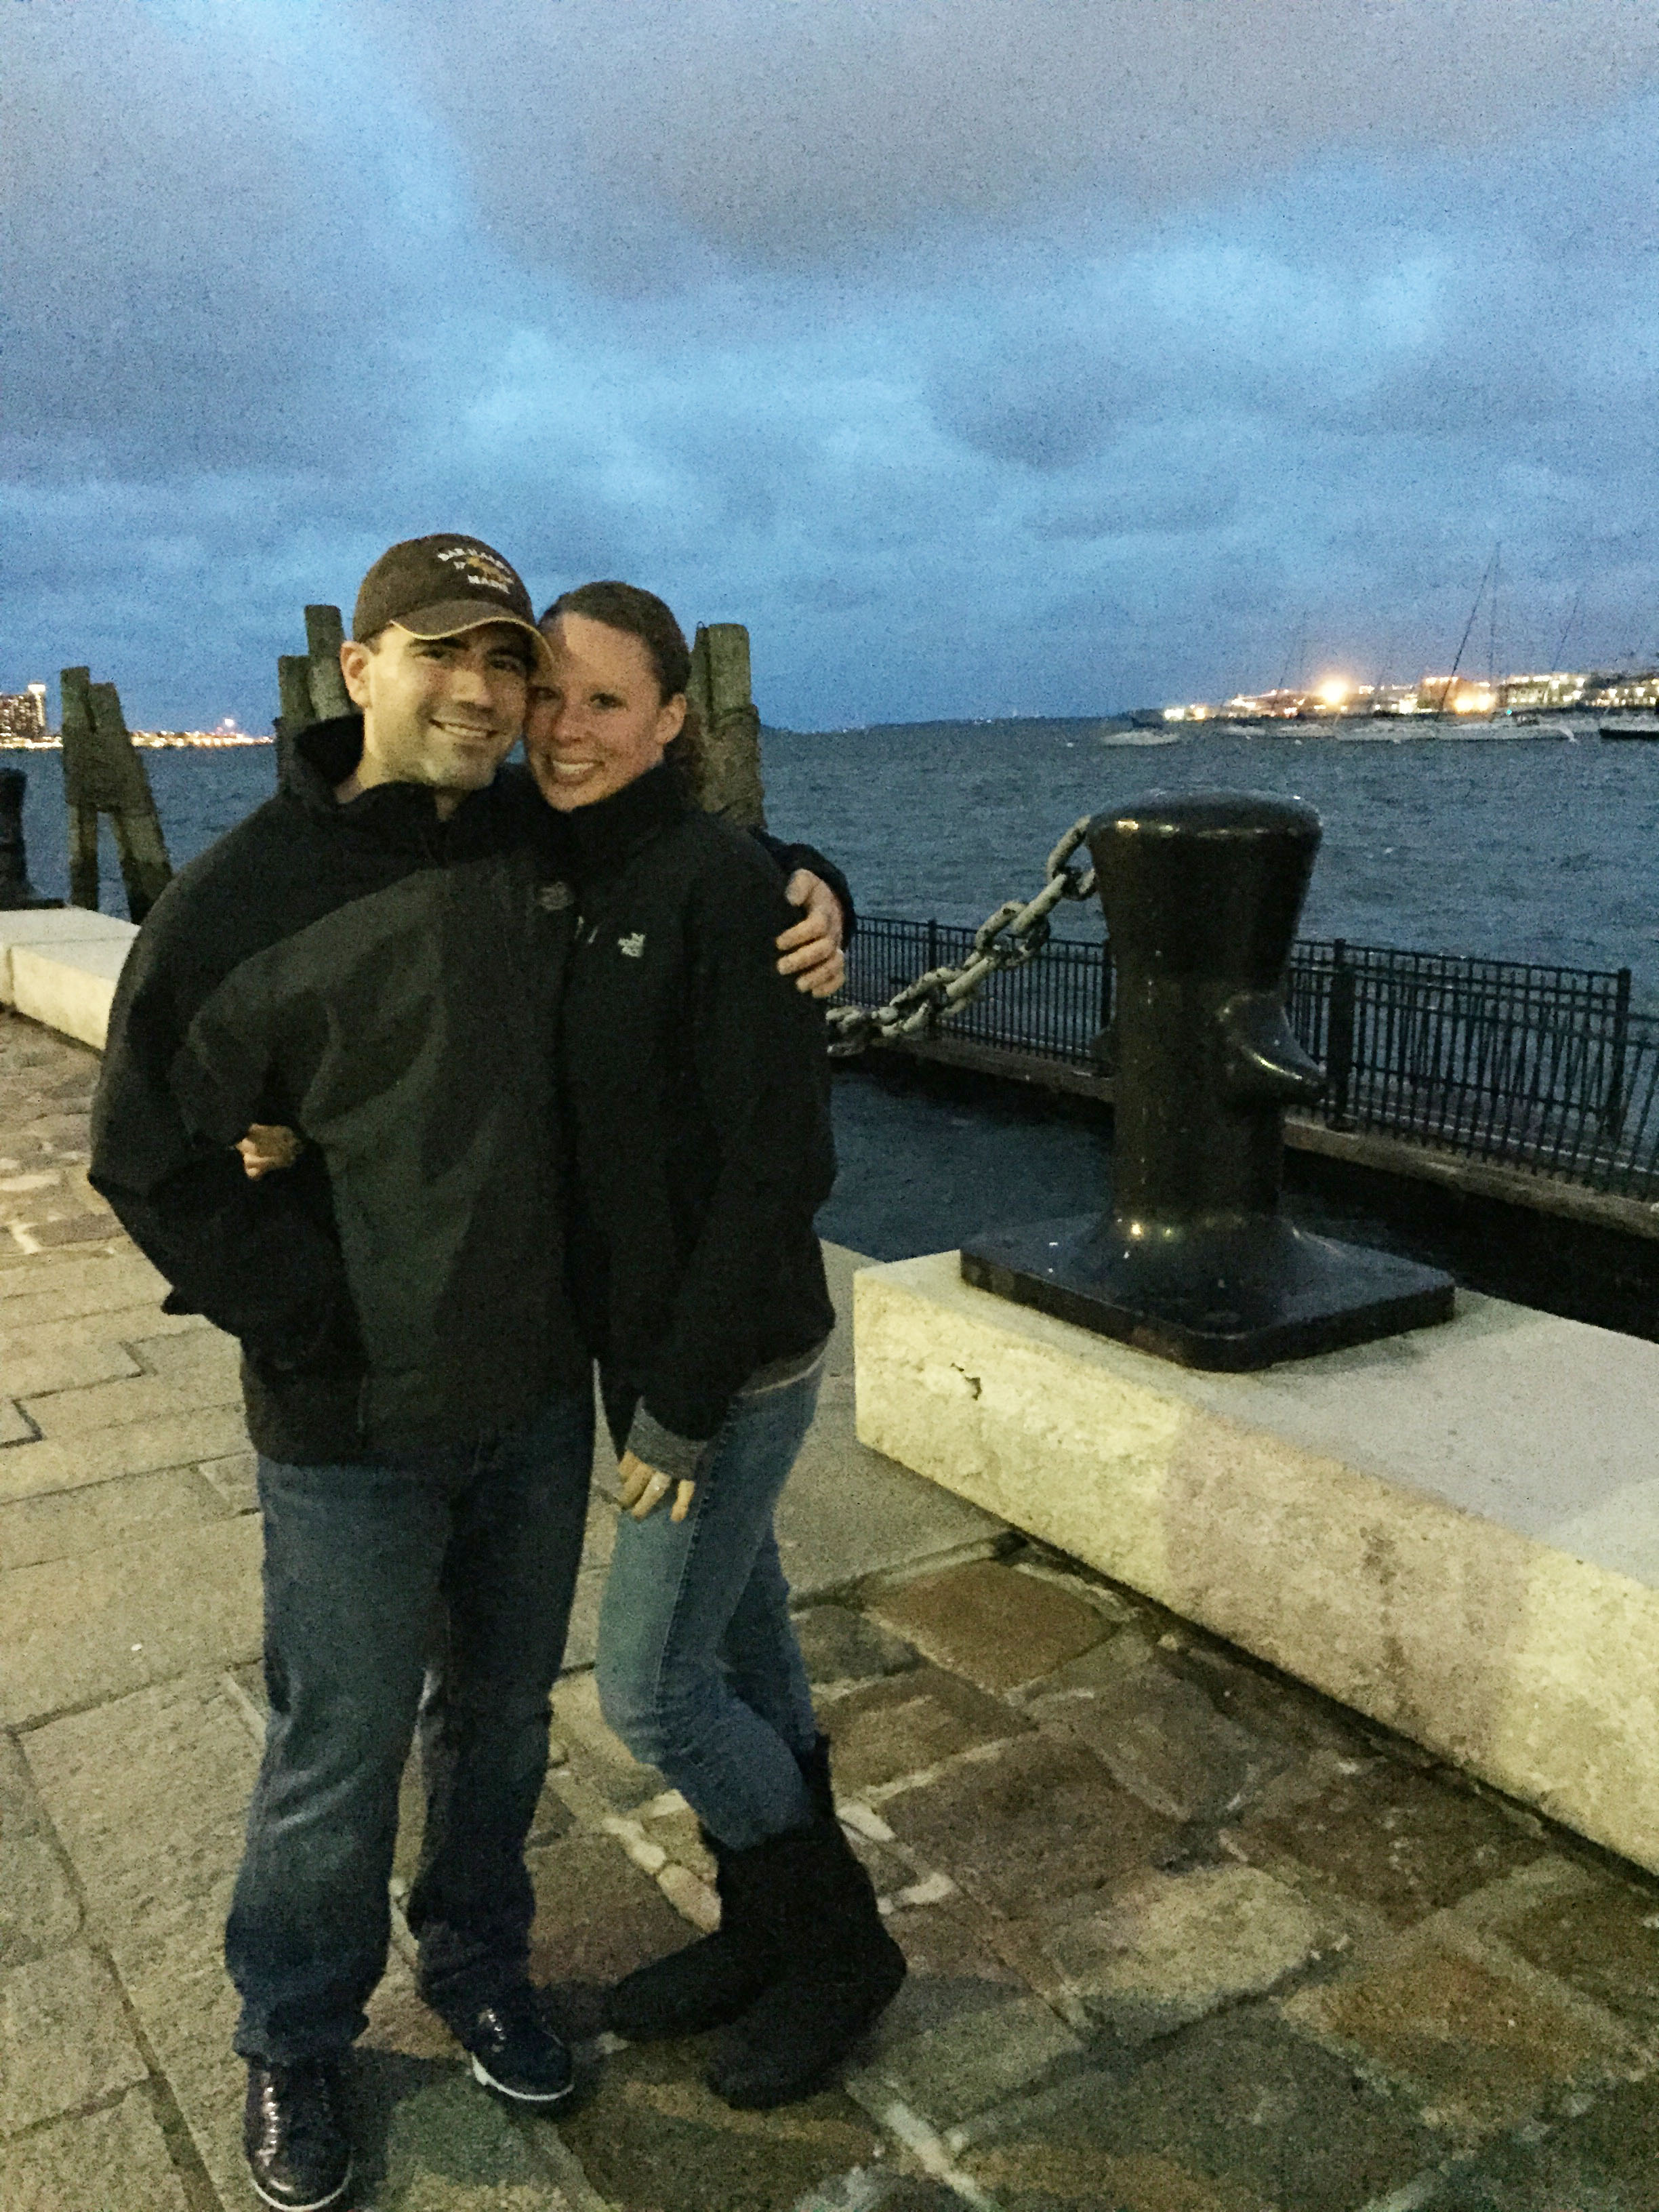
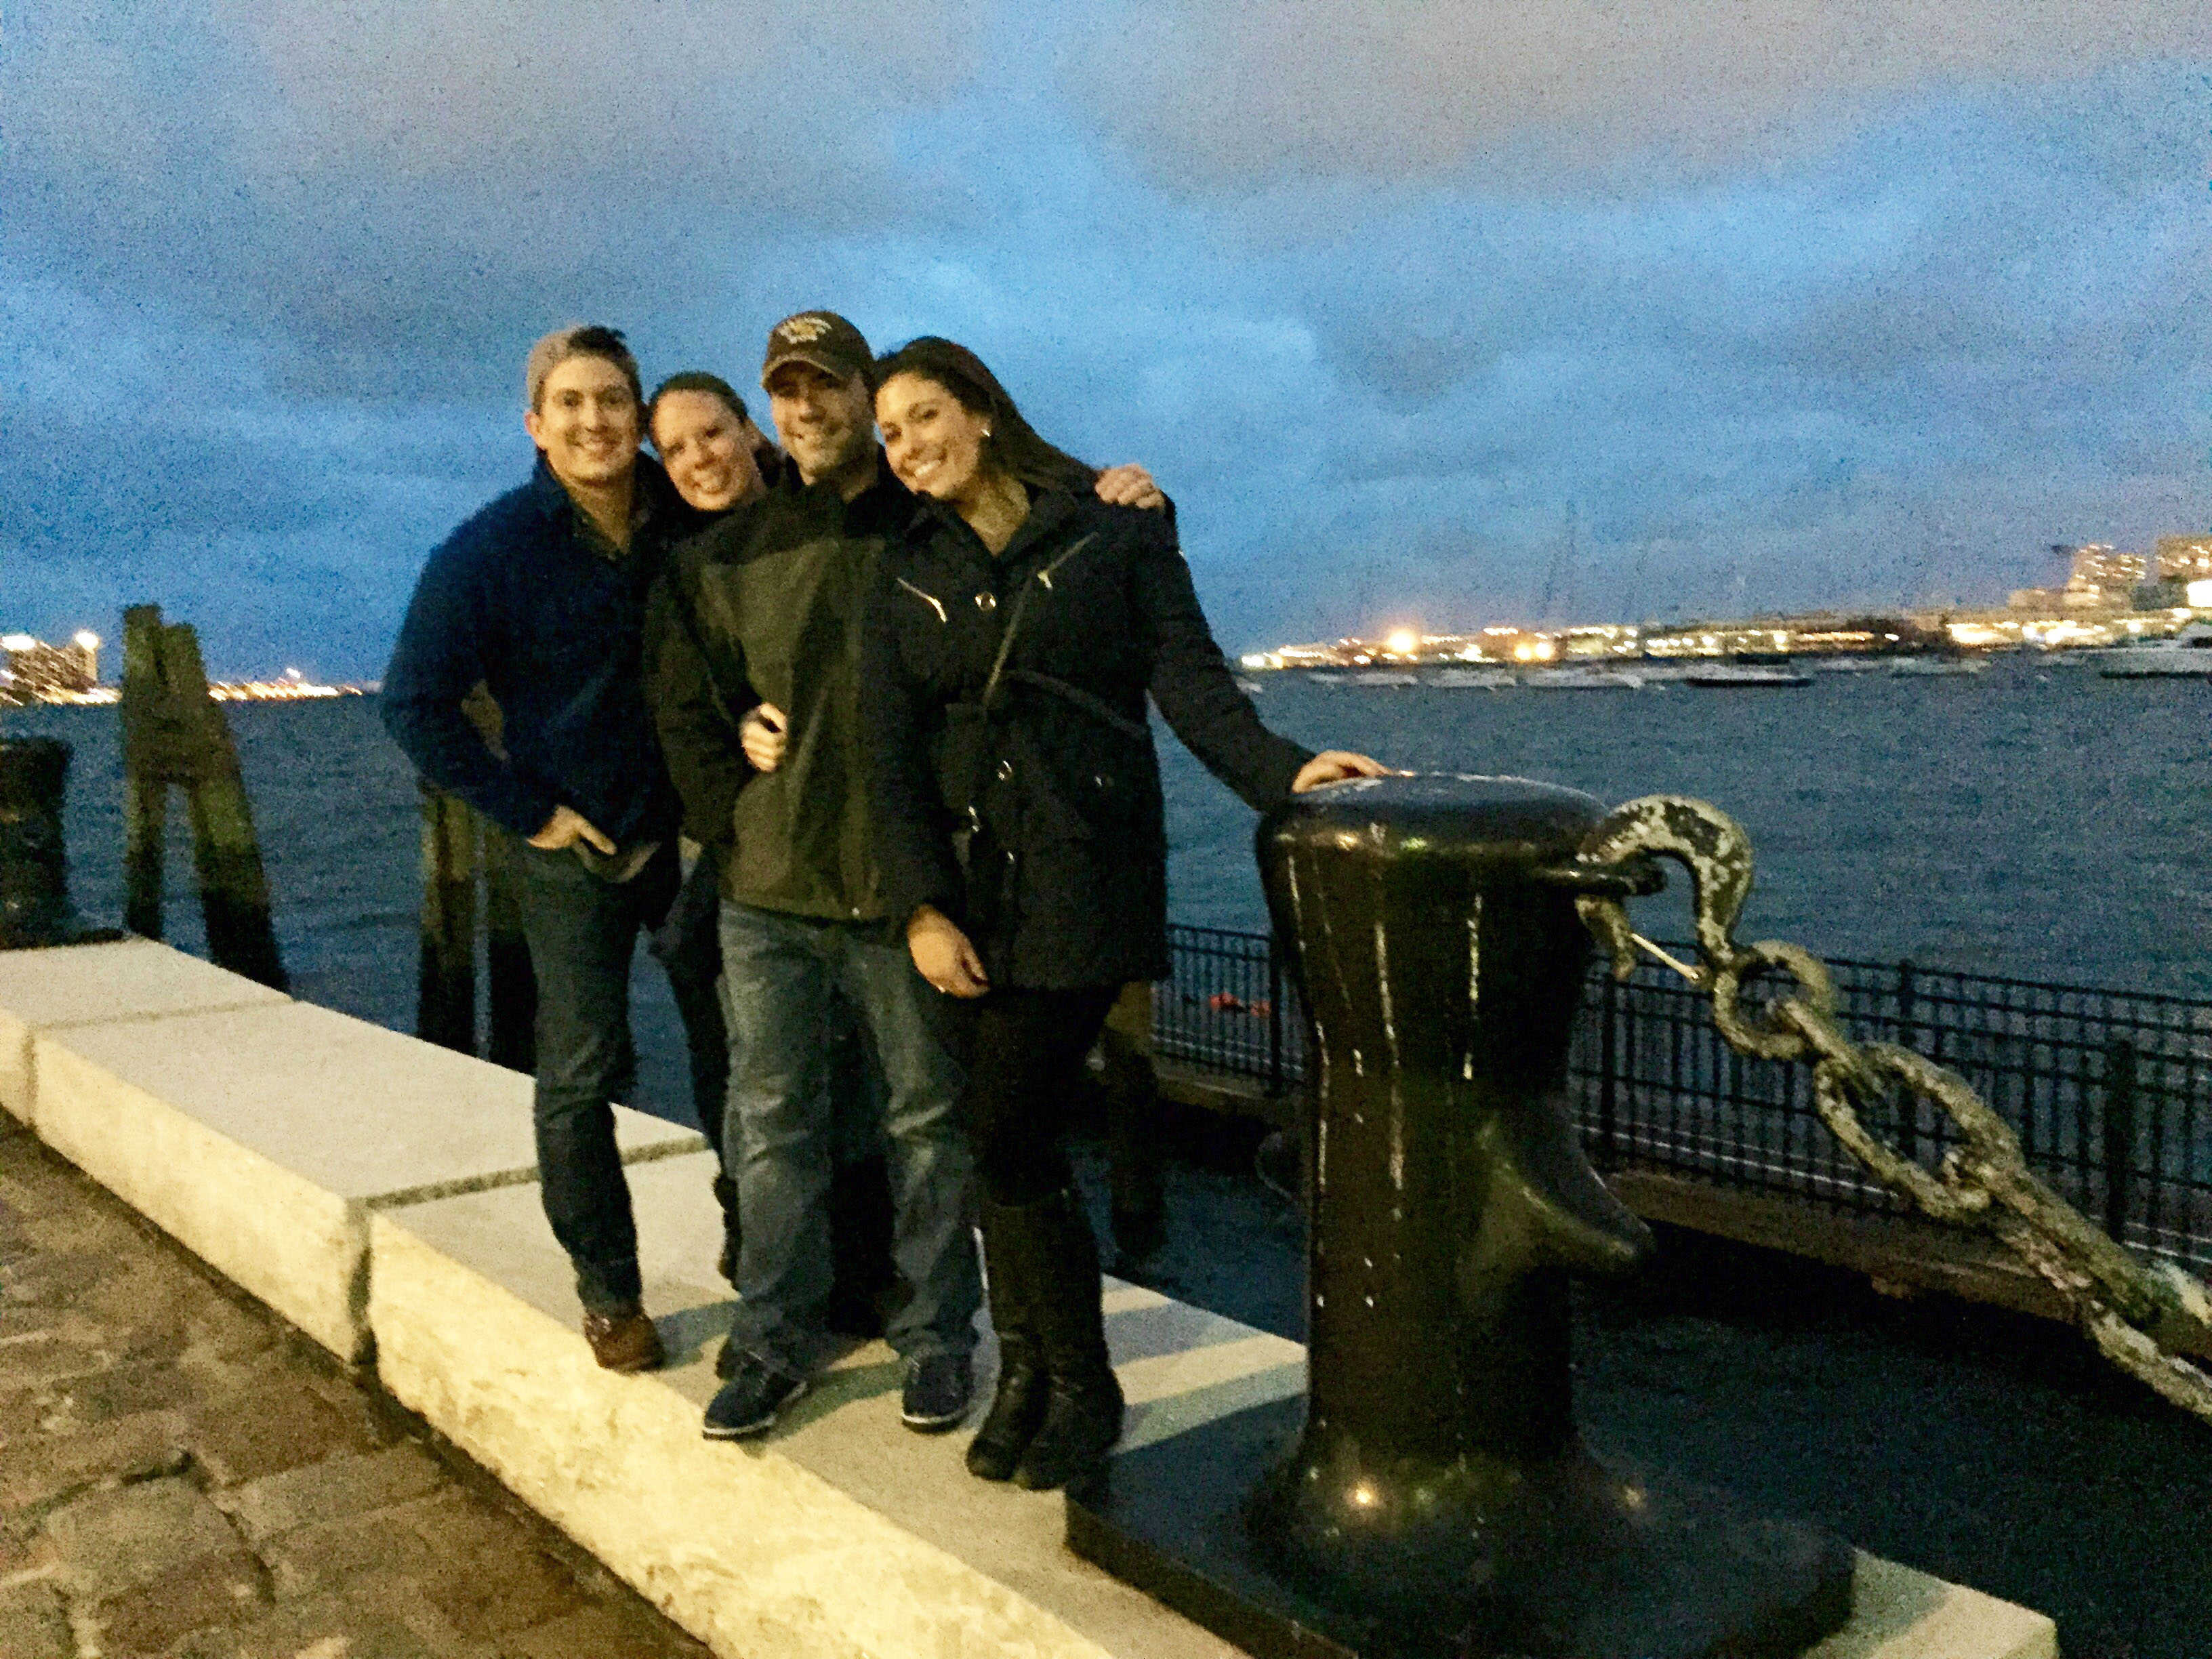
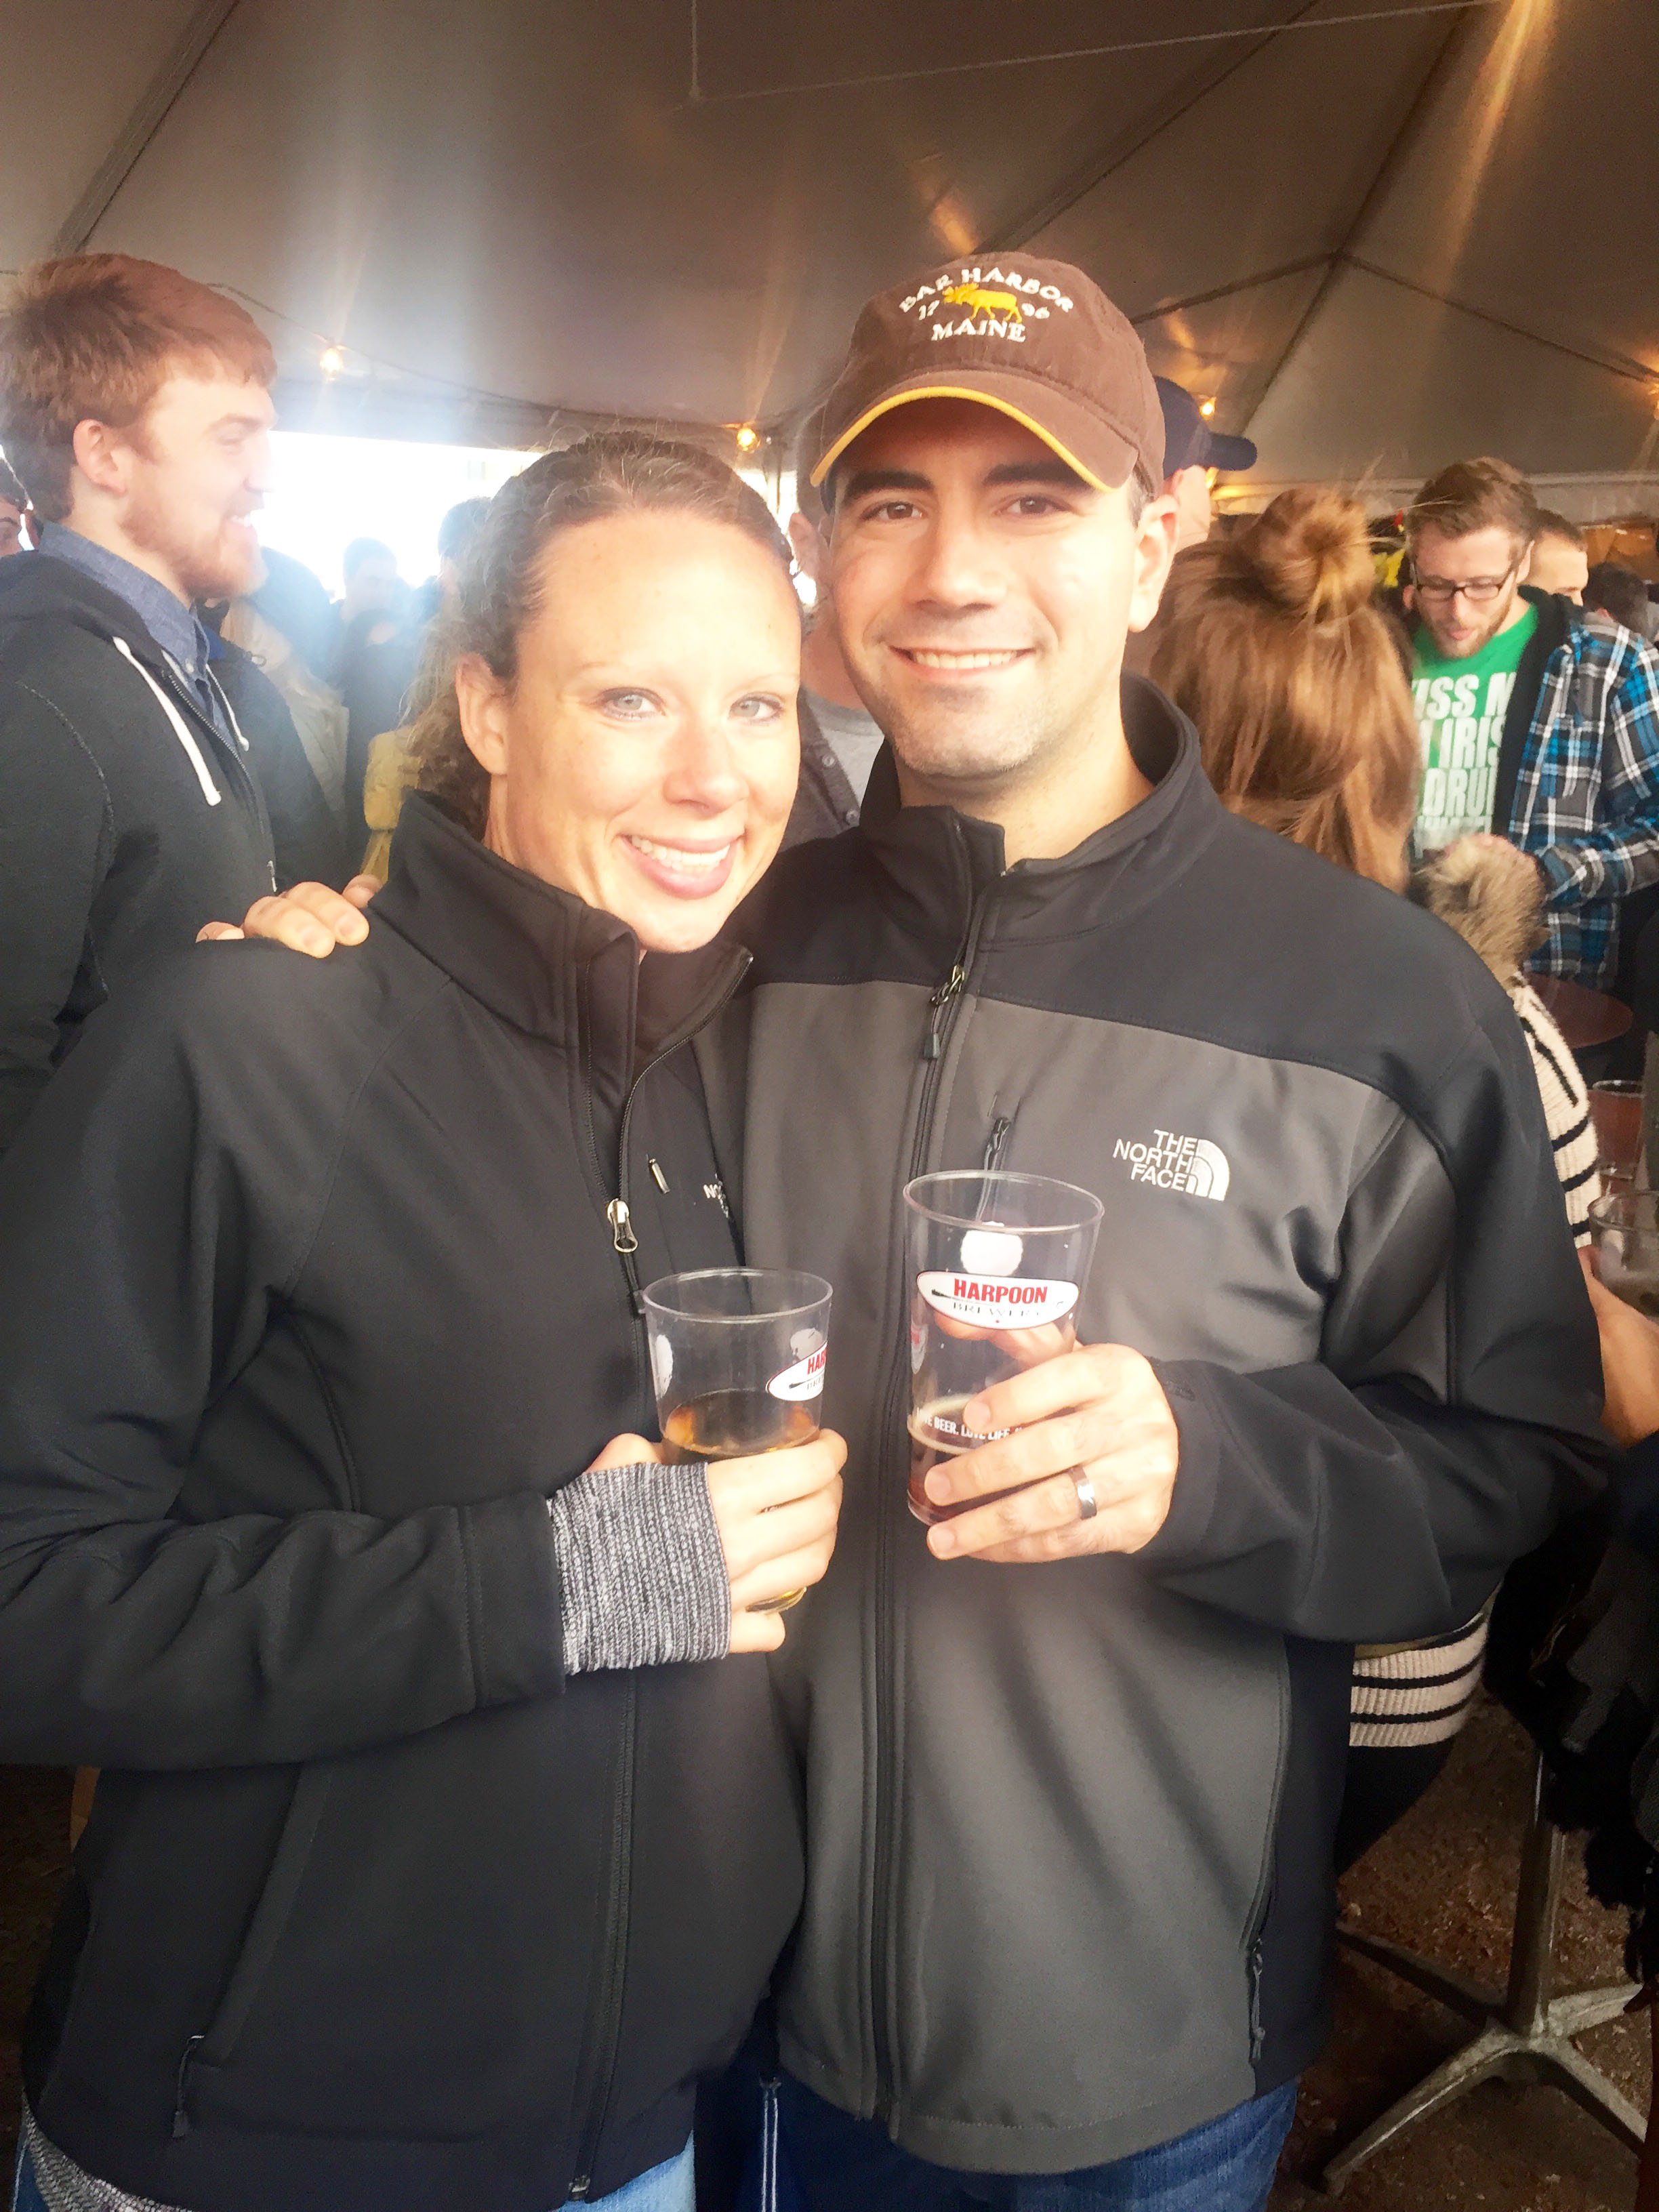
* Visiting friends in Boston, celebrating birthdays, and enjoying Harpoon’s Oktoberfest!

Long Wharf Long Wharf Phil's Dirty 30 Harpoon Oktoberfest

Boston

* Meeting the adorable brand new baby girls of two of my closest friends.

Baby Baby

* Celebrating my first Rosh Hashanah with my hubby’s family (inspiration behind Boozy Honey Apple Cakes).

Rosh Hashanah

* Hiking newly discovered local trails.

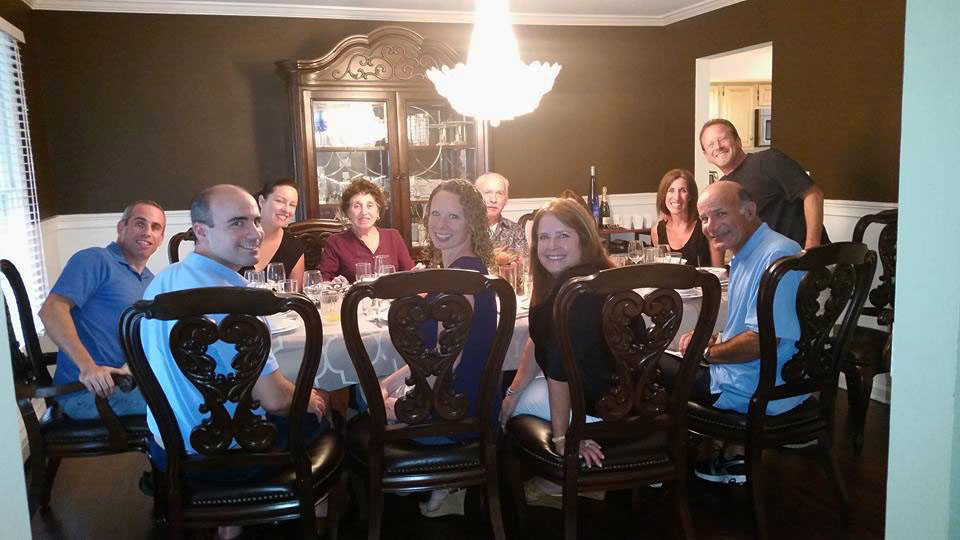
* Hosting numerous BBQ’s, dinner parties, and an NFL season kickoff fiesta with friends and family (inspiration behind Buffalo Cauliflower).

* Leaving a job that left me feeling unfulfilled and embarking on a new career that I’m really excited about!

Many of my adventures have involved food (surprise, surprise!) and I hope to make up for my hiatus by sharing with you a load of awesome new recipes that I’ve accumulated.  Stay tuned for some great upcoming JanisCakes posts, such as Glazed Pork Chops with Grilled Peaches, Boozy Honey Apple Cakes, Chicken Milanese, Baked Zucchini Fries, Buffalo Cauliflower, Savory Roasted Acorn Squash, Mediterranean Salmon, Spinach Stuffed Chicken, Butternut Squash Mac and Cheese, and Caramelized Nectarine Upside-Down Cake!

Share this:

  • Click to email a link to a friend (Opens in new window) Email
  • Click to share on Facebook (Opens in new window) Facebook
  • Click to share on X (Opens in new window) X
  • Click to share on Pinterest (Opens in new window) Pinterest
Like Loading...

Orange Mint Orzo Salad

24 Monday Aug 2015

Posted by Janis Chanin in Dinner, Fruit, Healthy, Lunch, Quick and Easy, Salad, Vegetarian

≈ Leave a comment

Tags

orange mint, orzo salad, refreshing pasta salad

Orange Mint Orzo Salad

I created this refreshing pasta salad for my housewarming party, which happened to be on a hot summer day.  I wanted to make a pasta salad that wouldn’t be too heavy.  Additionally, its dressing didn’t use a base of mayo or other creamy ingredients, so there was no need to worry about it sitting out in the heat for an hour or two.  My sister loved it so much that she requested I bring a big bowl of this orzo salad to her son’s birthday party this weekend.  The unexpected flavor combination was a hit with the kids and adults alike!  Try it for your next BBQ…perhaps Labor Day?!

Orange Mint Orzo Salad
Time:  40 minutes total
Yield:  12 servings

1 lb. orzo
¼ cup extra virgin olive oil
3 tbsp. lemon juice (or orange juice)
¼ tsp. salt
1/8 tsp. fresh ground pepper
zest of one orange (can come from one of the four below)
4 navel oranges
2 cucumbers
1 large bunch mint
16 oz. frozen edamame, defrosted
2 cups crumbled feta

  1. Cook the orzo according to the package instructions.  (To maximize on time, start on step 2 while it’s cooking.)  Once cooked, drain and rinse with cold water.
  2. Prepare the dressing:  Place the following ingredients into a small mixing bowl:  olive oil, lemon/orange juice, salt, and pepper.  Zest one of the oranges (after washing it thoroughly) and add it to the bowl.  Whisk all of the ingredients together and set aside.
  3. Peel the oranges and dice them into bite-sized pieces.  Place in a large mixing bowl.
  4. Remove the seeds from the cucumbers.  I find the easiest way to do this is to cut the cucumber in half along its length.  Cut it in half along its length again, so that it’s quartered and the seeds are exposed.  Slice the seeds out and discard.  Dice the flesh of the cucumbers into bite-sized pieces.  Place into a large mixing bowl with the oranges.
  5. Coarsely chop the mint and add it to the cucumbers and oranges.  Stir in the defrosted edamame and feta.  Add the orzo, and pour the dressing over top.  Toss to evenly coat all of the ingredients with the dressing.

Link to PDF to Print Recipe for Orange Mint Orzo Salad


Share this:

  • Click to email a link to a friend (Opens in new window) Email
  • Click to share on Facebook (Opens in new window) Facebook
  • Click to share on X (Opens in new window) X
  • Click to share on Pinterest (Opens in new window) Pinterest
Like Loading...

Lemon Poppy Seed Scones

27 Monday Jul 2015

Posted by Janis Chanin in Bread, Breakfast, Vegetarian

≈ Leave a comment

Tags

lemon poppy seed, scones

Lemon Poppy Seed Scones

I’ve never eaten a scone in my life before making these.  I had leftover buttermilk in my fridge after making Bacon Cheddar Cornbread, and wanted to put it to good use, so I tried making scones.  I sampled one as soon as they were cool enough to eat and thought it was pretty tasty, but having zero scone expertise, I was clueless as to whether or not they tasted like actual scones.  So I phoned a friend.  A very dear friend who happens to be British which in my mind, more than qualified her to be Official Taster And Judge of the Scones (or scaaaahns, as she calls them).  Her review?  They were more moist than most other scones she’s eaten, but she prefers them to be less dry.  Final verdict?  Delicious!  …and scone-like!

Lemon Poppy Seed Scones
Yield:  8 servings
Time:  15 minutes active;  35 minutes total

Scones:
1½ cups flour
3 tbsp. sugar
2 tsp. baking powder
½ tsp. baking soda
¼ tsp. salt
zest of one lemon
1½ tbsp. poppy seeds
5 tbsp. ice-cold butter
1 tbsp. lemon juice
2/3 cup buttermilk
1 egg
coarse sugar (I use Sugar In The Raw)

Glaze:
¾ cup confectioner’s sugar
½ tsp. vanilla bean paste (or vanilla extract)
1 tsp. poppy seeds

1.  Preheat the oven to 400°F.  Line a cookie sheet with parchment paper and lightly spray with baking spray.

2.  In a medium sized mixing bowl, combine the flour, sugar, baking powder, baking soda, salt, lemon zest, and poppy seeds.  Mix well to evenly distribute all ingredients, and to prevent over-mixing of the wet batter.  (Handling the moist dough as little as possible will produce the most tender scones.)

3.  Using a pastry blender, quickly cut the cold butter into the dry ingredients, creating a coarse meal.  The butter should be cut into pieces roughly the size of small peas.  (If the butter is too soft or cut too small, the scones can turn out coarse and dense.)

4.  In a small mixing bowl, whisk together the lemon juice and buttermilk.  Create a well in the middle of the flour mixture and pour in the lemony buttermilk.  Stir with a wooden spoon until just combined, being careful to not over-mix.  Knead gently with your hands if necessary to incorporate all of the flour.  Place the dough on a lightly floured cutting board, creating a circle that’s roughly one-inch thick.  Cut the circle like a pizza into 8 slices.  Transfer each slice to the prepared cookie sheet, leaving room between pieces for them to expand.

5.  Beat the egg and brush onto the surface of each slice of dough.  Sprinkle with coarse sugar, and bake at 400°F for 16-18 minutes, until golden brown on top.  Allow to cool completely.

6.  To make the glaze, whisk together the confectioner’s sugar, vanilla, and poppy seeds.  Drizzle over cooled scones and set aside until the glaze is fully dried.

PDF to Print Recipe for Lemon Poppy Seed Scones

Lemon Poppy Seed Scones Lemon Poppy Seed Scones

Share this:

  • Click to email a link to a friend (Opens in new window) Email
  • Click to share on Facebook (Opens in new window) Facebook
  • Click to share on X (Opens in new window) X
  • Click to share on Pinterest (Opens in new window) Pinterest
Like Loading...

BBQ Chicken Pizza

14 Tuesday Jul 2015

Posted by Janis Chanin in Bread, Dinner, Quick and Easy

≈ Leave a comment

Tags

BBQ chicken pizza, grilled pizza

BBQ Chicken Pizza

There was a pizzeria underneath my apartment in Boston that made incredible BBQ Chicken Pizza.  There were too many nights to remember where a crowd would end up back at my place and we’d feast on BBQ Chicken Pizza.  I long for those nights with amazing friends.  Here’s my attempt at recreating the pizza that I miss so much!

BBQ Chicken Pizza
Yield: 8 slices
Time:  Less than 30 minutes total

1 ball of prepared pizza dough (store bought, homemade, or from your favorite pizzeria!)
6 oz. tomato paste
¾ cup BBQ sauce
1 cup shredded Gouda cheese
¾ cup shredded mozzarella cheese
¼ of a red onion, thinly sliced
2 cooked chicken breasts*
1 handful fresh cilantro, coarsely chopped
¼ cup cornmeal

*Cook the chicken however you like…grilled, boiled, and baked would all work!

1)  Place your pizza stone on the grill and close the cover.  Preheat the grill and stone.

2)  Shred the cooked chicken breasts using two forks.  Toss with half of the BBQ sauce.

3)  Stir the remaining BBQ sauce with the tomato paste.

4)  Toss the dough into a large circle (or something that resembles a circle!  Mine are never quite round, although I try!)  Be careful not to burn yourself while handling the hot pizza stone!  Sprinkle the surface with cornmeal, then transfer the dough to the hot pizza stone.  Spread the sauce mixture over the surface and sprinkle with both cheeses.  Arrange the red onion slices on top and drop the shredded saucy chicken in clumps over the entire surface.  Return to the grill and cook, with the cover closed, over direct high heat until fully cooked, about 10 minutes.

5)  Sprinkle chopped cilantro before serving.


Alternate cooking methods:

Don’t have a pizza stone?  Although I haven’t tried it yet, I’ve been told that you can put the dough directly onto the grates of the grill.  If you try this method, cook the dough for about 2 minutes before putting any sauce or toppings on.  Flip the dough and cook the other side for 1-2 minutes before topping with sauce, cheese, onion, and chicken.

Don’t have a grill?  Use your oven!  Just be sure to put your pizza stone (or heavy cookie sheet) in the oven as it preheats to get it screaming hot before putting the dough on it.  Use a very hot oven, close to 500°F.  Cooking time may be a little longer in the oven compared to the grill, with a total cooking time of 15-20 minutes.


PDF to Print Recipe for BBQ Chicken Pizza

Share this:

  • Click to email a link to a friend (Opens in new window) Email
  • Click to share on Facebook (Opens in new window) Facebook
  • Click to share on X (Opens in new window) X
  • Click to share on Pinterest (Opens in new window) Pinterest
Like Loading...

Cookie Dough Brownie Fudge Ice Cream Cake

07 Tuesday Jul 2015

Posted by Janis Chanin in Chocolate, Dessert, Quick and Easy

≈ Leave a comment

Tags

cookie dough ice cream, ice cream cake

ice cream cake 15ed

I’ve gotten a few requests to post this recipe, so here you go…

Ice cream cake is so easy to make, that I almost feel like it’s cheating to devote a post to it!  Every time I make it, I get rave reviews and it honestly comes together so quickly that it’s becoming a summertime staple of mine.  Here are some more huge benefits to making  your own ice cream cake:

1)  You can make it far in advance (up to a month if it’s wrapped really well before you freeze it).  That’s one less thing you need to take care of right before company comes over!

2)  It’s so versatile!  You can use any ice cream flavor you like–or try out different combos!

3)  It’s a great way to get rid of left over desserts.  Have extra chocolate chip cookies?  Oatmeal cookies?  Brownies?  Crumble them up to make the crust.  One year my mom bought waaaaaay too many Girl Scout cookies (either she was feeling extra philanthropic that year, or she let her sweet tooth get the best of her!) and she crumbled up thin mints for the base.  Those lemony shortbread-y cookies would make a divine crust, too!

Have I convinced you to make an ice cream cake yet??!


Cookie Dough Brownie Fudge Ice Cream Cake
Yield:  12-16 servings
Time:  Roughly 45 minutes total (only about 15 minutes are hands-on)

1 box of brownie mix with the required ingredients (water, eggs, oil)
3 quarts cookie dough ice cream (I like the Edy’s Slow Churned the best!)
1 tub (16 oz) prepared chocolate frosting (I use Pillsbury Creamy Supreme Chocolate Fudge)
8 oz. whipped topping, such as fat free Cool Whip
Toppings to decorate (suggestions: rainbow sprinkles, mini M&Ms, crushed candies, butterscotch morsels,…)
Non-stick freezer paper (I discovered that Reynolds makes a great one!  It’s essentially parchment paper with one side containing a plastic coating)

1)  Bake the brownies according the instructions on the package.  I usually bake them in a large rectangular baking dish so they bake faster.  Once baked, set aside and allow to come to room temperature.

2)  Remove the ice cream from the freezer and allow to soften for a few minutes as you prepare the pan and assemble the brownie crust.

3)  Line your counter with two long sheets of foil.  Place a spring form pan (8 or 9-inches in diameter) in the center of the foil.  (This will catch any leaks from the softened ice cream.  Plus, it’ll make wrapping it up for freezer storage a cinch!)  Lightly spray the base and inside walls of the pan with non-stick spray.  Crumble up the brownies into pieces and press them into the bottom of the pan.  You may not need all of the brownies (in which case–feel free to snack as you go!).

4)  Scoop the ice cream into the pan, covering the brownie base with a single layer of scoops.  Gently press the softened ice cream scoops together to create a relatively flat layer of ice cream.

Ice Cream Cake

5)  Evenly spread the chocolate frosting over the layer of ice cream.

Ice Cream Cake

6)  Top with another layer of ice cream, basically repeating step 3.

7)  Evenly spread the whipped topping over the final layer of ice cream.  Top with sprinkles or other decorative toppings.

Ice Cream Cake Ice Cream Cake

8)  Place the freezer paper directly on top of the finished ice cream cake, with the plastic coated side touching and entirely covering the top surface of the cake.  Tuck the edges of the freezer paper in, and wrap the foil around the cake, wrapping up entirely.  Seal the entire foil-wrapped cake in plastic wrap or place in a freezer storage bag.  Store in the freezer until ready to serve!

Freezer Paper

My instructions on how to wrap the cake may seem a bit specific, but I’ve learned the hard way that regular parchment paper, waxed paper, and foil all tend to stick to the cool whip once it’s frozen and it’s really tedious picking off small bits of the wrapping when you want to serve the cake!  The freezer paper worked wonderfully and will continue to be the only way I wrap up my ice cream cakes before storing them in the freezer!  Feel free to use any method that works for you, though!

PDF to Print Recipe for Cookie Dough Brownie Fudge Ice Cream Cake

Share this:

  • Click to email a link to a friend (Opens in new window) Email
  • Click to share on Facebook (Opens in new window) Facebook
  • Click to share on X (Opens in new window) X
  • Click to share on Pinterest (Opens in new window) Pinterest
Like Loading...
← Older posts
Newer posts →

Enter your email address to follow JanisCakes and receive each new post by email.

This slideshow requires JavaScript.

Categories

Recent Posts

  • Soft Pumpkin Cookies with Apple Cider Glaze
  • Chicken Enchiladas
  • Ham, Apple and Brie Quesadilla
  • Cauliflower Bowtie Pasta
  • Loaded Baked Potatoes
  • Flank Steak Salad with Chipotle Lime Vinaigrette
  • No Bake Strawberry Pineapple Pie
  • Rhubarb Compote
  • Shiksa-Style Matzo Ball Soup
  • Homemade Caramel Corn

Archives

Enter your email address to follow this blog and receive notifications of new posts by email.

Create a free website or blog at WordPress.com.

Privacy & Cookies: This site uses cookies. By continuing to use this website, you agree to their use.
To find out more, including how to control cookies, see here: Cookie Policy
  • Subscribe Subscribed
    • janis cakes
    • Join 82 other subscribers
    • Already have a WordPress.com account? Log in now.
    • janis cakes
    • Subscribe Subscribed
    • Sign up
    • Log in
    • Report this content
    • View site in Reader
    • Manage subscriptions
    • Collapse this bar
 

Loading Comments...
 

    %d