• Home
  • About JanisCakes
  • Recipe Index

janis cakes

~ A Nut-Free Cooking Blog

janis cakes

Category Archives: Vegetarian

Party Perfect Guacamole

09 Sunday Feb 2014

Posted by Janis Chanin in Appetizers, Quick and Easy, Vegan, Vegetarian

≈ Leave a comment

Party Perfect Guacamole

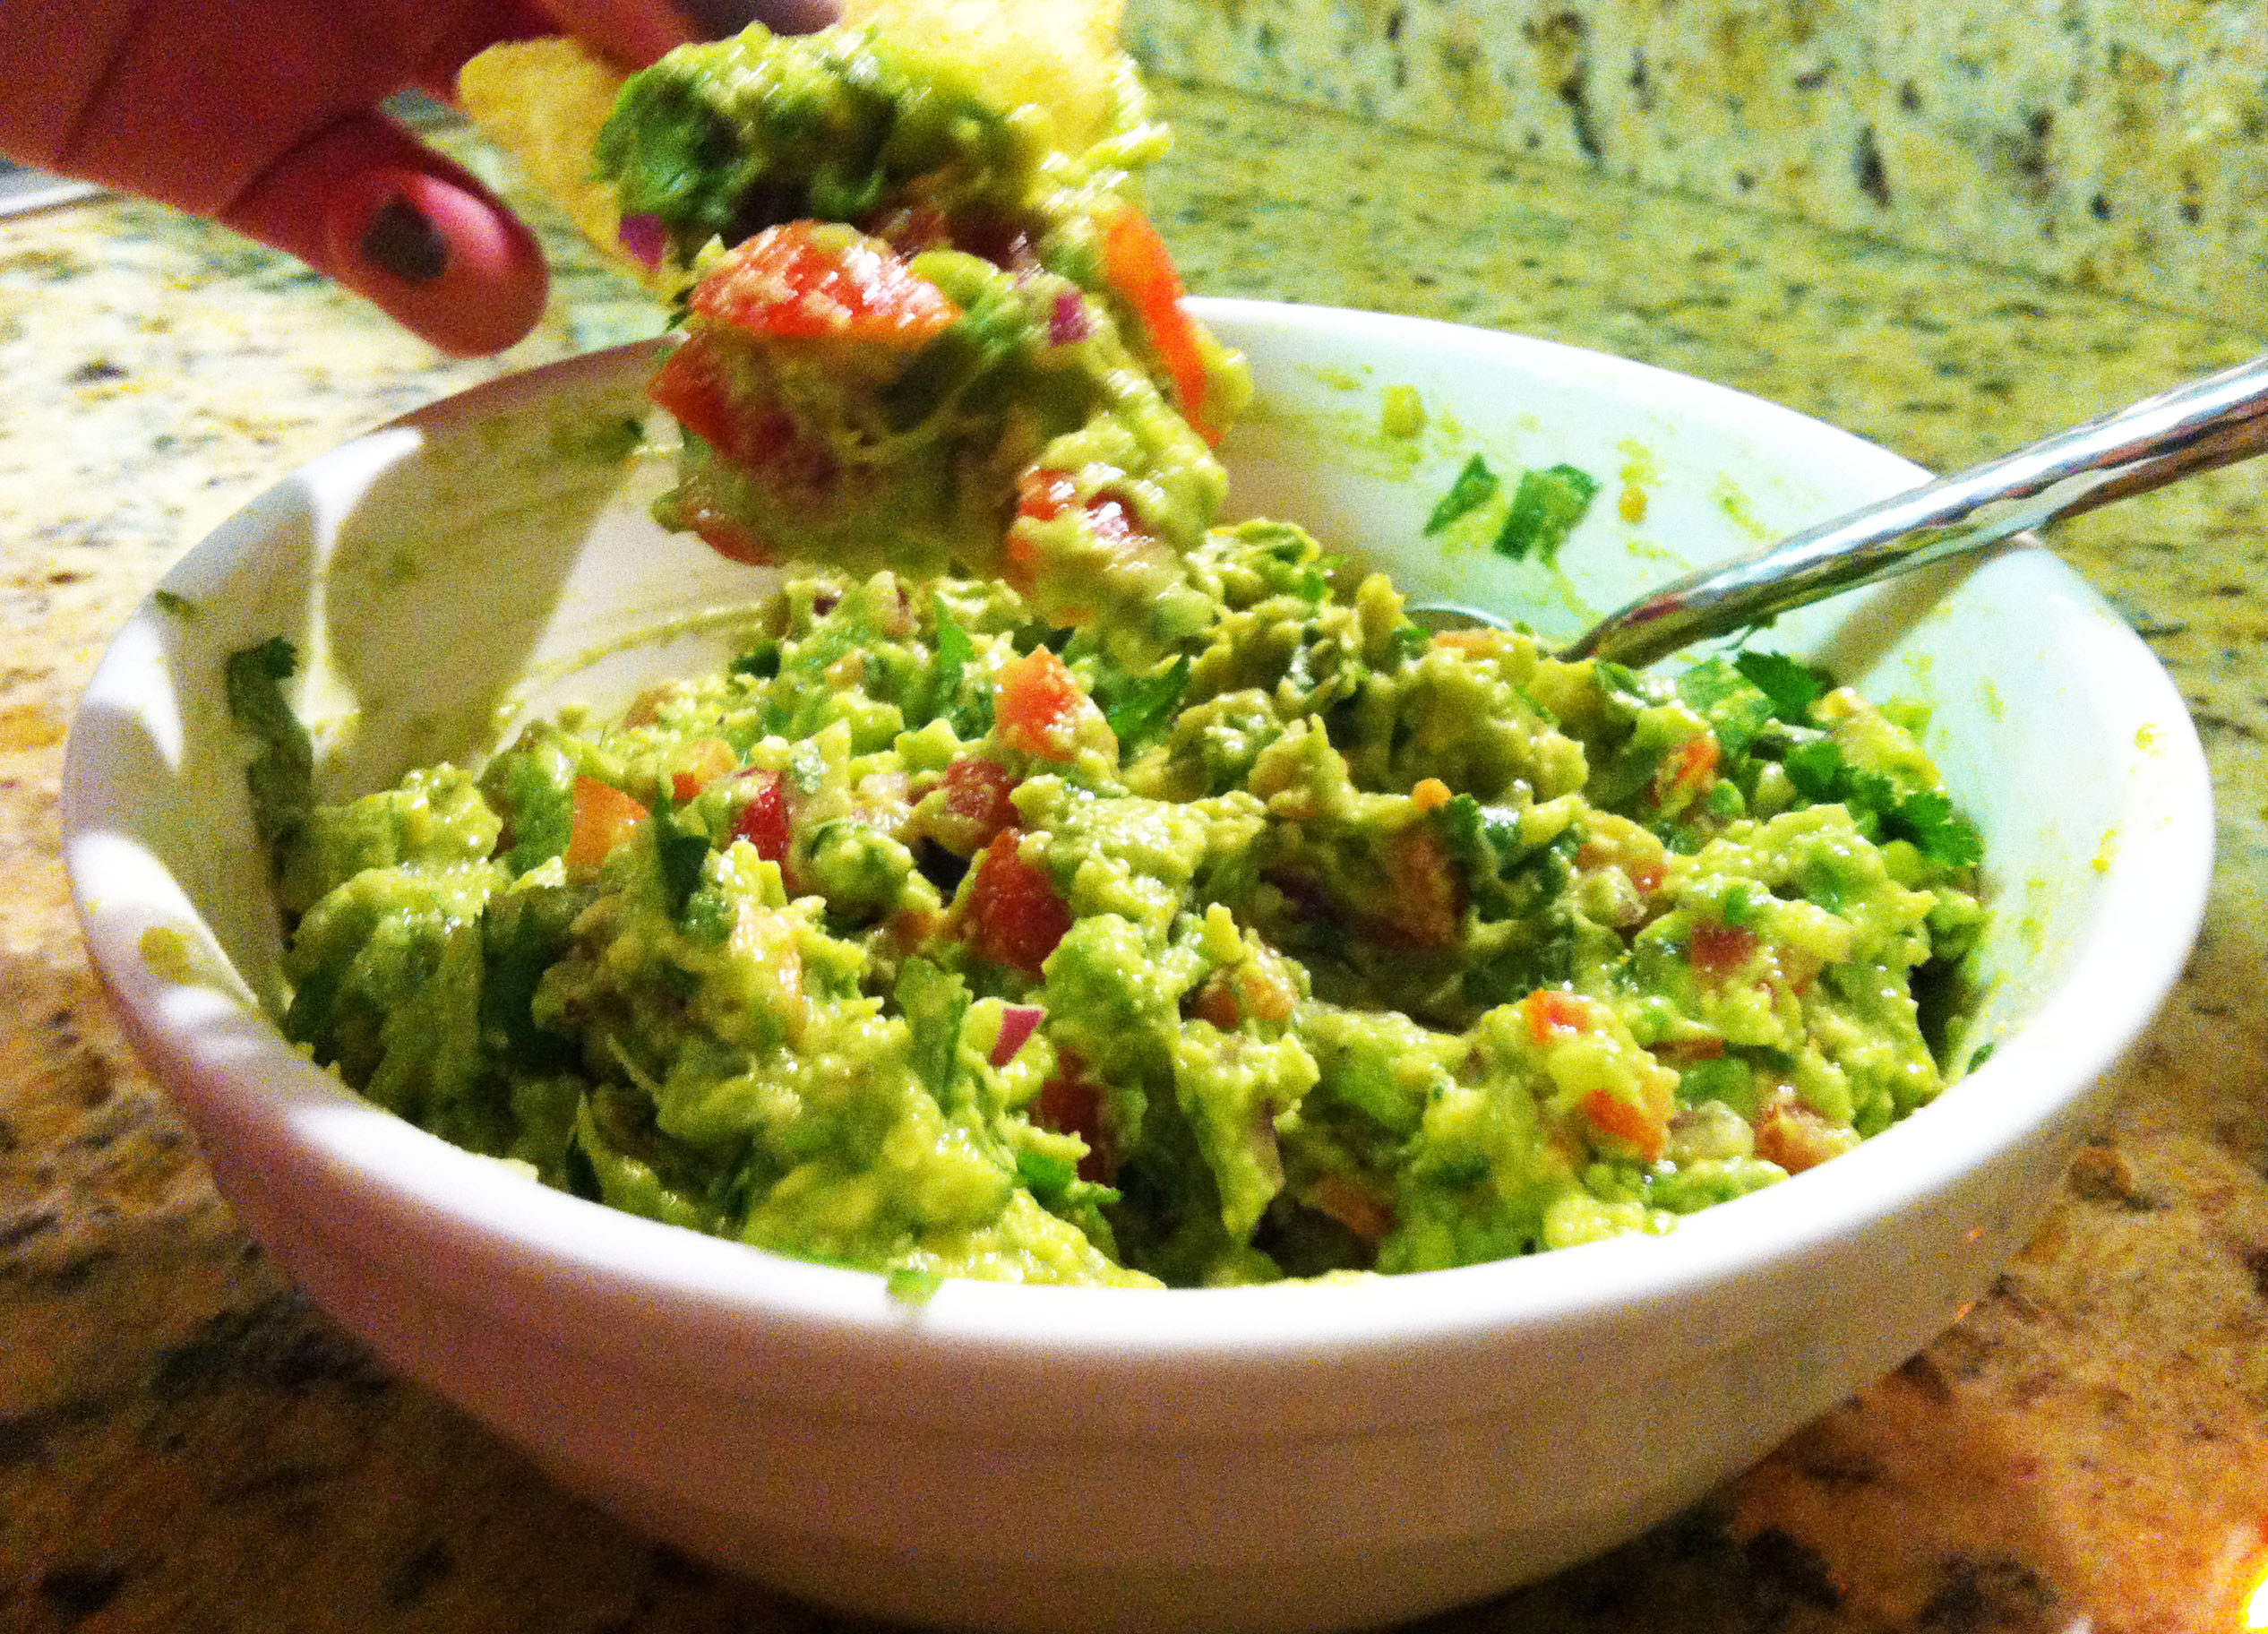
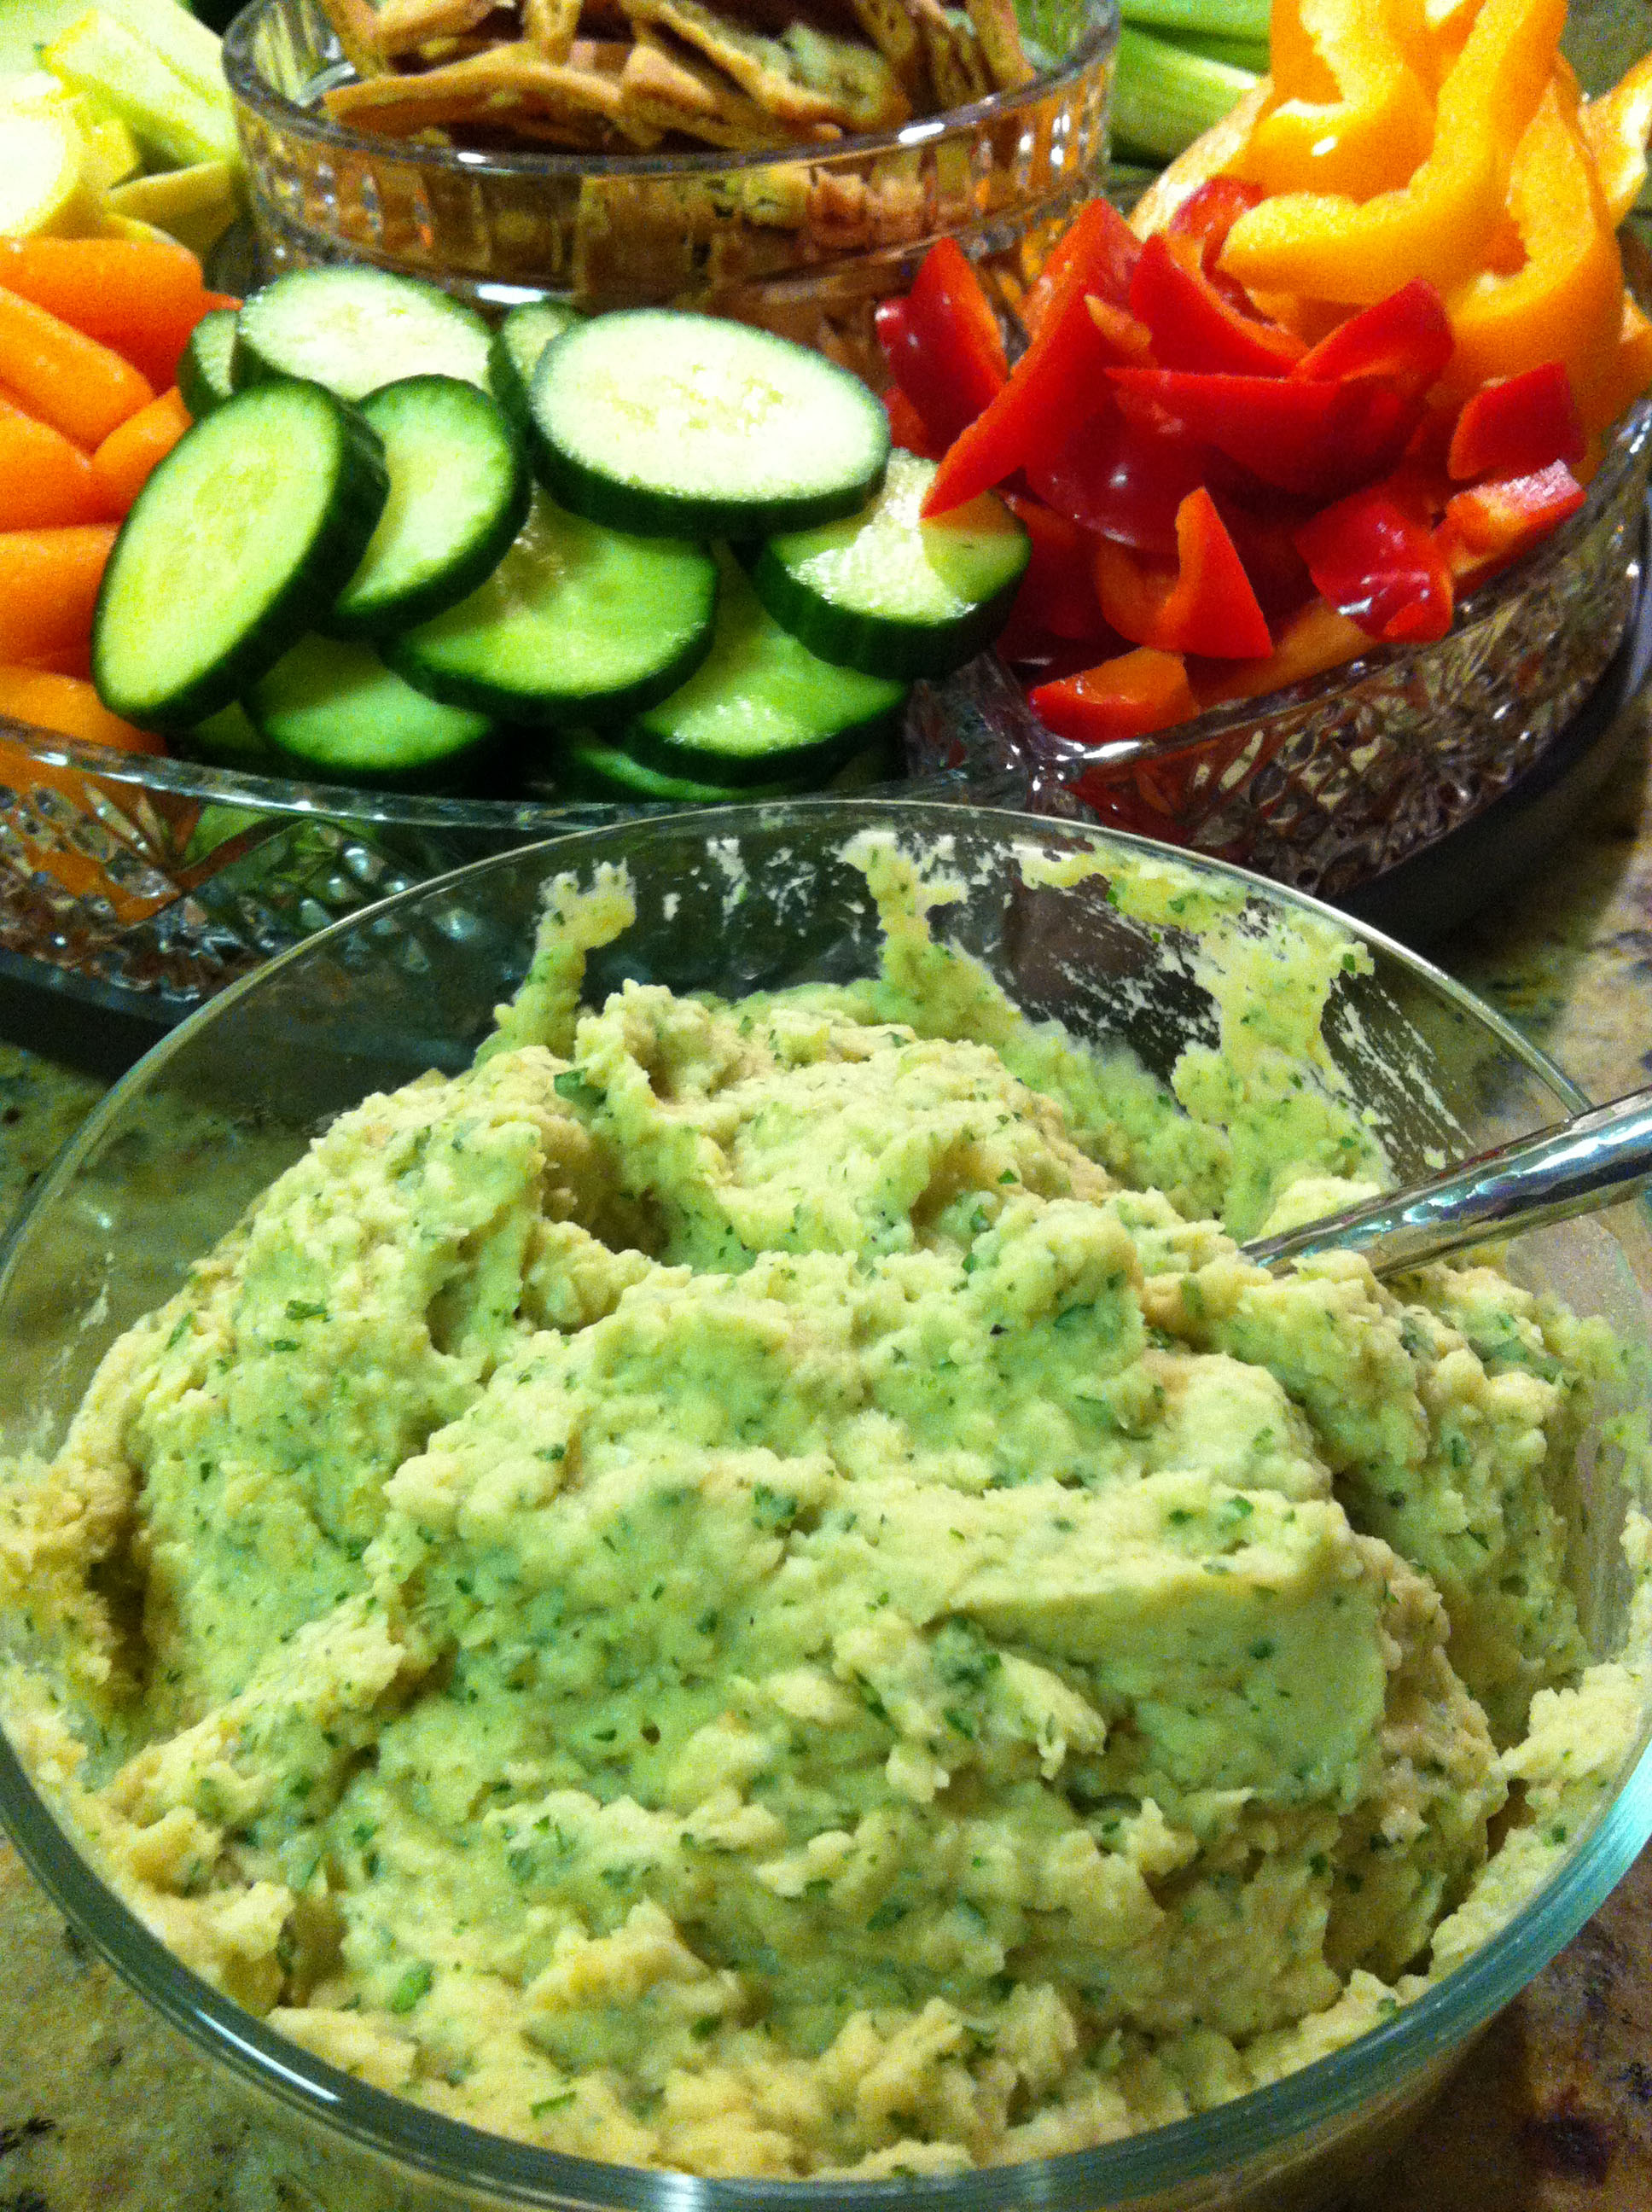
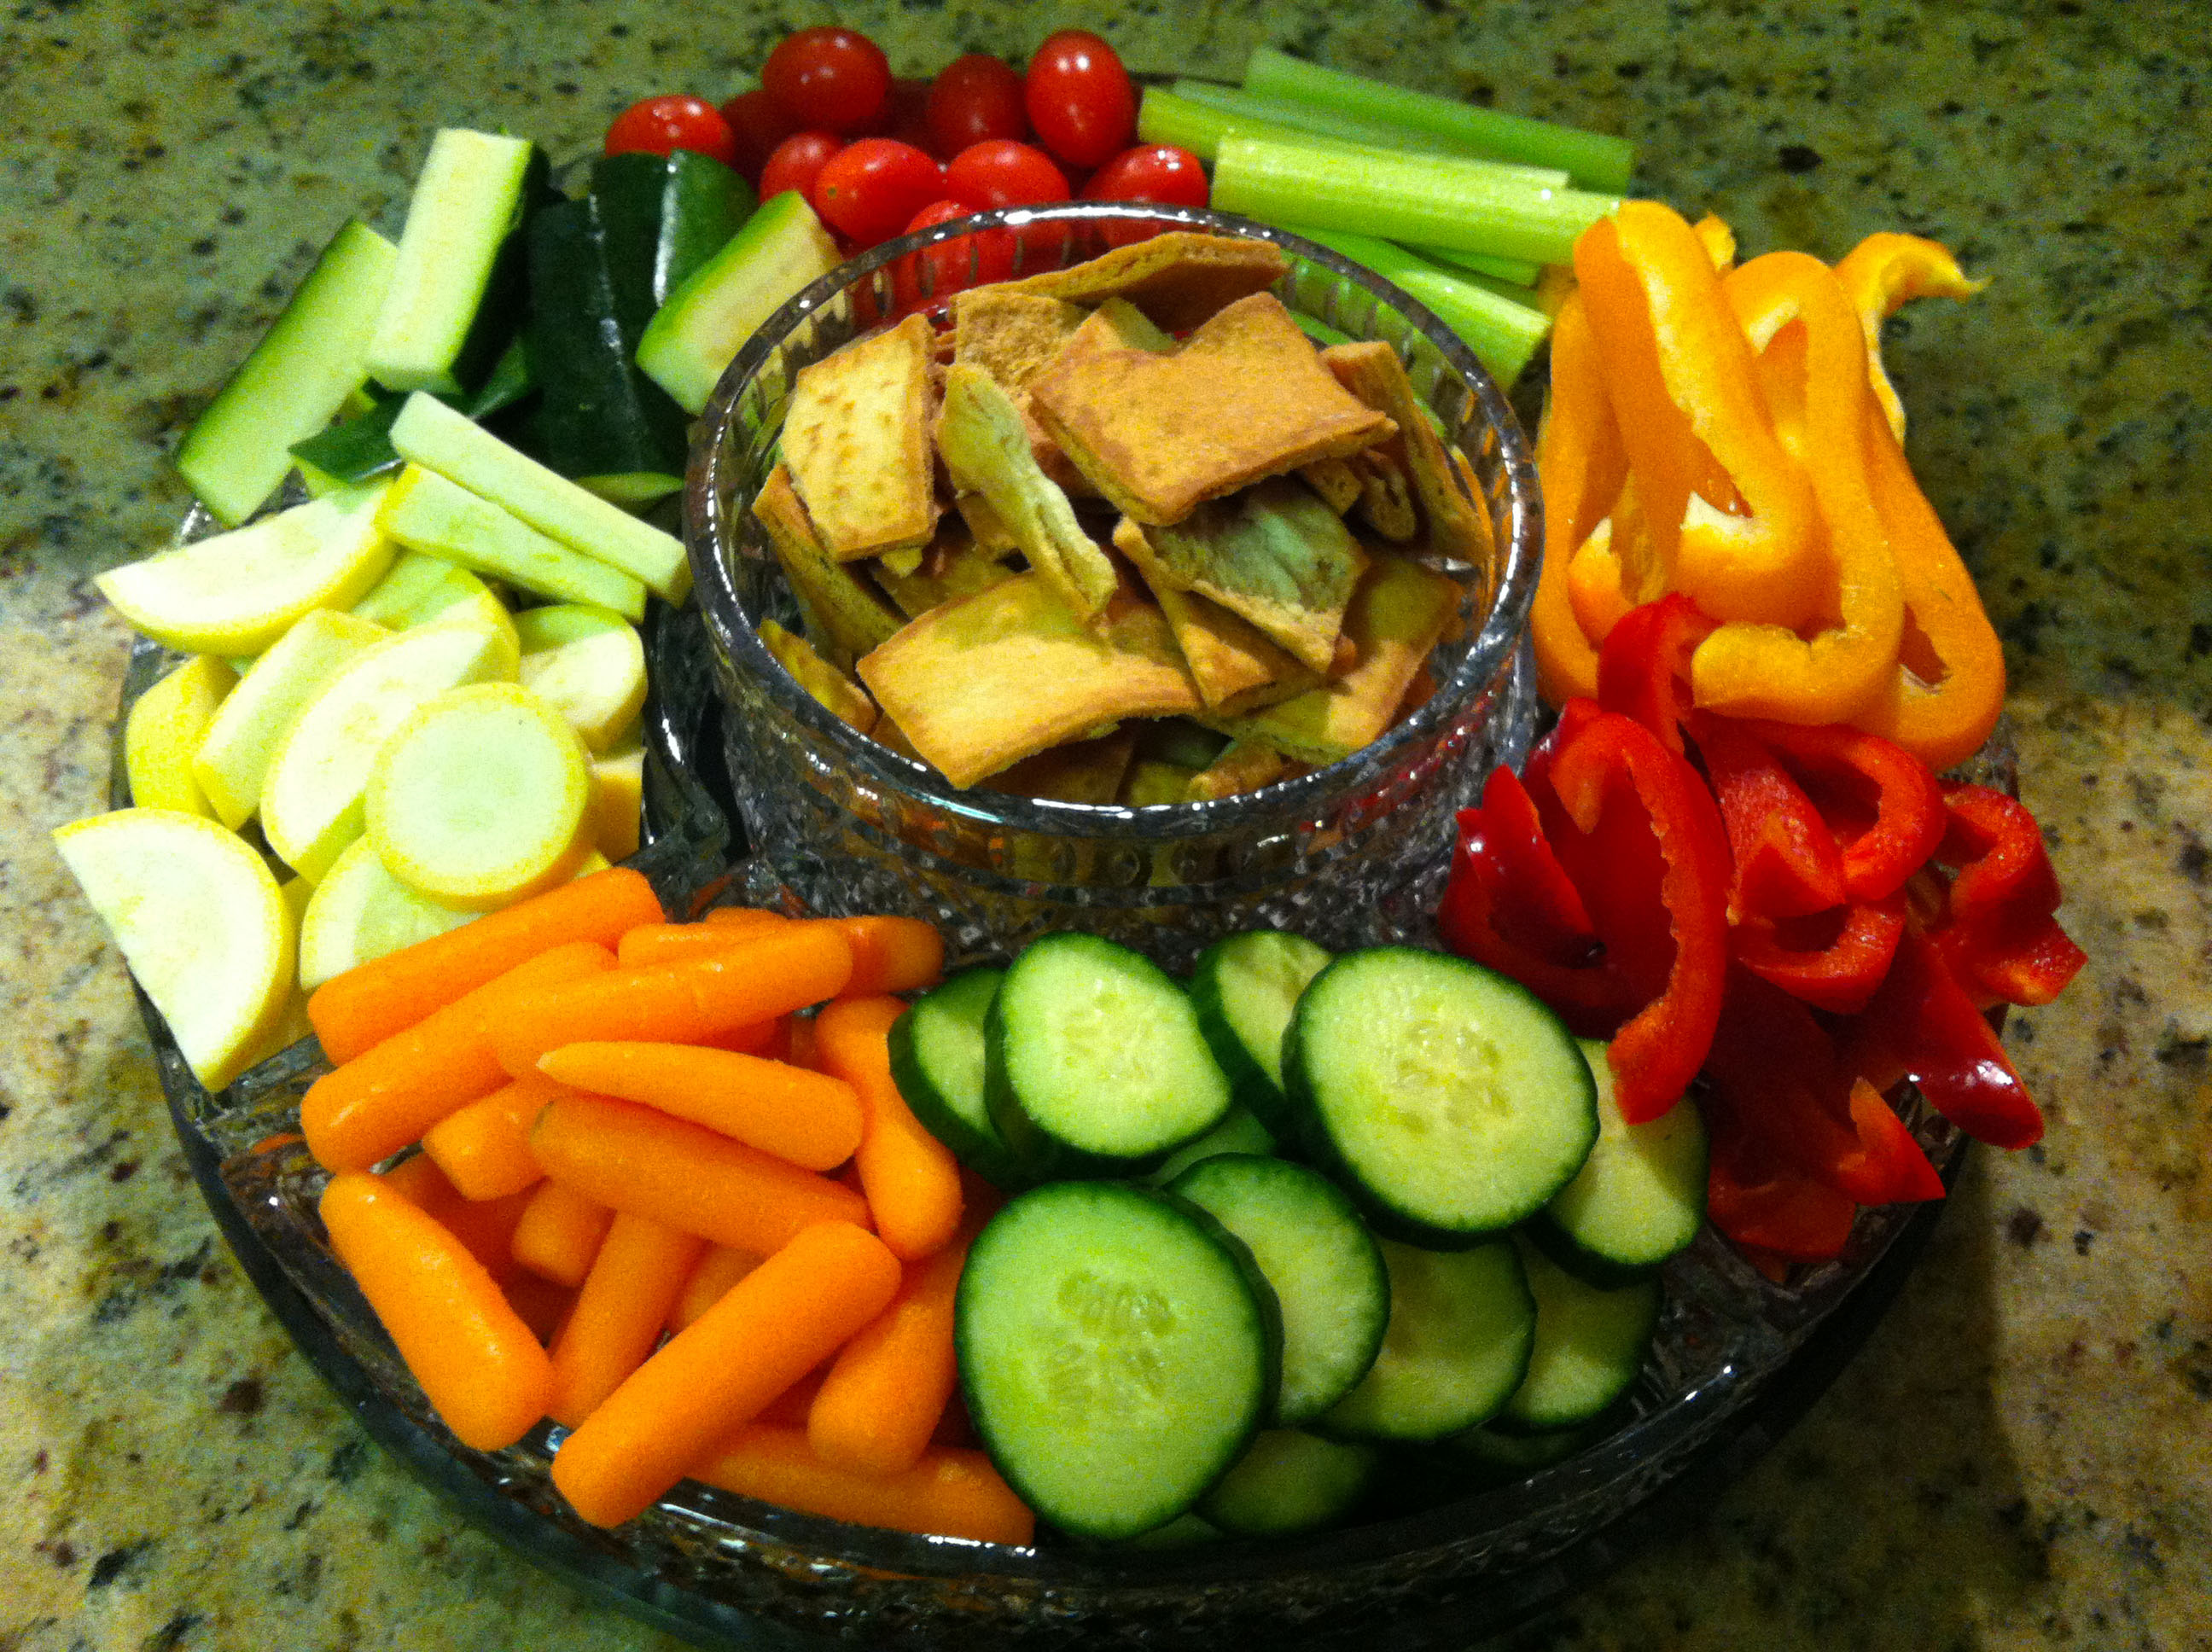
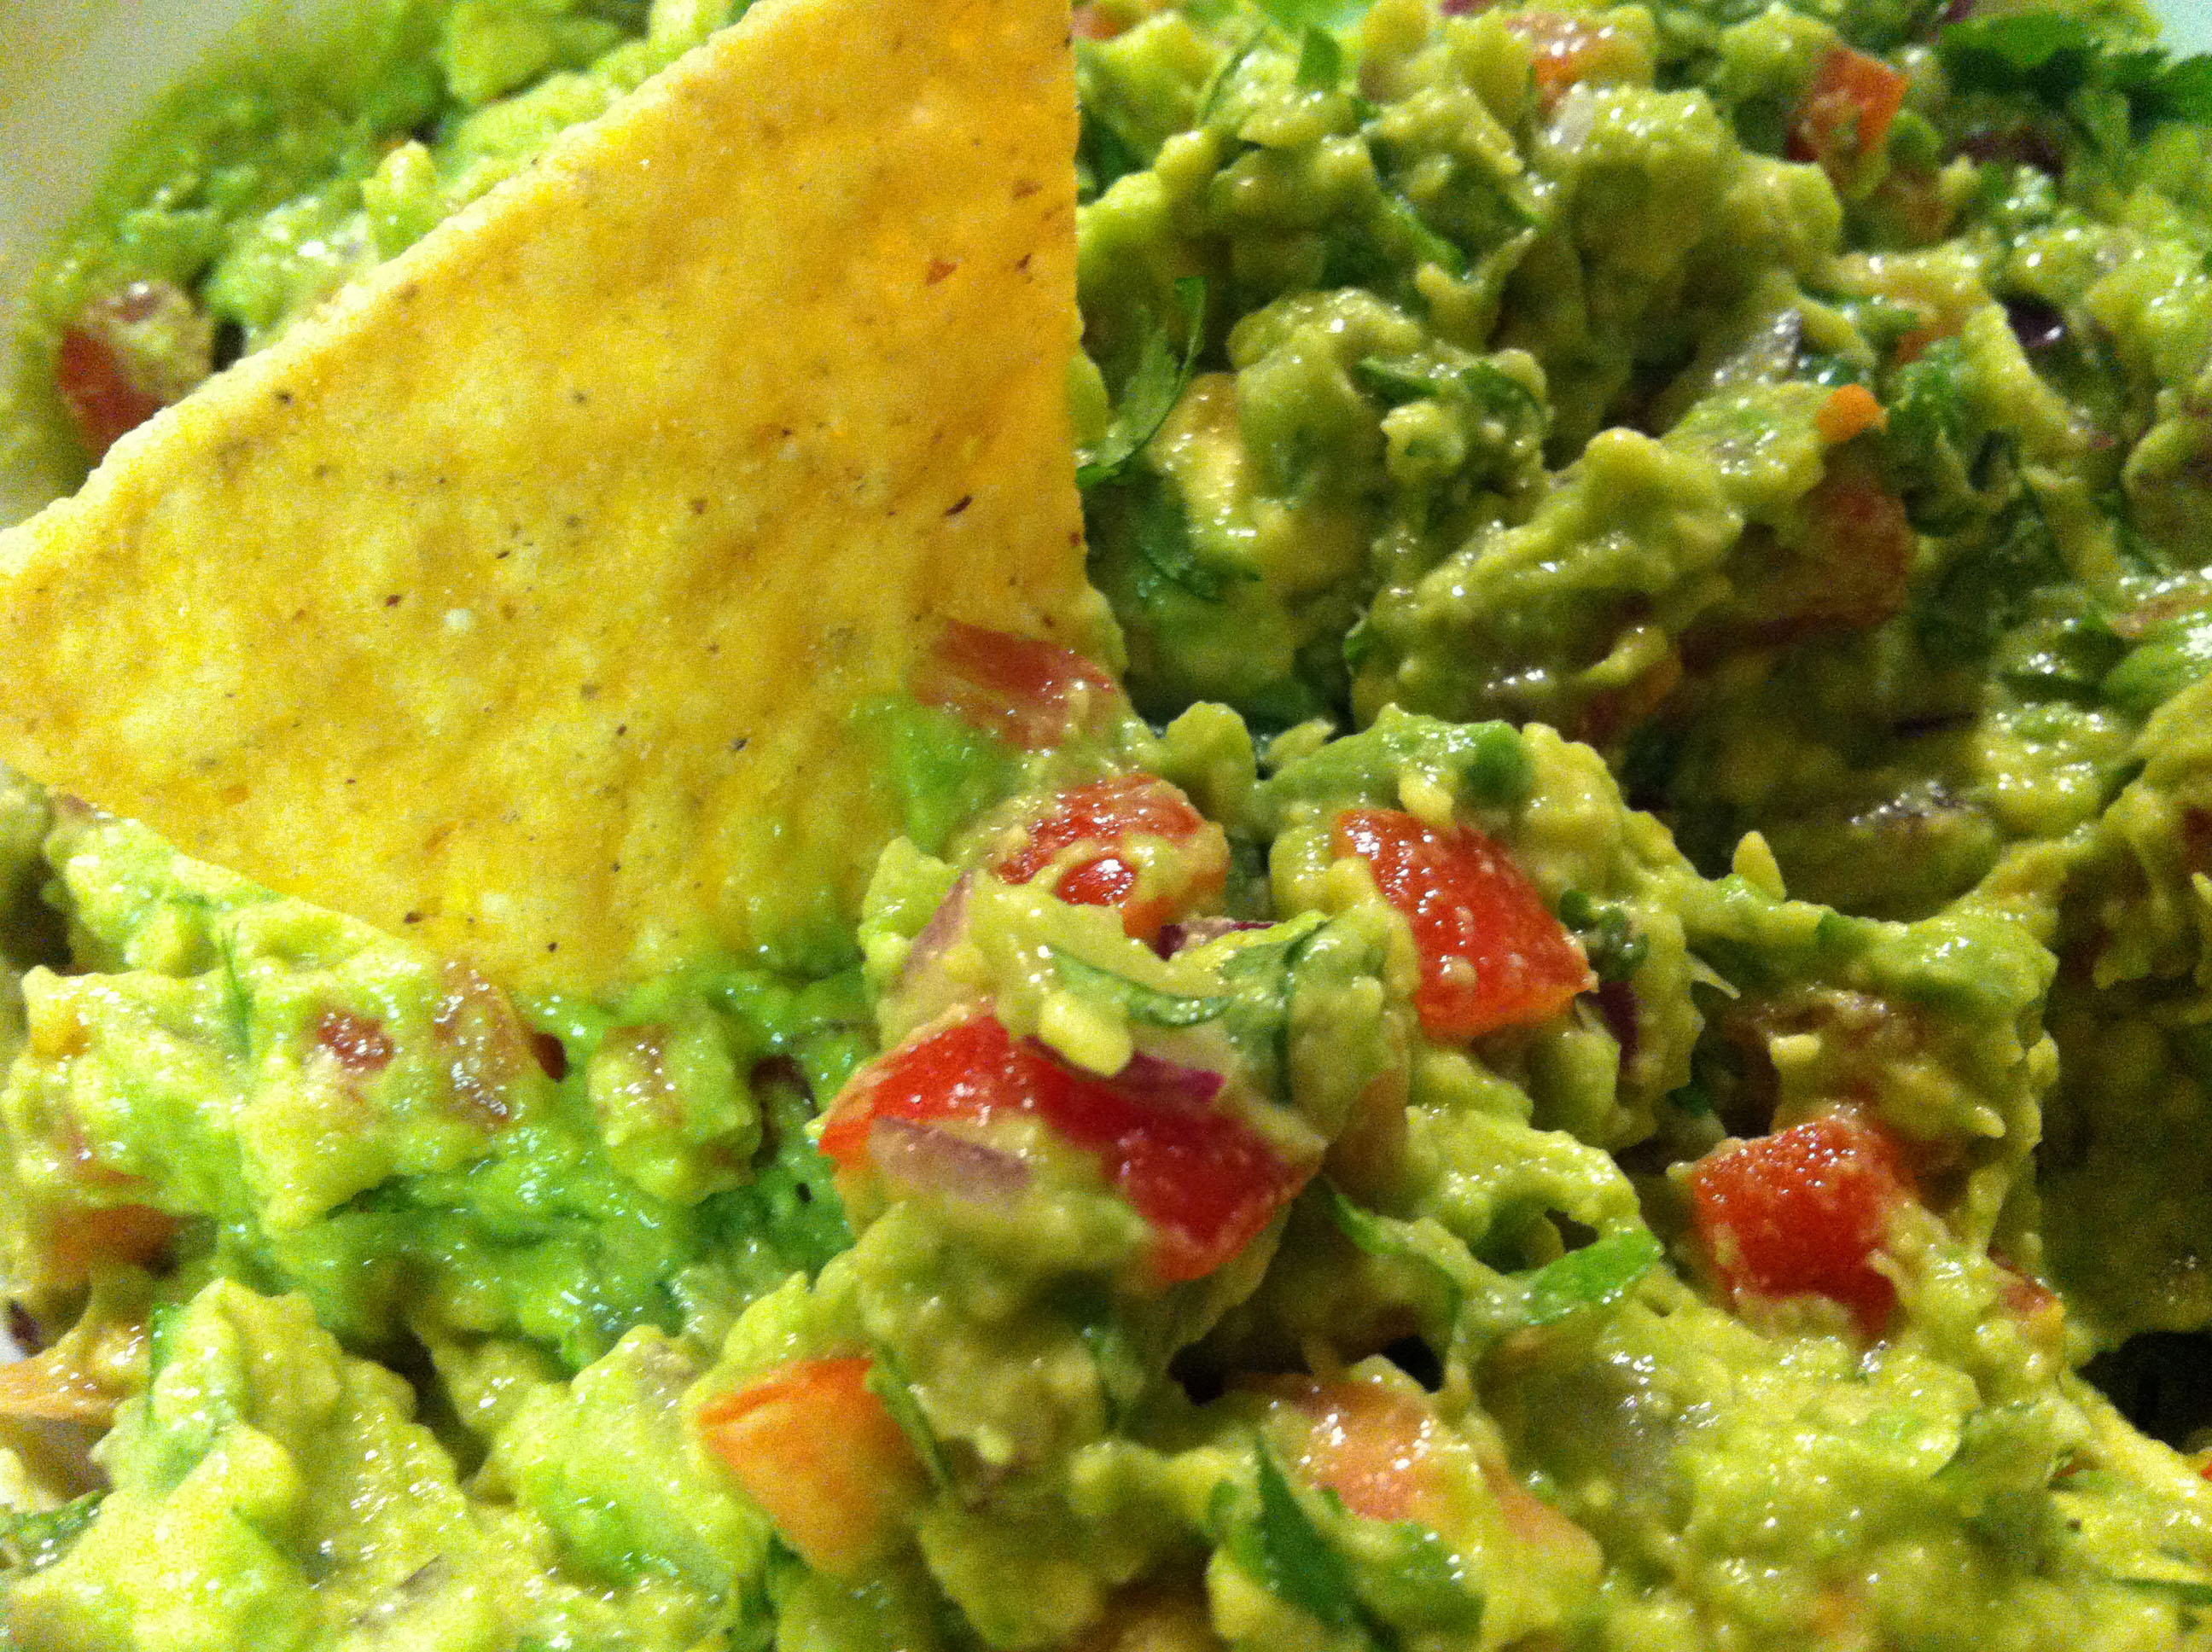
There are certain recipes I always make when I have ingredients that are on their way out.  I turn overripe, brown bananas into banana bread, days-old watermelon or honeydew into smoothies, dozens of near-expiry eggs into frittatas, cherry tomatoes into fresh pasta sauce, and mushy avocados into guacamole!  This party perfect guacamole recipe is sure to be a hit at your next football party or margarita night with the ladies.

Party Perfect Guacamole
Yield:  2 cups
Time:  15 minutes total

2 avocados
2 tbsp. lime juice
2 garlic cloves, minced
¼ of a red onion, minced
12 cherry tomatoes, minced
1 tbsp. fresh jalapeño, minced (optional)
1 large handful fresh cilantro, coarsely chopped
¼ tsp. salt

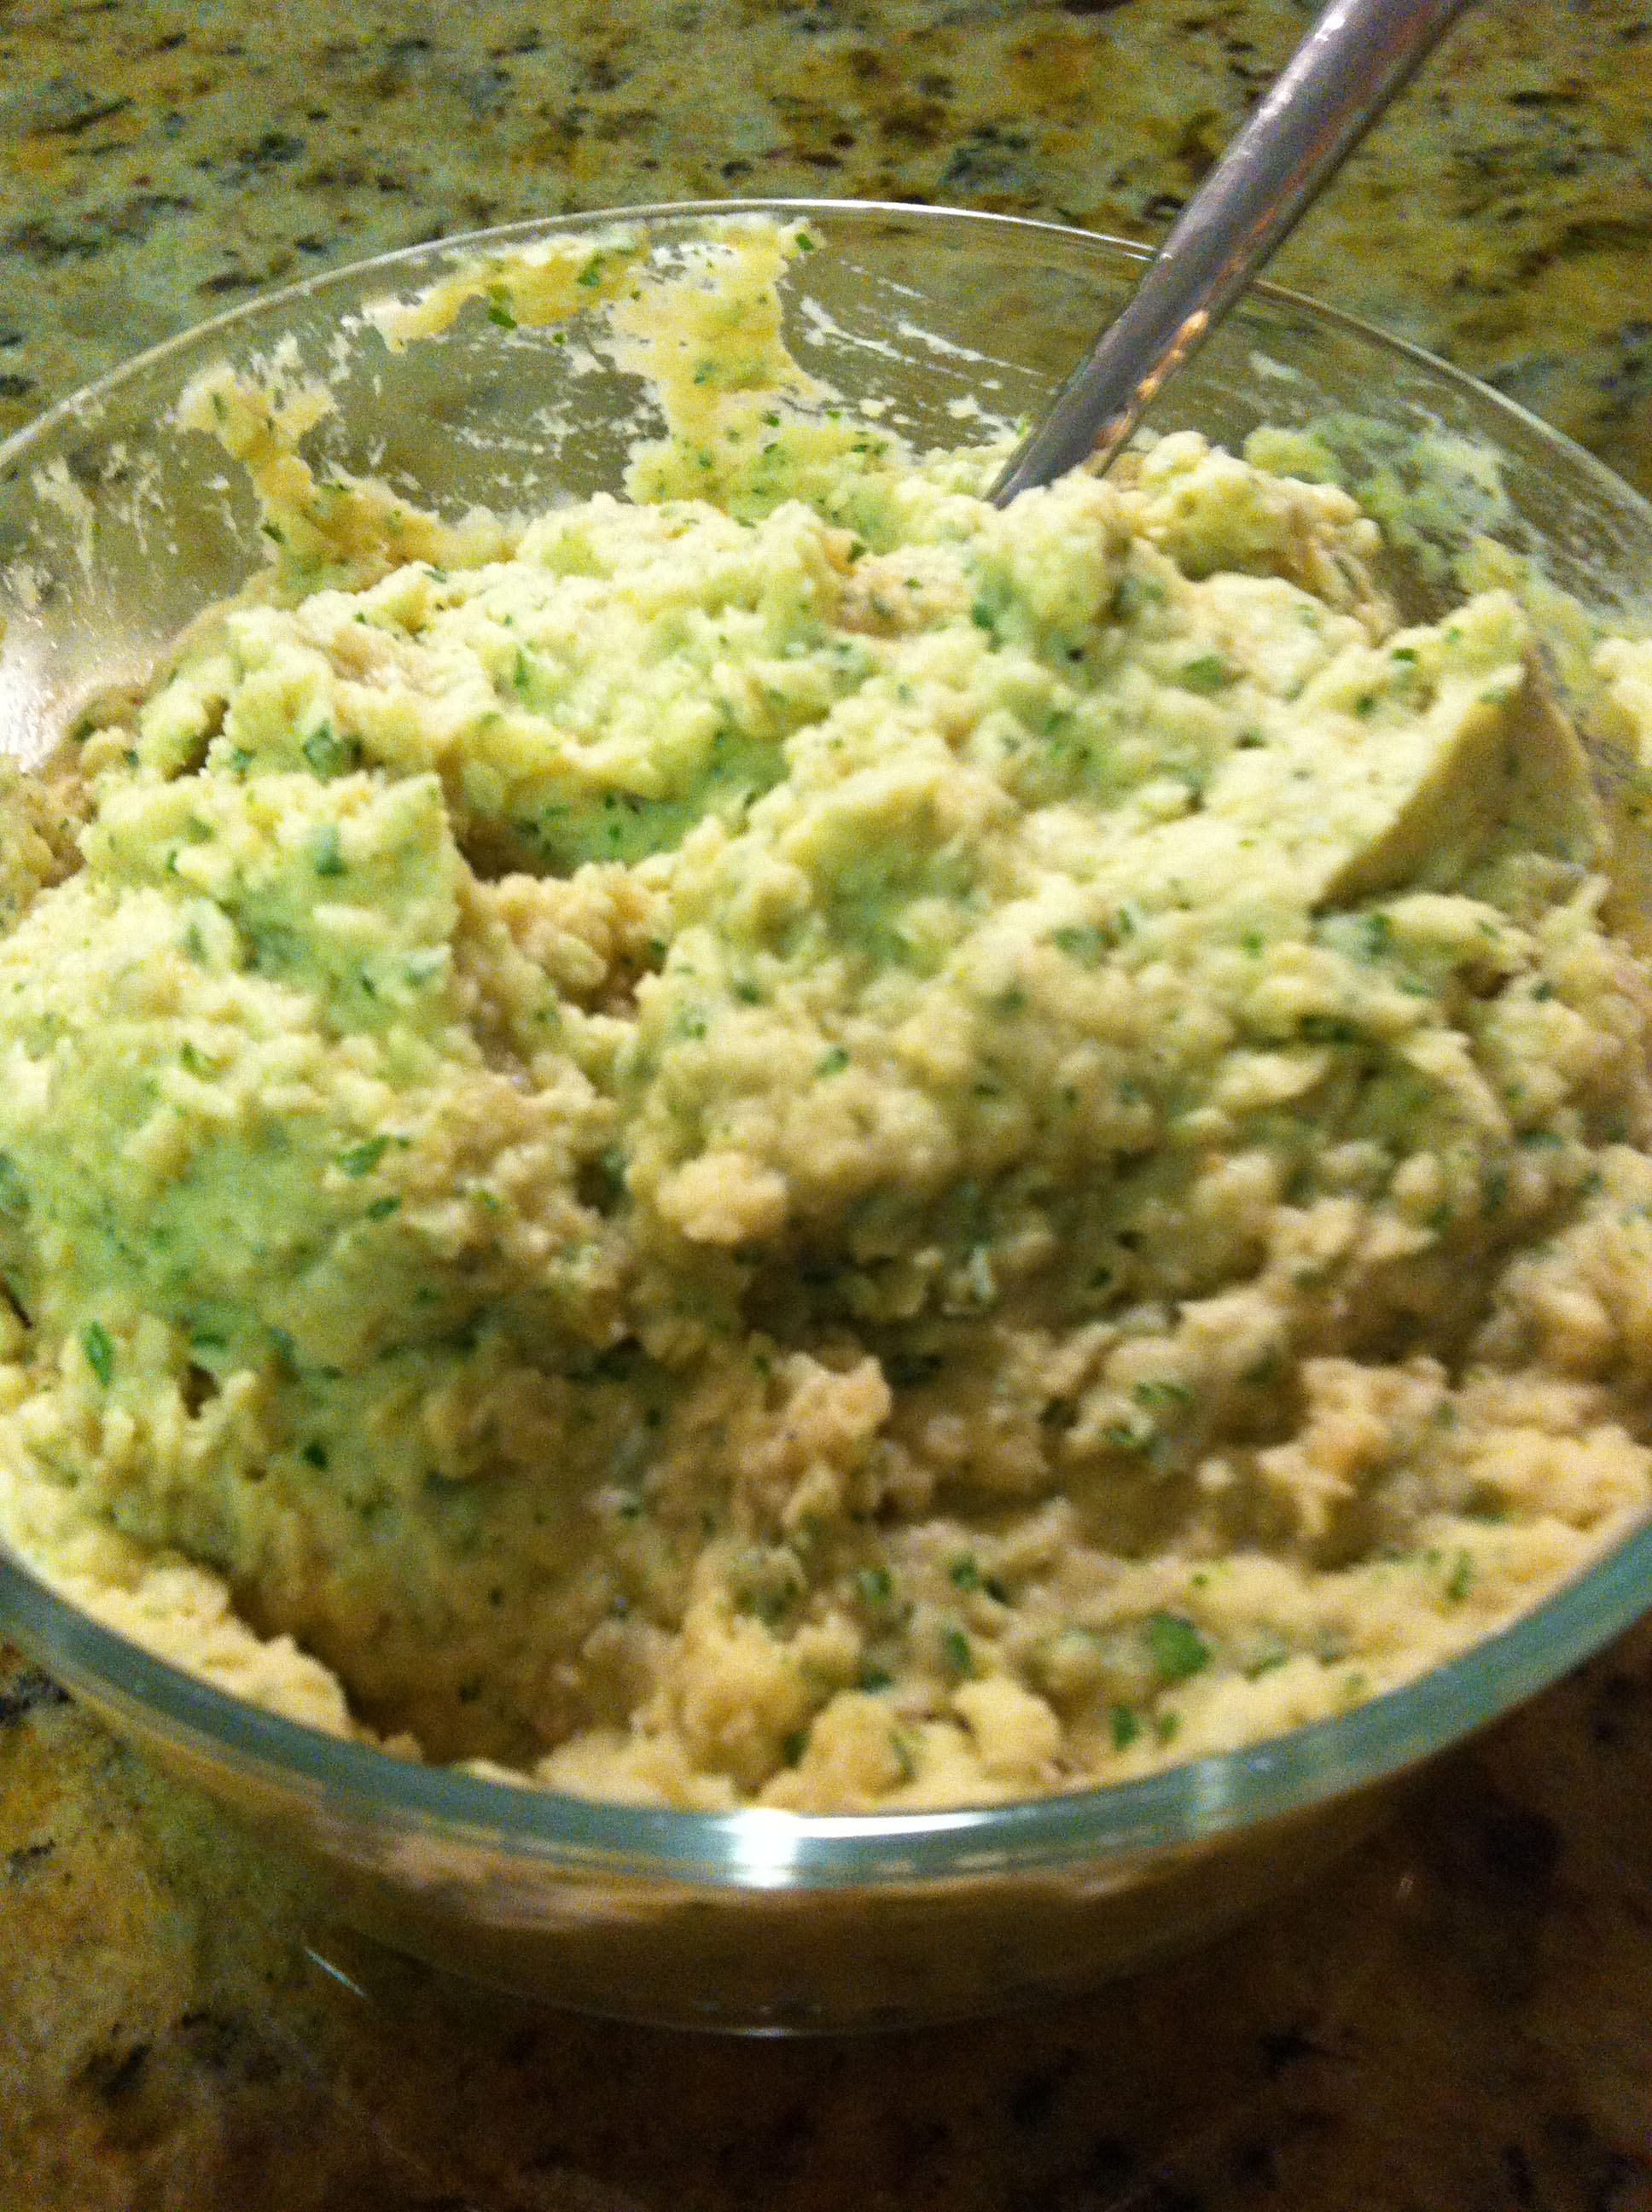
1.  Mash the avocados in a medium-sized mixing bowl.  To get a quick and uniform mash, I like to use a muddler (yes…the same tool you use to muddle together limes and fresh mint to make delicious mojitos!).  It’s much quicker than mashing the avocados with a fork!

2.  Stir in the lime juice, garlic, and salt.  Fold in the red onion, tomatoes, jalapeño and cilantro.  Mix until all ingredients are evenly distributed.

3.  Serve with tortilla chips.  And margaritas, Coronas, and mojitos if you’re in that kinda mood!  Enjoy!

Party Perfect Guacamole


PDF to Print Recipe for Party Perfect Guacamole

Share this:

  • Click to email a link to a friend (Opens in new window) Email
  • Click to share on Facebook (Opens in new window) Facebook
  • Click to share on X (Opens in new window) X
  • Click to share on Pinterest (Opens in new window) Pinterest
Like Loading...

Roasted Cauliflower

15 Wednesday Jan 2014

Posted by Janis Chanin in Healthy, Quick and Easy, Side Dishes, Vegan, Vegetarian

≈ 1 Comment

Roasted Cauliflower

Not only does this make a quick and easy side, it’s also super healthy and delicious.  Truly delicious…it will convert even the most adamant cauliflower hater!  I often make it to accompany fish such as tilapia, haddock, or mahi mahi.

Roasted Cauliflower
Yield:  2-4 side-dish servings
Time:  35 minutes total

One head cauliflower
2 tbsp. extra virgin olive oil (EVOO)
½ to 1 tsp coarse sea salt
¾ tsp crushed thyme

1.  Grease a large baking sheet and preheat your oven to 400°F.

2.  Cut the cauliflower into quarters.  Slice into ¼-inch sections.  Lay the pieces in a single layer on the baking sheet.

Roasted CauliflowerRoasted Cauliflower

3.  Drizzle with EVOO and sprinkle with sea salt and thyme.

4.  Cook at 400°F for 20-25 minutes, until the edges begin to get golden brown.  I usually broil mine for about three minutes at the end because I like some pieces really brown and a little crispy.  It really brings that roast-y flavor out!

Roasted Cauliflower


PDF to Print Recipe for Roasted Cauliflower

Share this:

  • Click to email a link to a friend (Opens in new window) Email
  • Click to share on Facebook (Opens in new window) Facebook
  • Click to share on X (Opens in new window) X
  • Click to share on Pinterest (Opens in new window) Pinterest
Like Loading...

Cornbread with Maple Butter

08 Sunday Dec 2013

Posted by Janis Chanin in Bread, Holiday, Vegetarian

≈ Leave a comment

Cornbread Mini Muffins


This cornbread is tasty by itself but oh boy is it addictive when you spread maple butter on it!  Mmmmmmm!

Cornbread
Time:  45 minutes total

1 and 1/3 cups flour
1 and 1/3 cups coarse ground cornmeal
2 tbsp brown sugar
1 tbsp baking powder
¾ tsp baking soda
1 tsp salt
3 eggs
1 cup buttermilk
½ cup milk (whole, skim, whatever you like)
4 tbsp butter, melted ¾ cup corn kernels

1.  Preheat the oven to 350˚F and prepare your baking pan by greasing an 8×8” dish.  (Or try using a mini muffin pan for individual servings.)

2.  Whisk together the flour, cornmeal, brown sugar, baking powder, baking soda, and salt in a medium sized mixing bowl.

3.  In a separate bowl, whisk together the eggs, buttermilk, and milk.

4.  Combine the dry ingredients with the wet ingredients, beating until just combined (it will be a little lumpy—that’s perfect!)  Stir in the melted butter and corn.

5.  Pour the batter into the prepared baking dish and bake for 25-30 minutes at 350˚F, or until an inserted toothpick comes out clean.  Allow to cool to room temperature.

Note:  This recipe freezes really well, so feel free to make a big batch to eat alongside chili, and extra to make into Savory Fig Cornbread Stuffing for Thanksgiving!  If freezing, wrap tightly in plastic wrap, and seal inside a zip-top freezer bag.


Maple Butter

1 cup (2 sticks) butter, softened
½ cup maple syrup

Beat butter until light and fluffy.  Slowly drizzle in maple syrup and beat until well mixed.  Transfer to a shallow bowl.  Serve at room temperature so it’s easily spreadable.  Can be stored in the refrigerator for up to two weeks.

PDF to Print Recipe for Cornbread with Maple Butter

Share this:

  • Click to email a link to a friend (Opens in new window) Email
  • Click to share on Facebook (Opens in new window) Facebook
  • Click to share on X (Opens in new window) X
  • Click to share on Pinterest (Opens in new window) Pinterest
Like Loading...

White Bean Dip

08 Sunday Dec 2013

Posted by Janis Chanin in Appetizers, Healthy, Quick and Easy, Vegetarian

≈ 1 Comment

White Bean Dip

This recipe is one of my all time favorites for a few reasons:

1–It’s a total crowd pleaser.  Without fail, guests always ask for this recipe.  (Who doesn’t love the taste of roasted garlic??)  Also, it’s vegetarian, so it’s a safe appetizer to make for large crowds in case someone doesn’t eat meat.  (Also vegan if you omit the cheese.)

2–It comes together really quickly.  Last time my husband called me to say he was bringing home hungry friends, I threw this together in less than 15 minutes total, including clean-up time!

3–It is made entirely of ingredients that I always have on hand in my pantry and fridge.

White Bean Dip
Yield:  12 servings
Time:  25 minutes total

5 cloves garlic, finely chopped
½ cup plus 1 tbsp EVOO (extra virgin olive oil)
30 ounces cannellini beans, drained and rinsed
5 tbsp lemon juice
¼ cup grated Parmesan cheese
1 large handful (about ½ to ¾ cup) fresh parsley (just the leaves, stems removed)
salt and pepper (to taste)

Serve with:  pita chips and/or chopped veggies (I like to use serve this dip with Stacy’s naked pita chips as well as zucchini, carrots, celery, broccoli, bell peppers, cucumbers, and grape tomatoes.)

1.  Place the garlic and 1 tbsp EVOO in a small sauté pan.  Cook over medium heat until the garlic browns and begins to get crispy, about 3-5 minutes.

2.  Combine the following ingredients in a food processor:  cannellini beans, ½ cup EVOO, lemon juice, Parm, parsley, and roasted garlic (with any remaining oil).  Process until smooth and season with salt and pepper to taste.  Serve room temperature or heated gently.

Note:  To change up the flavor, I’ll often add two or three roasted red peppers prior to processing.

White Bean DipWhite Bean Dip Dippers


PDF to Print Recipe for White Bean Dip

Share this:

  • Click to email a link to a friend (Opens in new window) Email
  • Click to share on Facebook (Opens in new window) Facebook
  • Click to share on X (Opens in new window) X
  • Click to share on Pinterest (Opens in new window) Pinterest
Like Loading...

Port Cherry Brownies

27 Wednesday Nov 2013

Posted by Janis Chanin in Boozy, Chocolate, Dessert, Vegetarian

≈ Leave a comment

Port Cherry Brownies

Recently my birthday was approaching and I wanted to make myself a special birthday dessert, but didn’t feel like making an entire cake for just my husband and I (since we would inevitably eat the whole darn thing).  I decided that brownies are also fully capable of holding candles upright and would therefore make a suitable birthday dessert.  Since I love red wine and port, and try to sneak booze into my recipes every opportunity I get, I decided why not try to make port-soaked dried-cherry brownies?  Big time winner!  Make this recipe immediately.  Seriously, you’re wasting precious time that could be better spent baking these incredible brownies!

Port Cherry Brownies
Yield:  16 brownies
Time:  25 minutes active;  60 minutes total

4 tbsp. port
½ cup dried cherries
¼ cup butter, diced into pieces
1¾ cups semi-sweet chocolate chips
¾ cup sugar
2 eggs
¼ tsp. salt
5 tbsp. flour
fresh berries for garnish (optional)
whipped cream for garnish (optional)

1.  Preheat the oven to 325°F.  Prepare an 8×8 inch pan by spraying it with cooking spray, lining it with parchment paper, then spraying the parchment paper with cooking spray.  Set aside.

2.  Put the port in a small saucepan and bring to a boil.  Turn heat down to low and stir in the dried cherries.  Continue to cook over low heat, stirring periodically, until the cherries absorb all of the liquid.  Set aside and allow to cool.

3.  Place the butter and 1 cup of the chocolate chips in a double boiler.  Heat until the chocolate melts.  Stir to combine the chocolate and butter.  Remove from heat.

4.  Whisk in the sugar and eggs.  Add the salt and flour.  Mix until fully incorporated.

5.  Gently mix in the port-cherries and the remaining ¾ cup of chocolate chips.  Transfer the batter to the prepared pan.  Bake for 30-35 minutes at 325°F, until a toothpick inserted into the middle of the pan comes out clean.

6.  Cool until the brownies come to room temperature.  Invert the pan, peel the parchment paper off the brownies, then invert the brownies again so the tops are facing up.  Cut into squares.  Serve garnished with fresh berries and whipped cream (and fresh mint leaves if that floats your boat).  Enjoy with a glass of port or your favorite red wine!

Pretty enough to eat!

PDF to Print Recipe for Port Cherry Brownies

Share this:

  • Click to email a link to a friend (Opens in new window) Email
  • Click to share on Facebook (Opens in new window) Facebook
  • Click to share on X (Opens in new window) X
  • Click to share on Pinterest (Opens in new window) Pinterest
Like Loading...
← Older posts
Newer posts →

Enter your email address to follow JanisCakes and receive each new post by email.

This slideshow requires JavaScript.

Categories

Recent Posts

  • Soft Pumpkin Cookies with Apple Cider Glaze
  • Chicken Enchiladas
  • Ham, Apple and Brie Quesadilla
  • Cauliflower Bowtie Pasta
  • Loaded Baked Potatoes
  • Flank Steak Salad with Chipotle Lime Vinaigrette
  • No Bake Strawberry Pineapple Pie
  • Rhubarb Compote
  • Shiksa-Style Matzo Ball Soup
  • Homemade Caramel Corn

Archives

Enter your email address to follow this blog and receive notifications of new posts by email.

Create a free website or blog at WordPress.com.

Privacy & Cookies: This site uses cookies. By continuing to use this website, you agree to their use.
To find out more, including how to control cookies, see here: Cookie Policy
  • Subscribe Subscribed
    • janis cakes
    • Join 82 other subscribers
    • Already have a WordPress.com account? Log in now.
    • janis cakes
    • Subscribe Subscribed
    • Sign up
    • Log in
    • Report this content
    • View site in Reader
    • Manage subscriptions
    • Collapse this bar
 

Loading Comments...
 

    %d