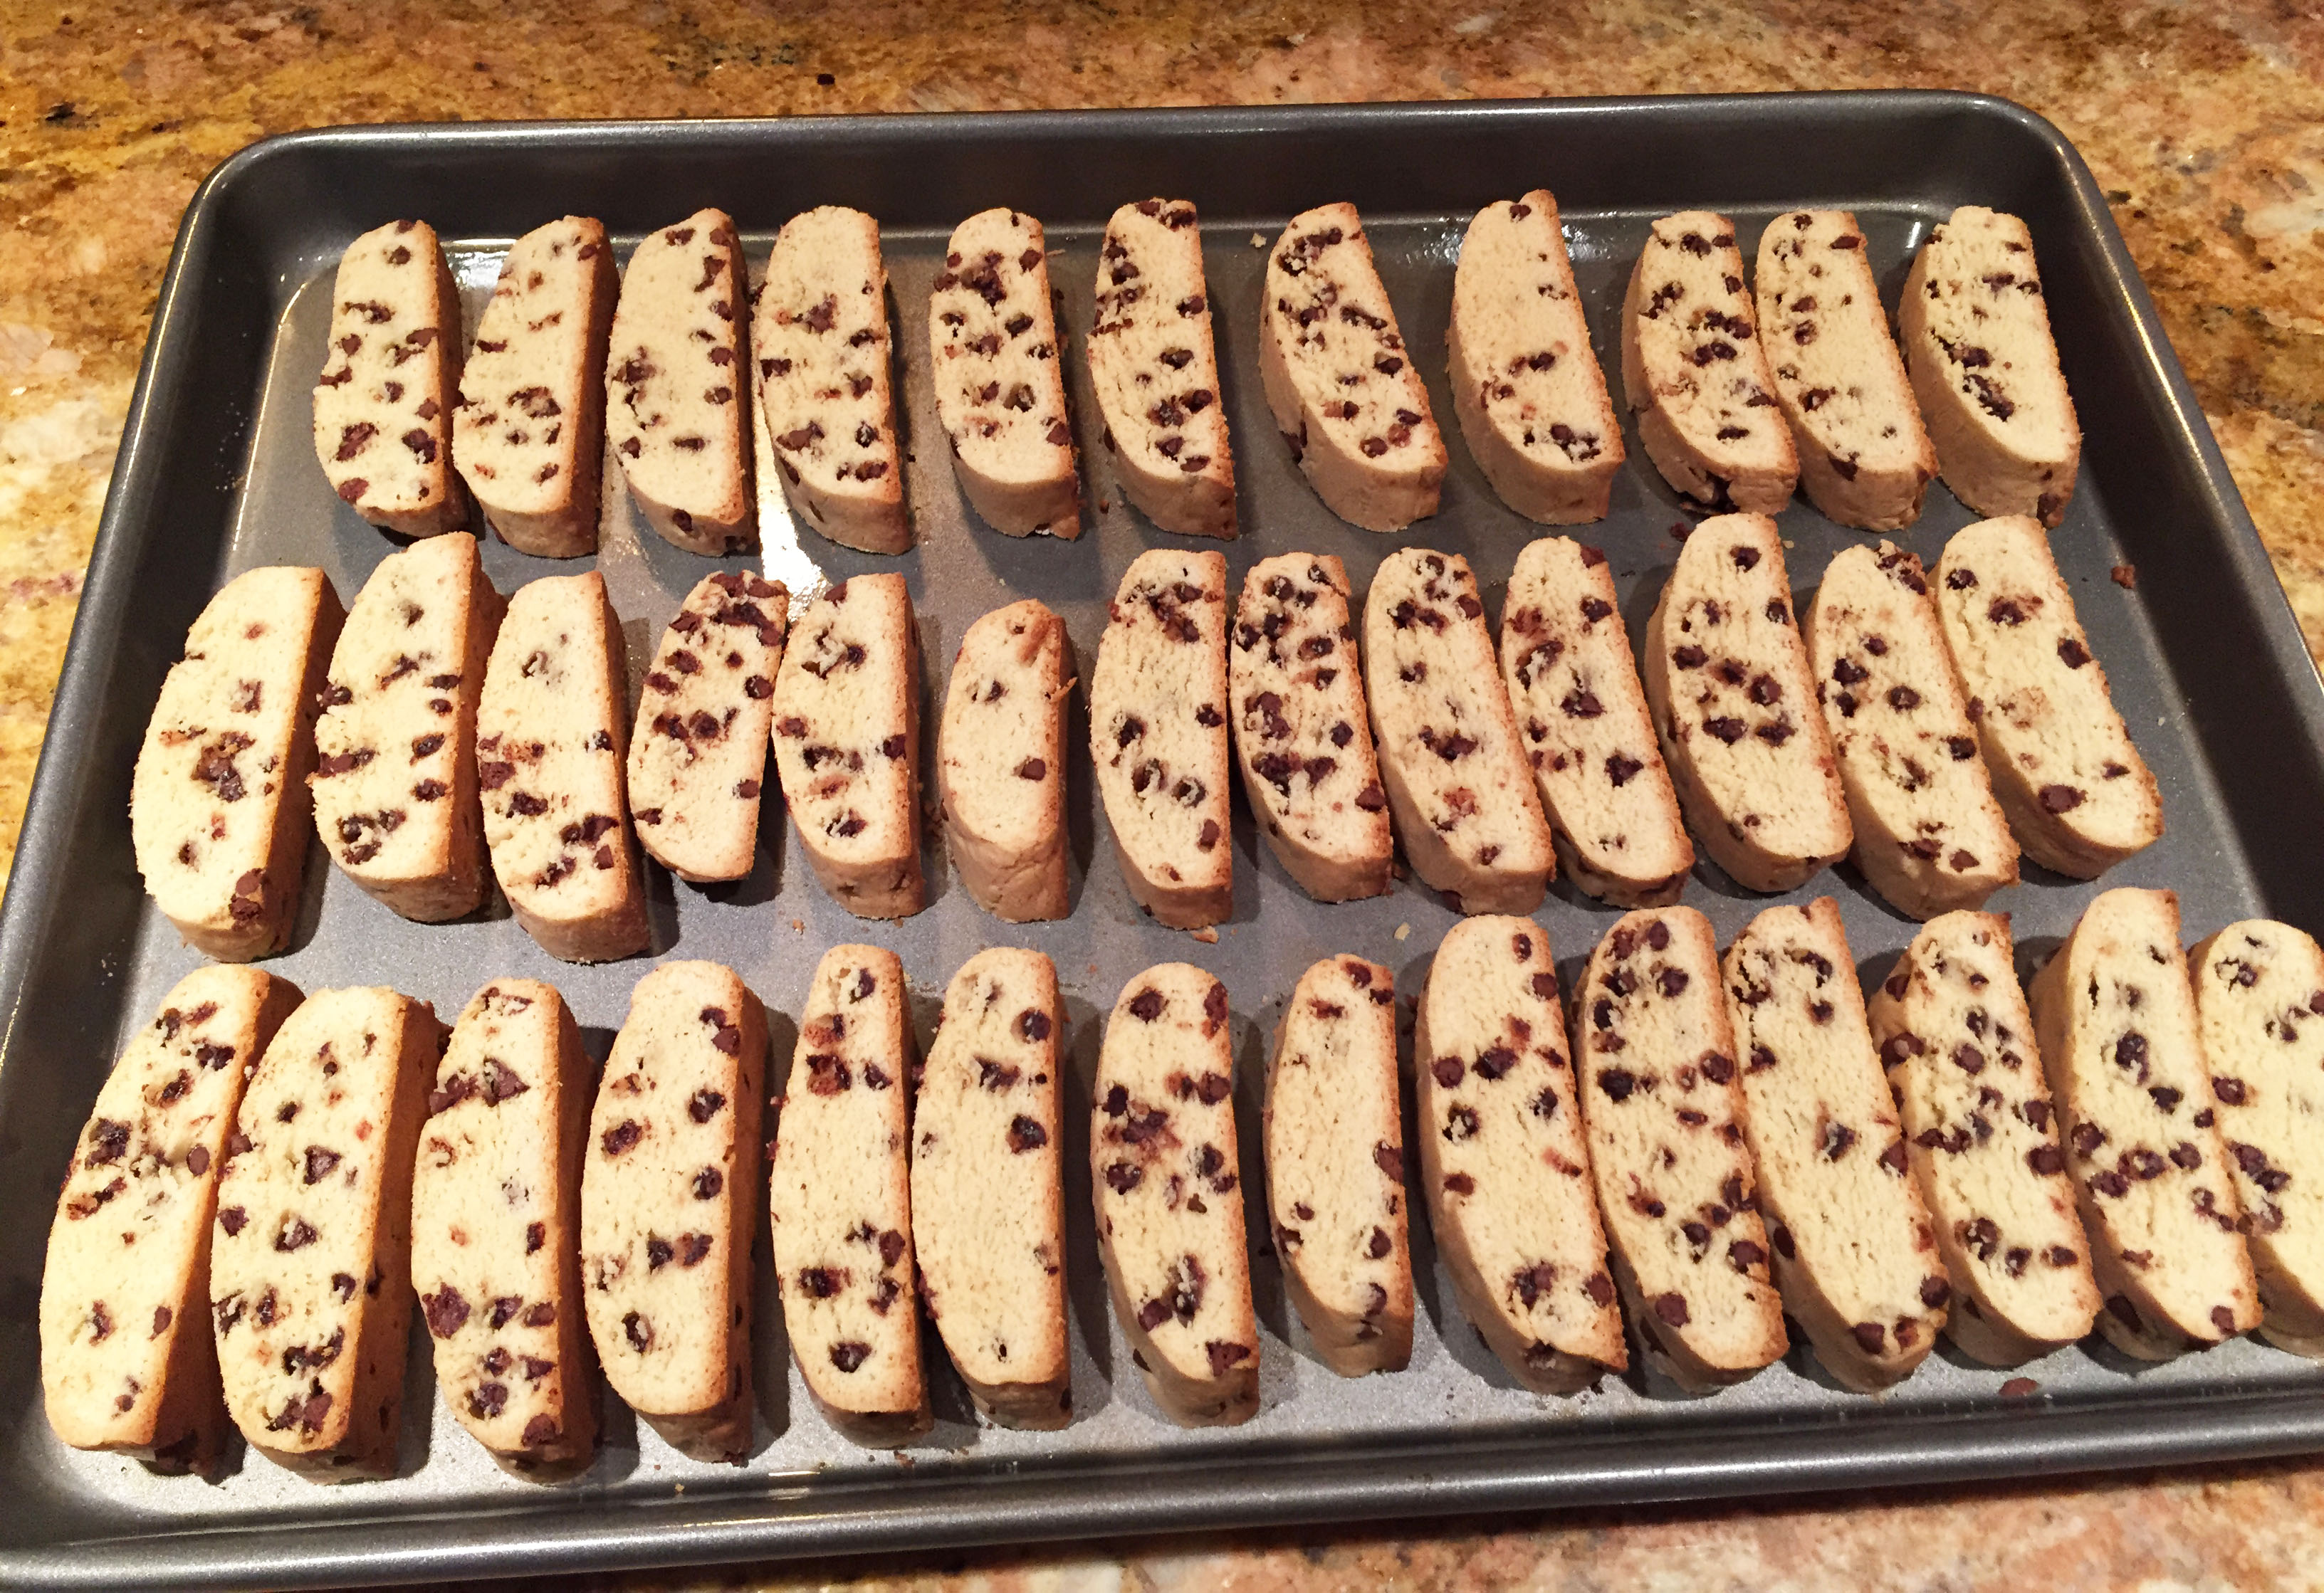
This recipe is one of my mom’s favorites. Every time we get together for breakfast or brunch, she requests that I make my chocolate chip biscotti, claiming it’s the best she’s ever had. Let’s hope you agree! (In the photo above, I made half the biscotti using this recipe, and the other half was chocolate cherry biscotti, to create the plate of “zebra biscotti”!)
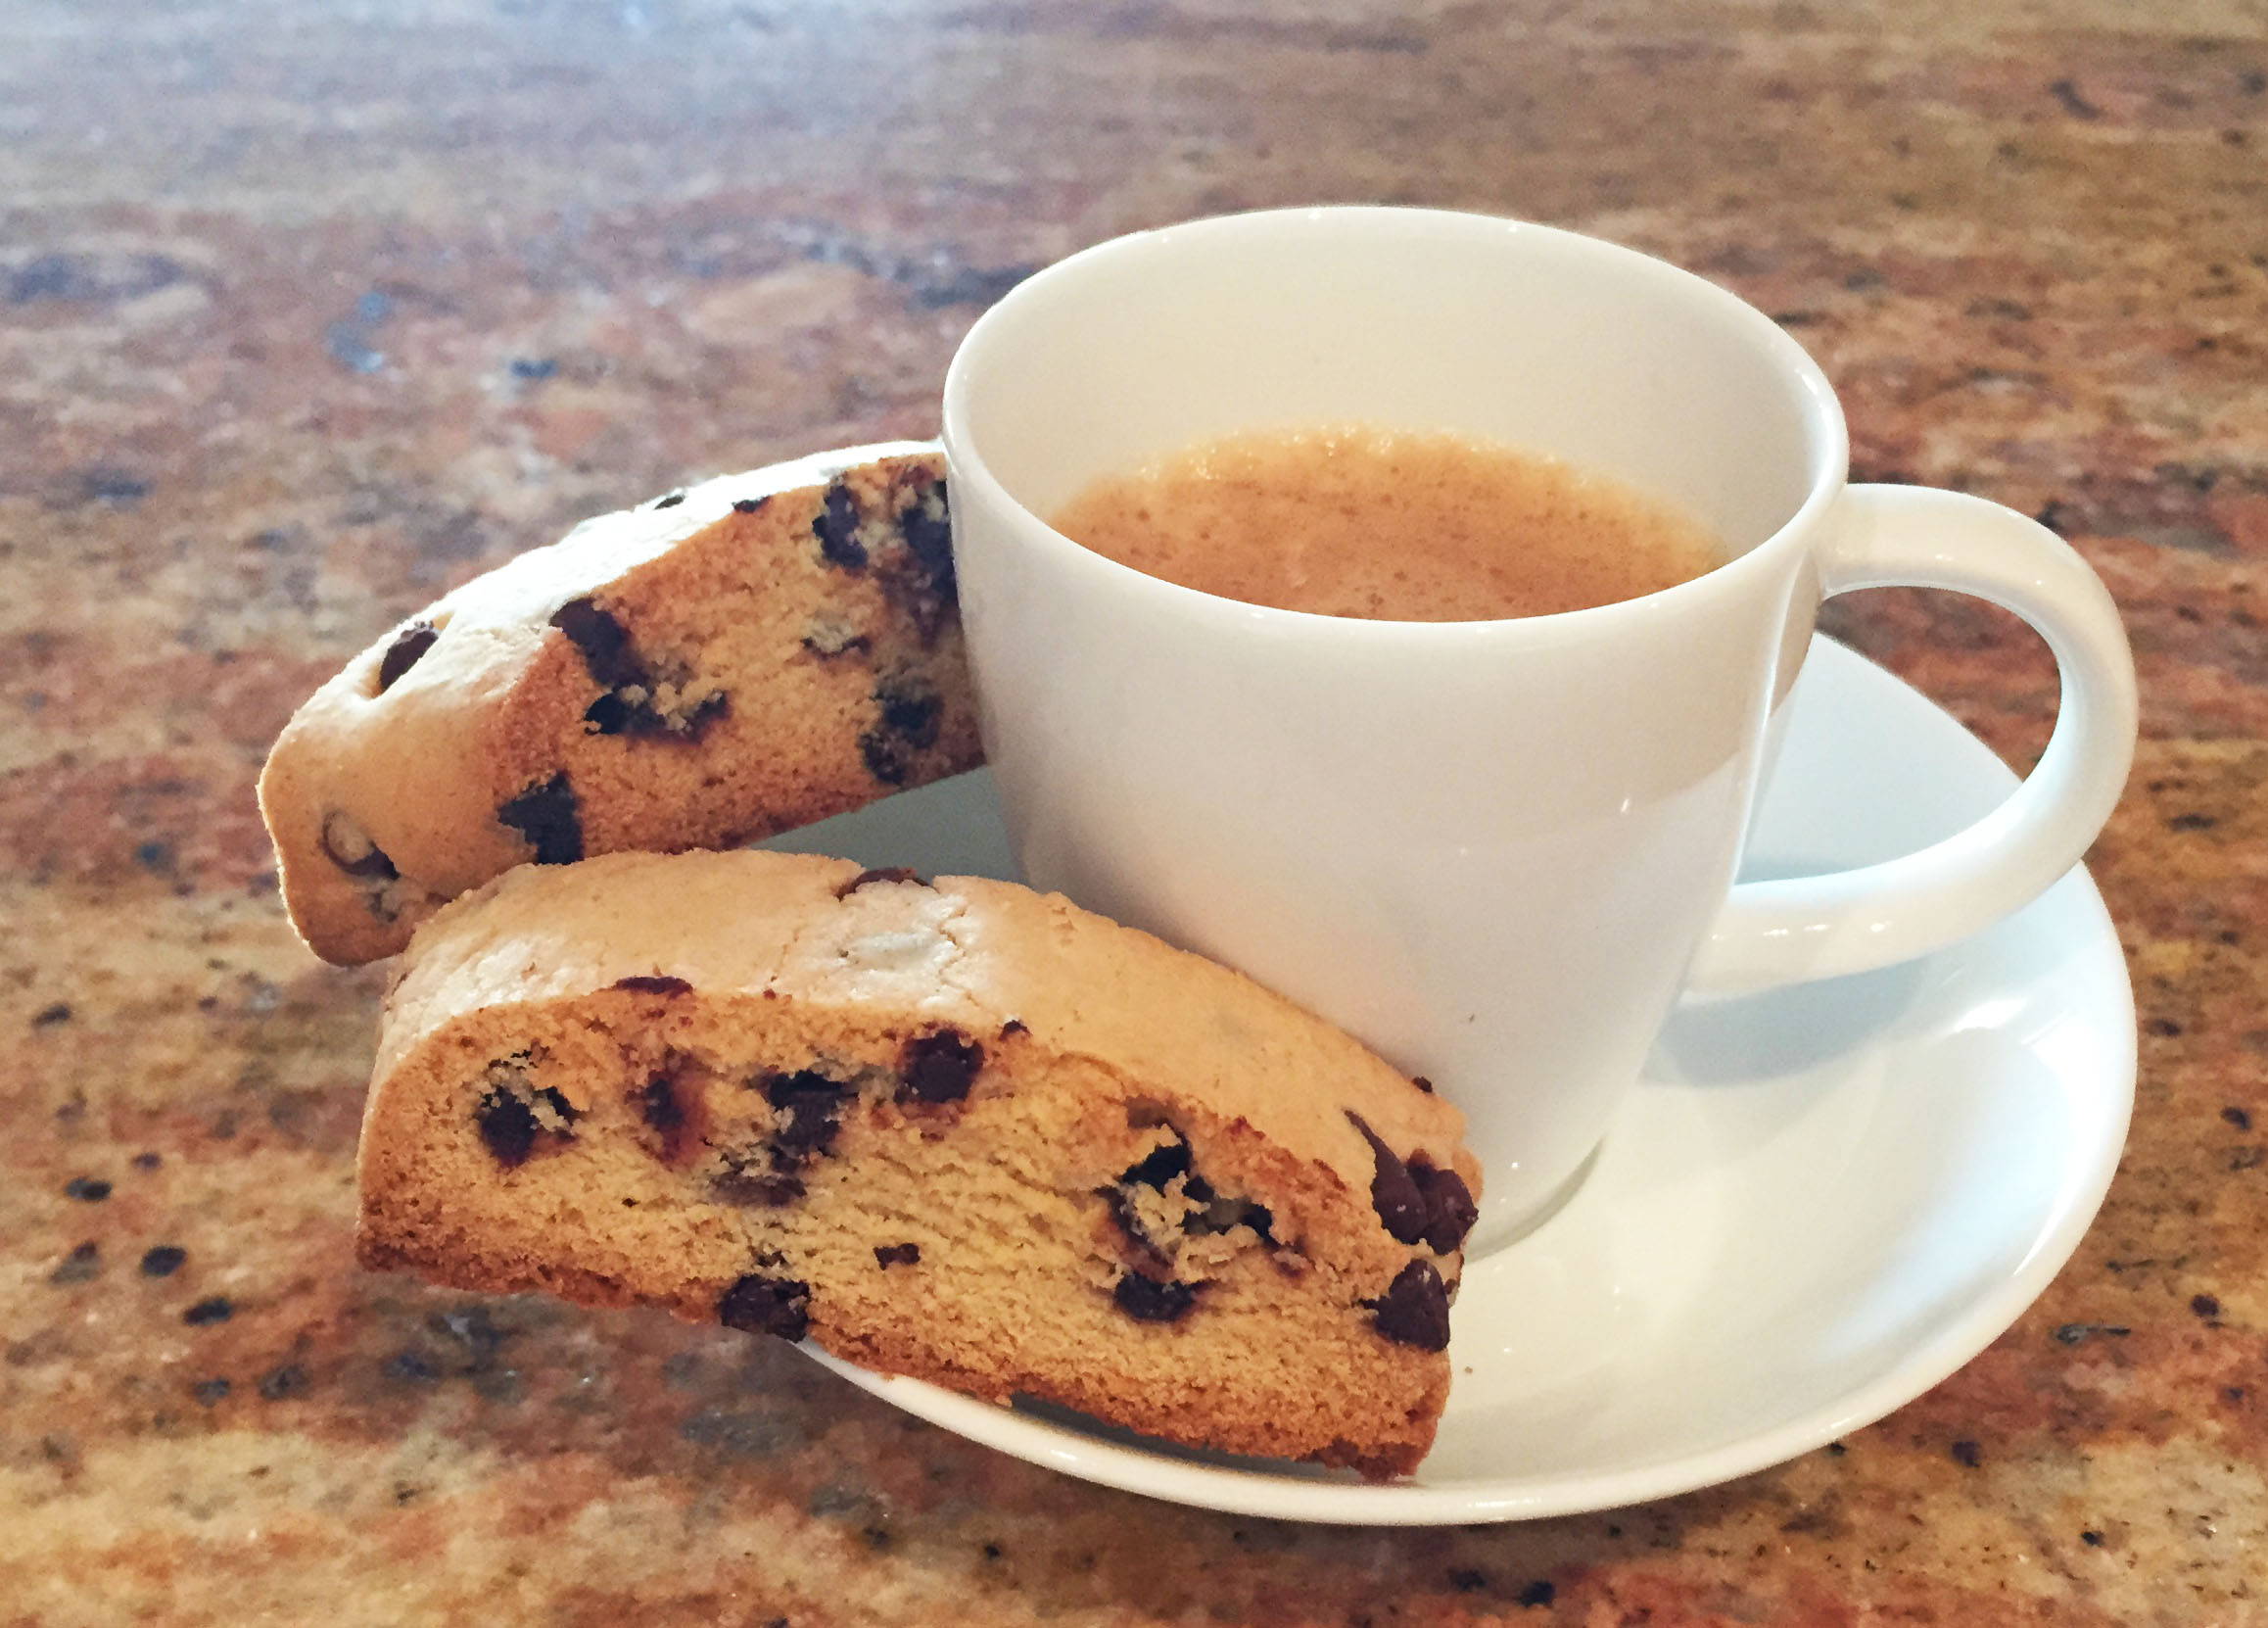
Chocolate Chip Biscotti
Time: 10 minutes prep; 40 minutes total
Yield: 40 pieces
½ cup canola oil
1 cup sugar
3 eggs
1 tsp. vanilla extract
3½ cups flour
1 tsp. baking powder
¾ cup mini chocolate chips
1. Preheat the oven to 375ºF. Lightly grease a jelly roll pan and set aside.
2. Whisk together the oil, eggs, sugar, and vanilla.
3. In a separate bowl, combine the flour and baking powder. Slowly combine the flour with the oil/sugar mixture, forming a sticky ball of dough. Mix in the mini chocolate chips, kneading gently with your hands.
4. Divide the dough into two pieces. Roll into two separate logs, each roughly the length of the jelly roll pan. Place on the prepared pan and gently pat down to flatten to about a 1-inch thickness.
5. Bake at 375ºF for 22-27 minutes, until golden brown. Remove from the oven and allow to cool just enough that it’s comfortable to touch. Cut into ½-inch wide slices. Return the slices to the pan, cut-side up. Bake for an additional 6-10 minutes to lightly toast the surface. Store in a sealed container for up to one month.
PDF to Print Recipe for Chocolate Chip Biscotti