Longing to take a spring break trip, but it’s just not in the cards for you this year? Maybe you can’t spare the vacation days, you just don’t have the extra cash, or Zika has you nervous. No need to miss out–make this spring break inspired dinner and you’ll be on island time in no time! Grass skirt, bikini top, and piña colada optional!
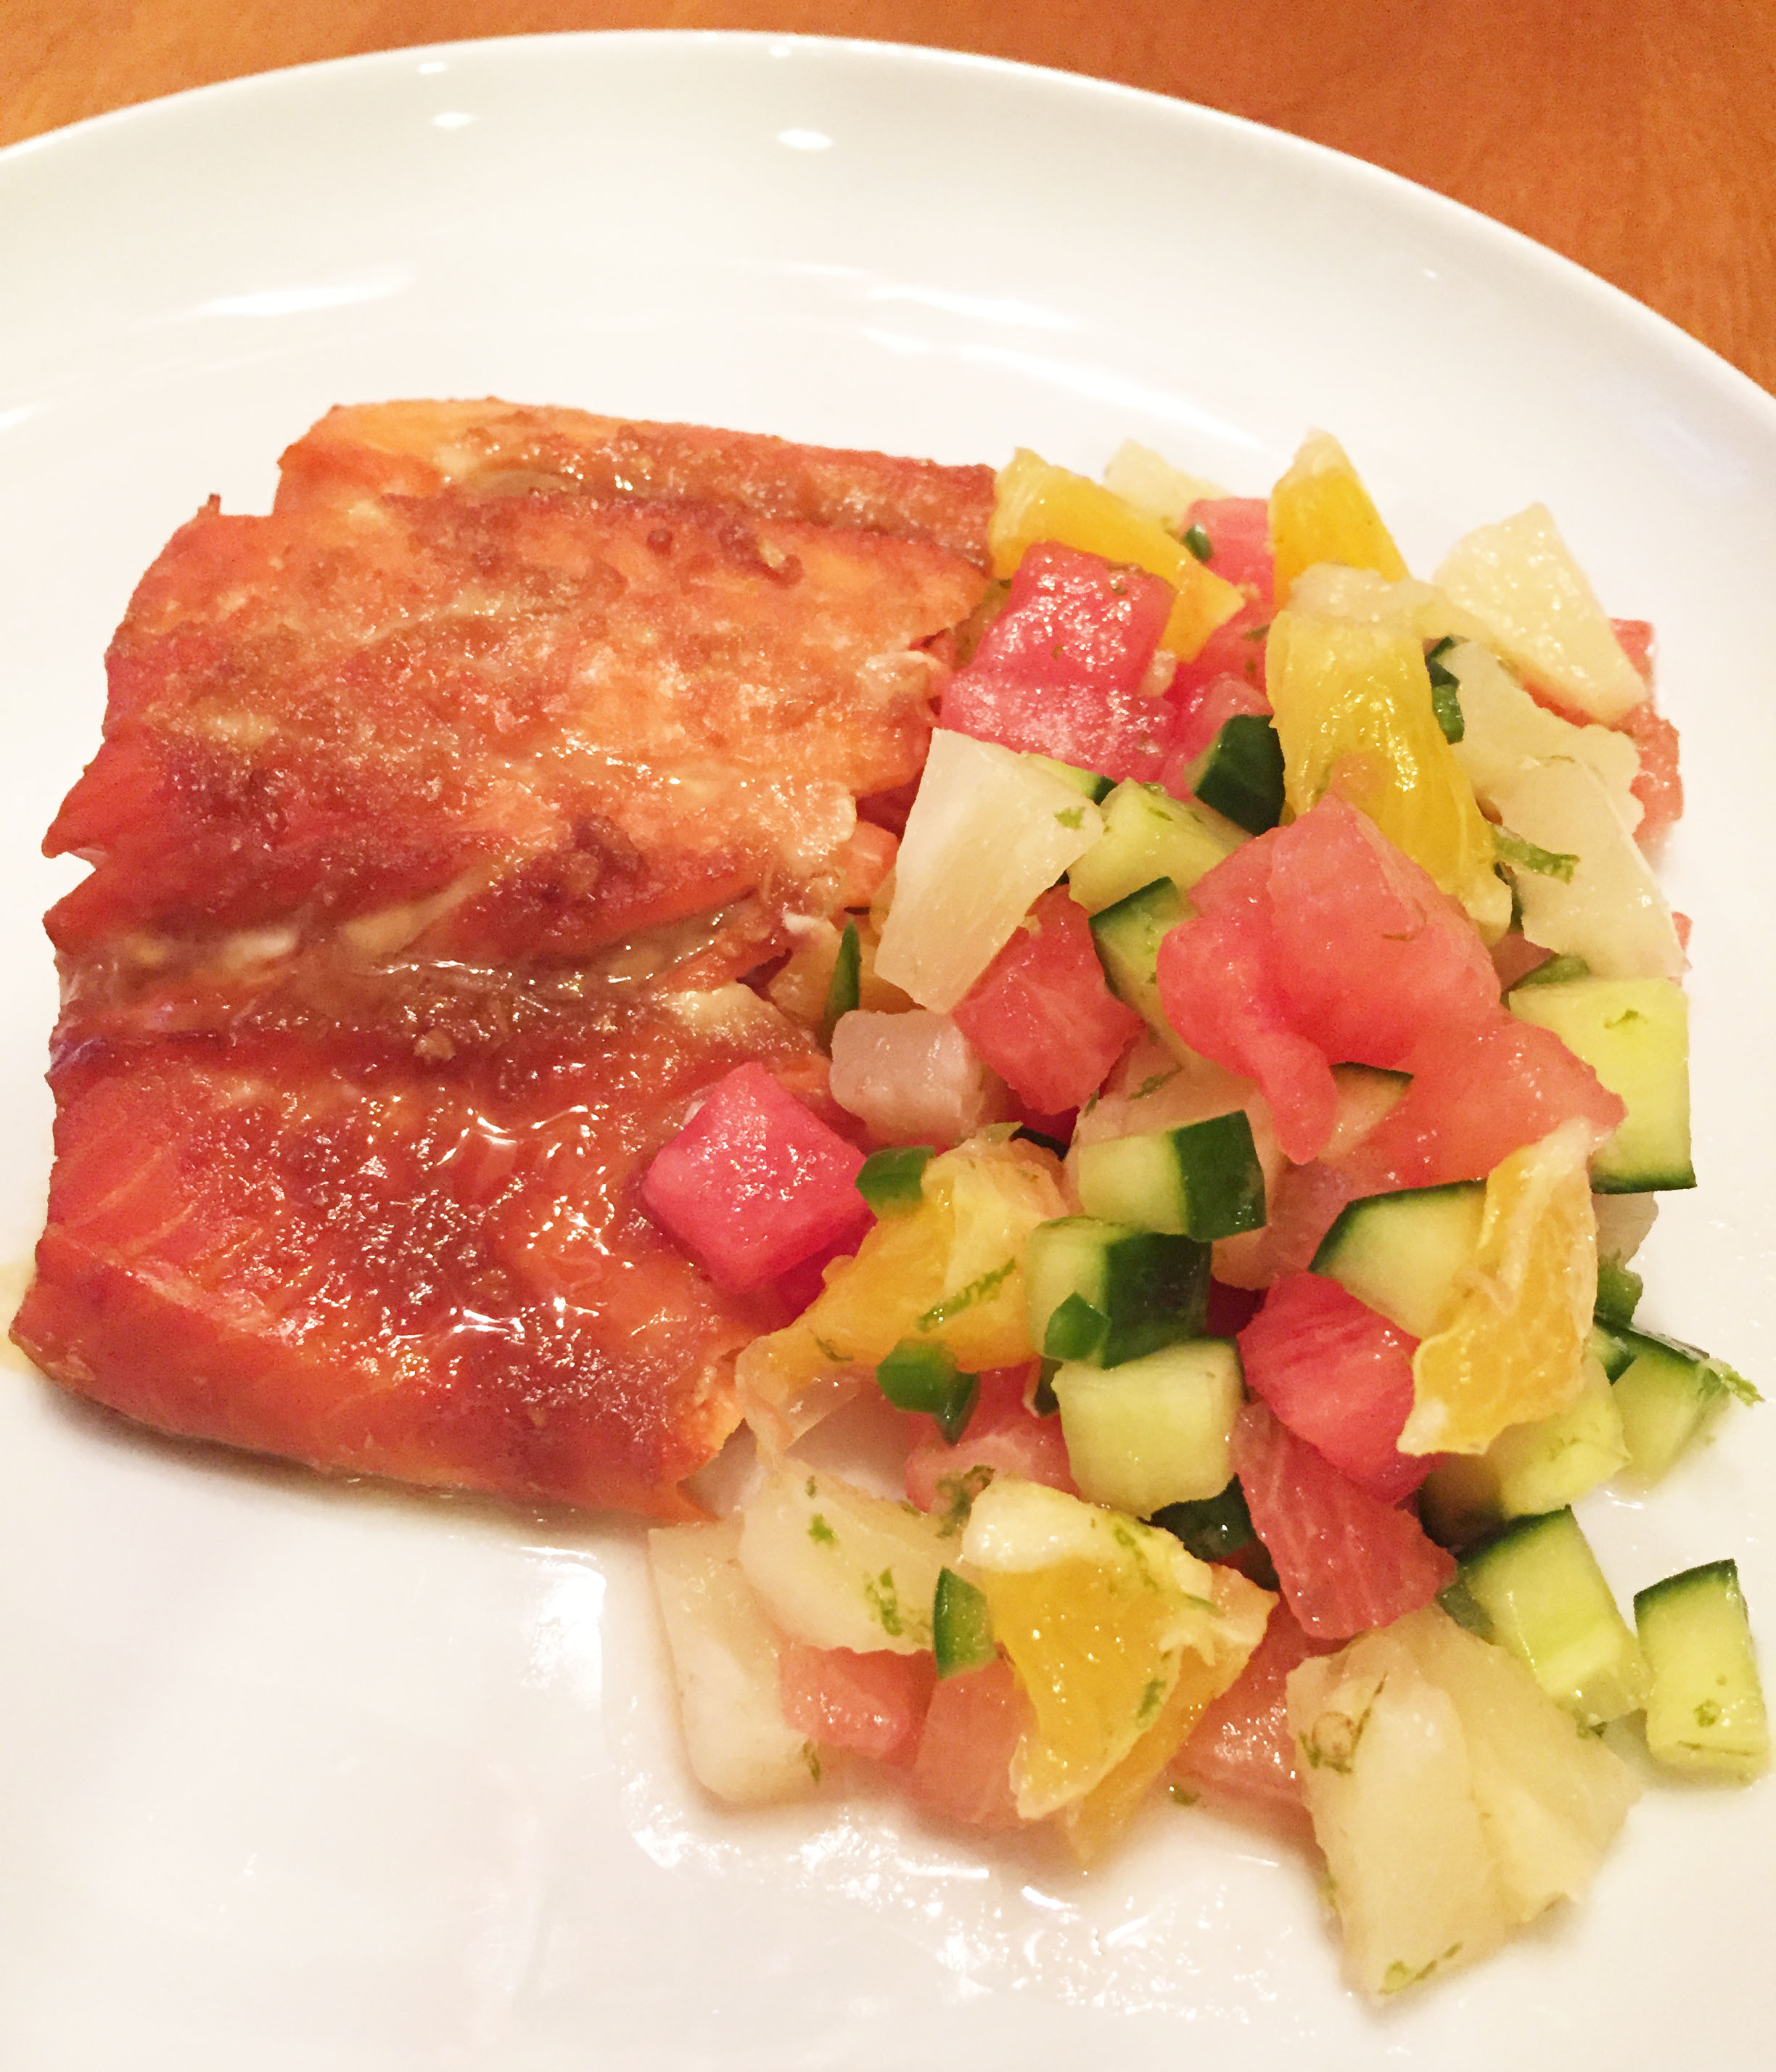
Ginger Soy Salmon with Watermelon Salsa
Yield: 2 servings
Time: 30 minutes active prep, 2 hours marinating, 20 minutes cooking
For the salmon and marinade:
2 six-ounce filets of salmon
2 garlic cloves, minced
2 tbsp. minced fresh ginger
3 tbsp. soy sauce (low sodium preferably)
2 tbsp. brown sugar
For the watermelon salsa:
NOTE: the dice on the following fruits and veggies should be small, roughly ¼-inch cubes (unless otherwise noted)
½ of a large cucumber, seeded and diced
1 orange, diced
3 cups diced watermelon
10 oz. pineapple tidbits, or diced pineapple
¾ to 1 full jalapeño, very finely minced
zest of half a lime
1 tsp. red wine vinegar
1 tbsp. sugar
- Prepare the marinade by whisking together the garlic, ginger, soy sauce, and brown sugar. Transfer to a zip-top bag and add the salmon. Refrigerate for 2-4 hours to allow ample time for the flavors to marinate into the salmon.
- Meanwhile, prepare the watermelon salsa. Toss together all ingredients. Mix well.
- Preheat the oven to 400°F. Place the salmon in a lightly greased glass baking dish. Pour the marinade over the fish. Cook at 400°F until the salmon is cooked through, roughly 16 minutes.
- Serve with watermelon salsa.
PDF to Print Recipe for Ginger Soy Salmon with Watermelon Salsa